Polygel, with precision. An illustrated reference for beginners and nail professionals.
What is polygel?
Polygel is a sculptable, light-cured nail enhancement with a dense, putty-like consistency. It lets you shape an overlay or extension before committing the structure to a cure.
Its practical attraction is control: dispense a small amount, guide it with a brush and refine the shape. Unlike traditional liquid-and-powder acrylic, it does not require the technician to create a bead by balancing powder and liquid. It still requires a compatible curing system and careful application. PolyGel® is also a Gelish brand name; this article uses “polygel” as the familiar category term for poly/acryl extension gels, without implying identical formulas across brands.[1]
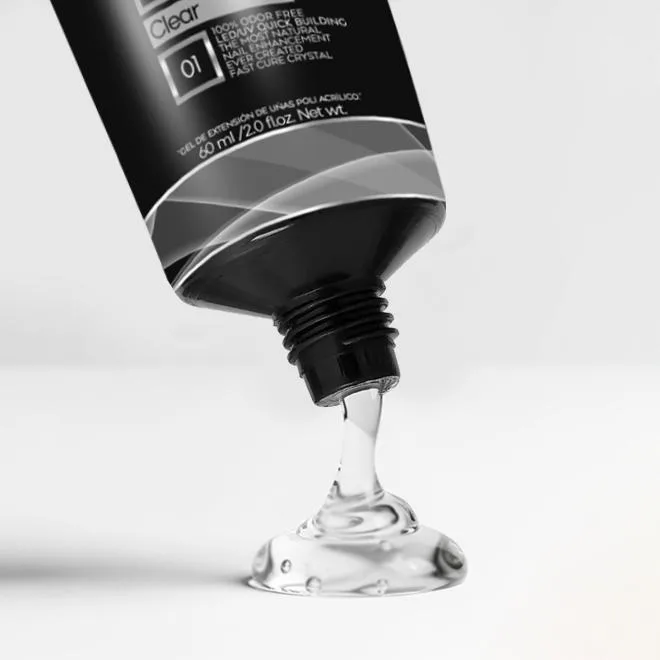
An overlay adds structure over the existing nail. An extension creates length beyond it. A fill refreshes a grown-out area; a rebalance also restores the shape and support of the whole enhancement.
This guide introduces the decisions behind a successful service. Beginners should learn on practice tips or a training hand before working on people. A professional-use label remains applicable even when an educational article is written for beginners.
Polygel, acrylic or builder gel?
Choose according to the service, your training and the product’s validated instructions—not a blanket claim that one category is always stronger.
| System | Working method | What to check |
|---|---|---|
| Polygel / acryl gel | Premixed sculpting material; shape, then light-cure. | Compatible lamp, allowed thickness, shaping liquid and removal method. |
| Liquid-and-powder acrylic | Mixed during service; chemical setting begins after mixing. | Mix ratio, working time and removal instructions. |
| Builder gel | Light-cured structural gel; handling varies by viscosity. | Permitted length and whether the formula is file-off or soak-off. |
| Gel polish | Thin color coating cured in a lamp. | Not a substitute for an extension’s supporting structure. |
“Builder” describes a job rather than one universal removal chemistry. For example, a bottle builder can be soak-off while a hard sculpting gel is file-off. Do not transfer instructions from one system to another.[1], [4], [7], [10]
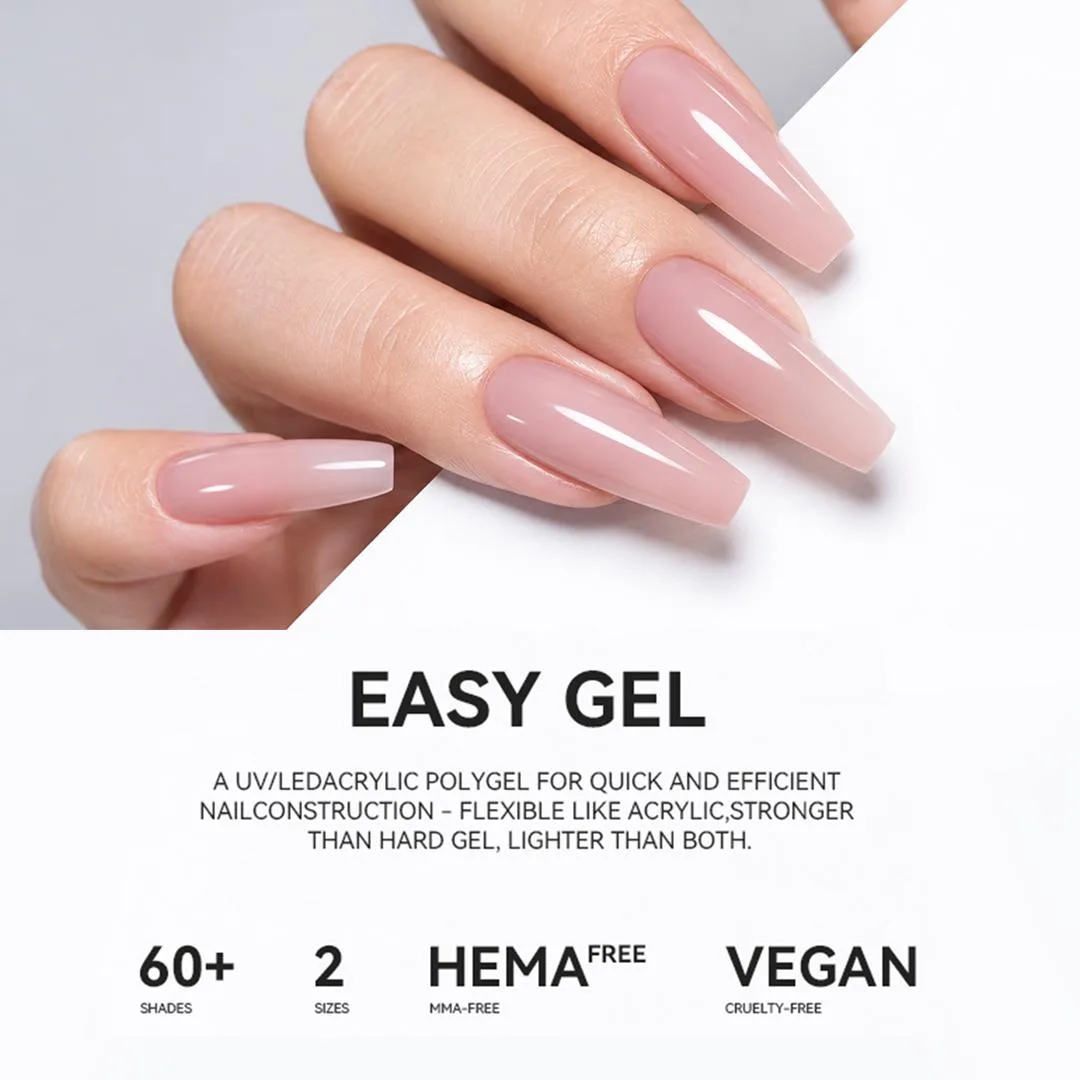
Performance depends on the specific formula, architecture, application and wear conditions. The “60+ shades” and “2 sizes” statements in the artwork should not be read as the assortment of the featured eight-shade collection.
Build a controlled workstation
Before opening a tube, assemble the product’s specified base, top coat, prep products, slip solution, brush/spatula, forms or tips, lint-free wipes, files and compatible full-size curing lamp. Keep instructions and the current safety data sheet available.[2], [6]
Use ventilation and capture filing dust close to the work. Keep containers closed between uses, separate food from the service area, and select protective gloves for the chemicals involved. Gloves contaminated with uncured material should be replaced. A low-odor product does not remove the need for exposure controls.[6]
Check the natural nails and surrounding skin before starting. Do not perform an enhancement over broken skin, visible infection or unexplained nail separation. Refer unusual findings for appropriate assessment instead of covering them with opaque material.[11]
Choose color with the finished design in mind
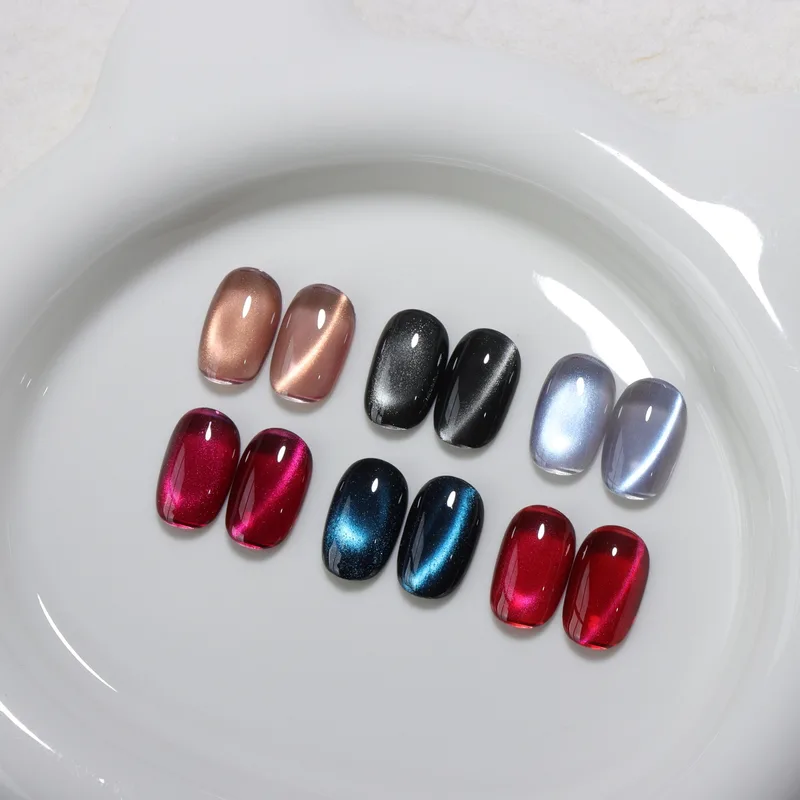
Clear emphasizes translucency; cover tones help create a more uniform-looking nail bed; peach and pink nudes offer different color directions; white supports French designs. A finished swatch under the service lighting is more informative than a screen image.
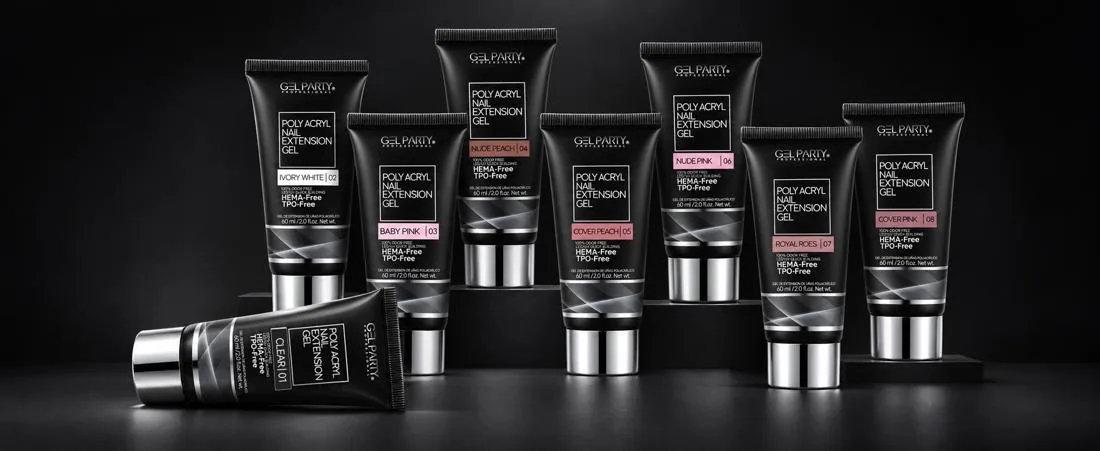
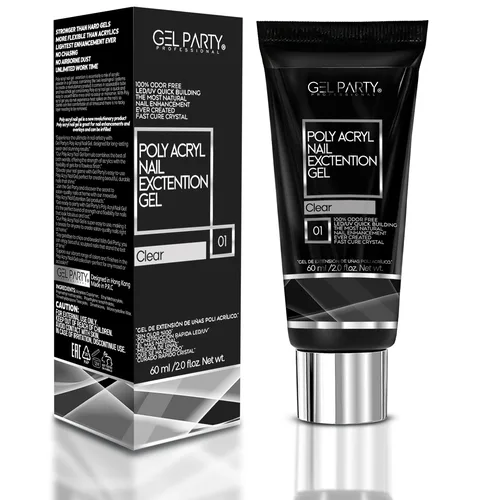
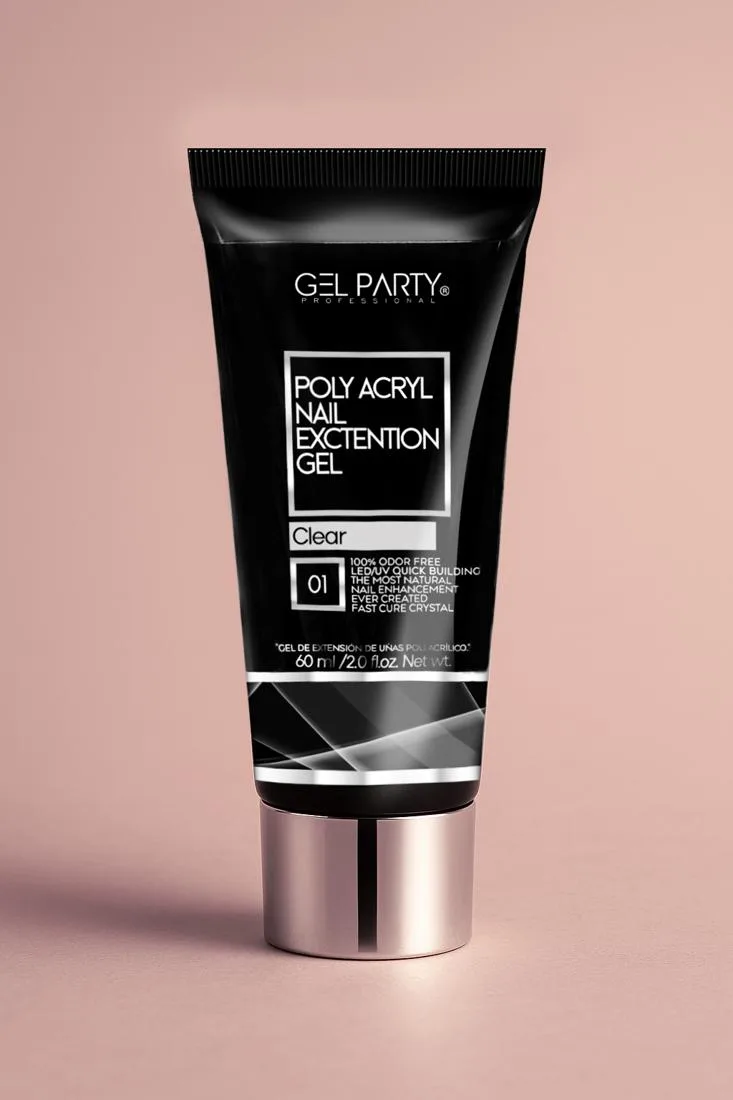
Swatches above are navigation cues, not calibrated color samples. Names follow the current eight-shade product page; the tube photograph spells shade 07 “Royal Roes,” while the website lists “Royal Rose.”[2]
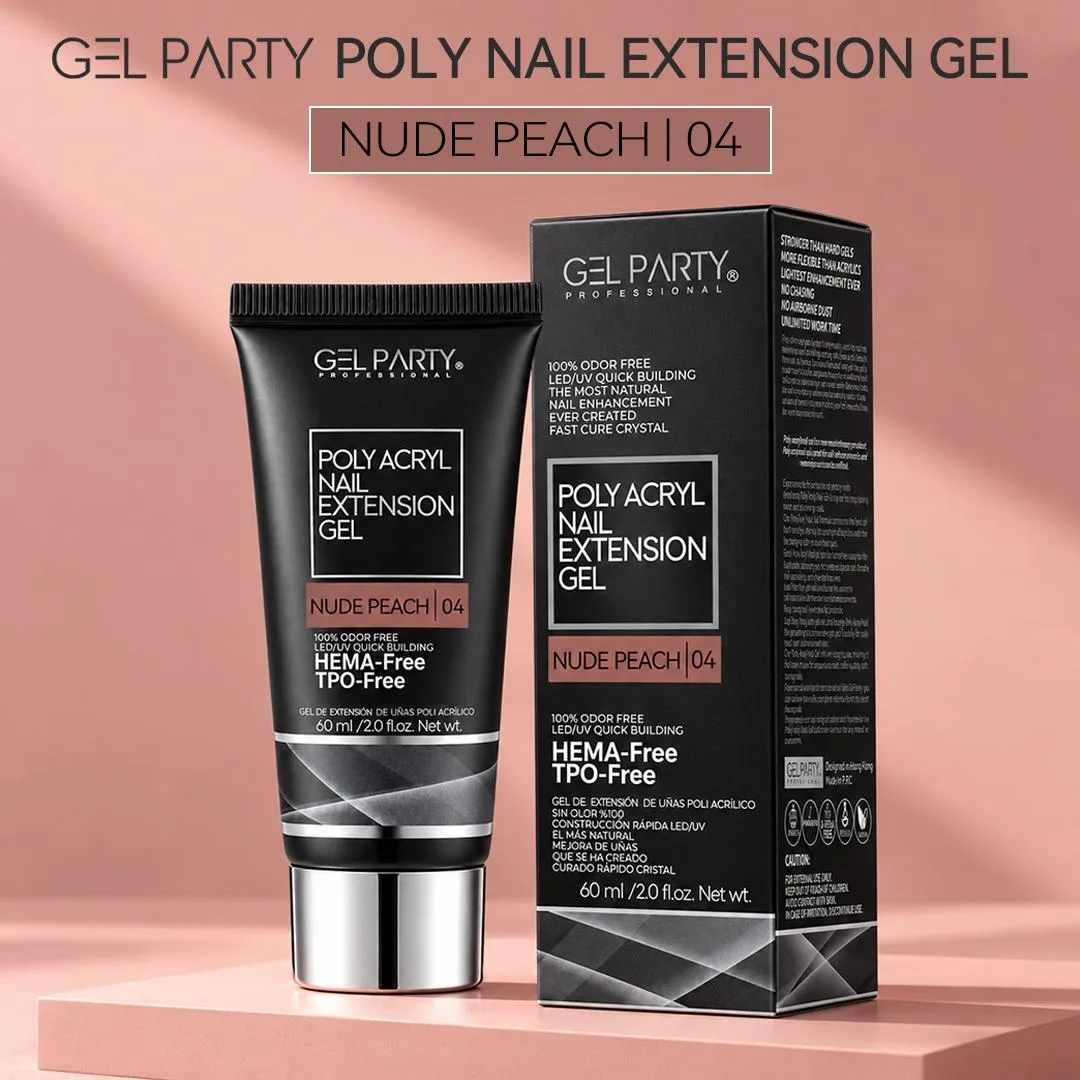
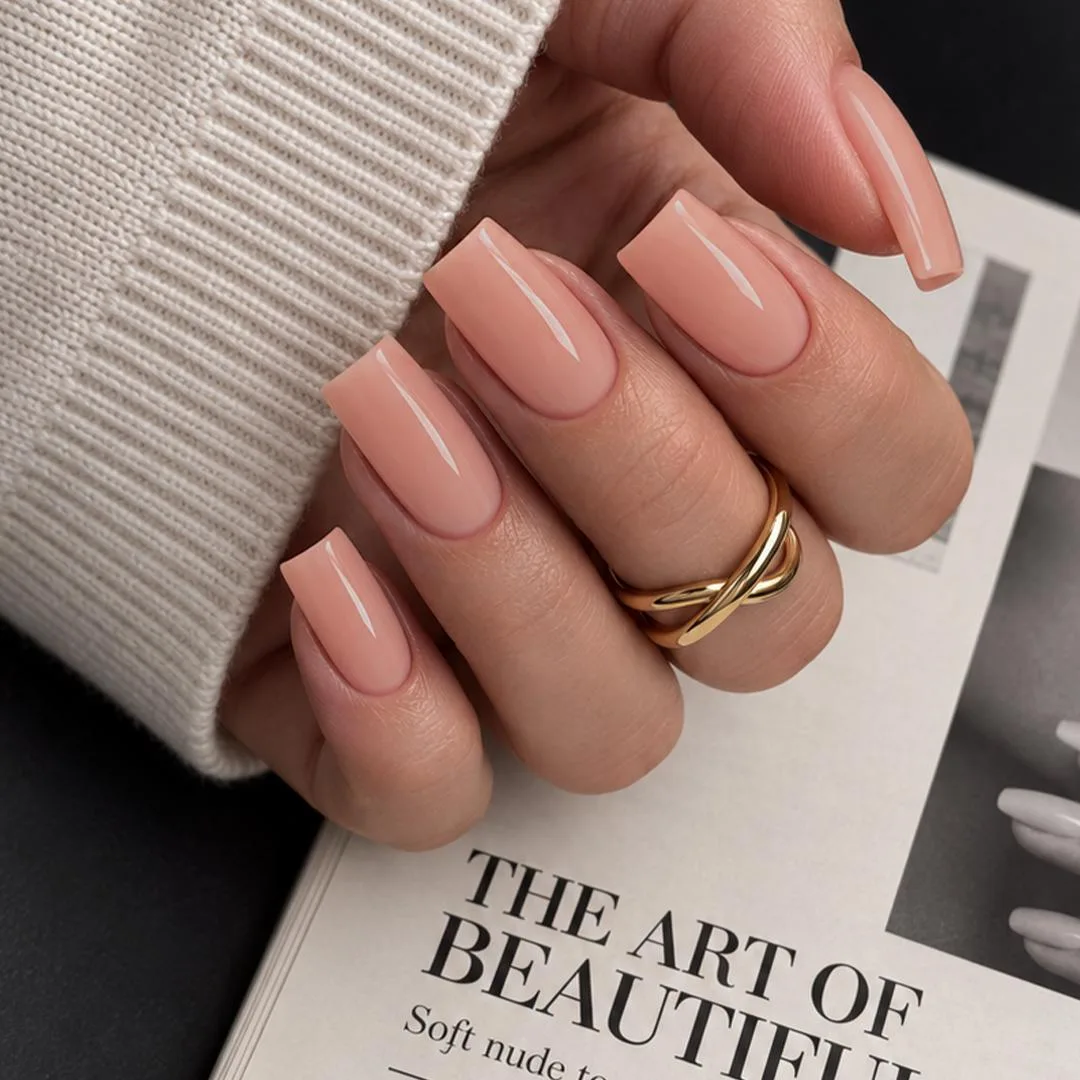
For a consultation, compare a sheer finish and a cover finish on a sample tip. Ask the client about desired length, daily hand use and preferred maintenance. Choose a manageable service rather than promising an identical result to a promotional image.
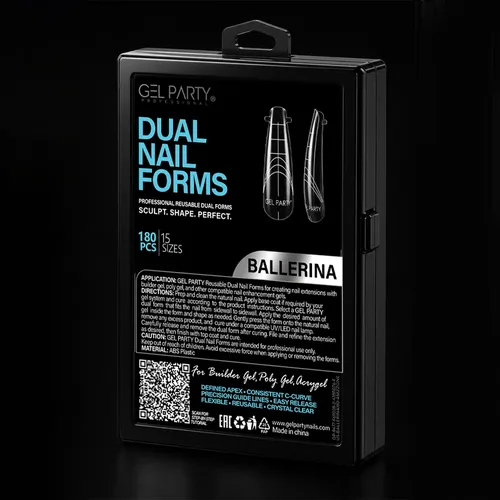
Dual-form application: the complete sequence
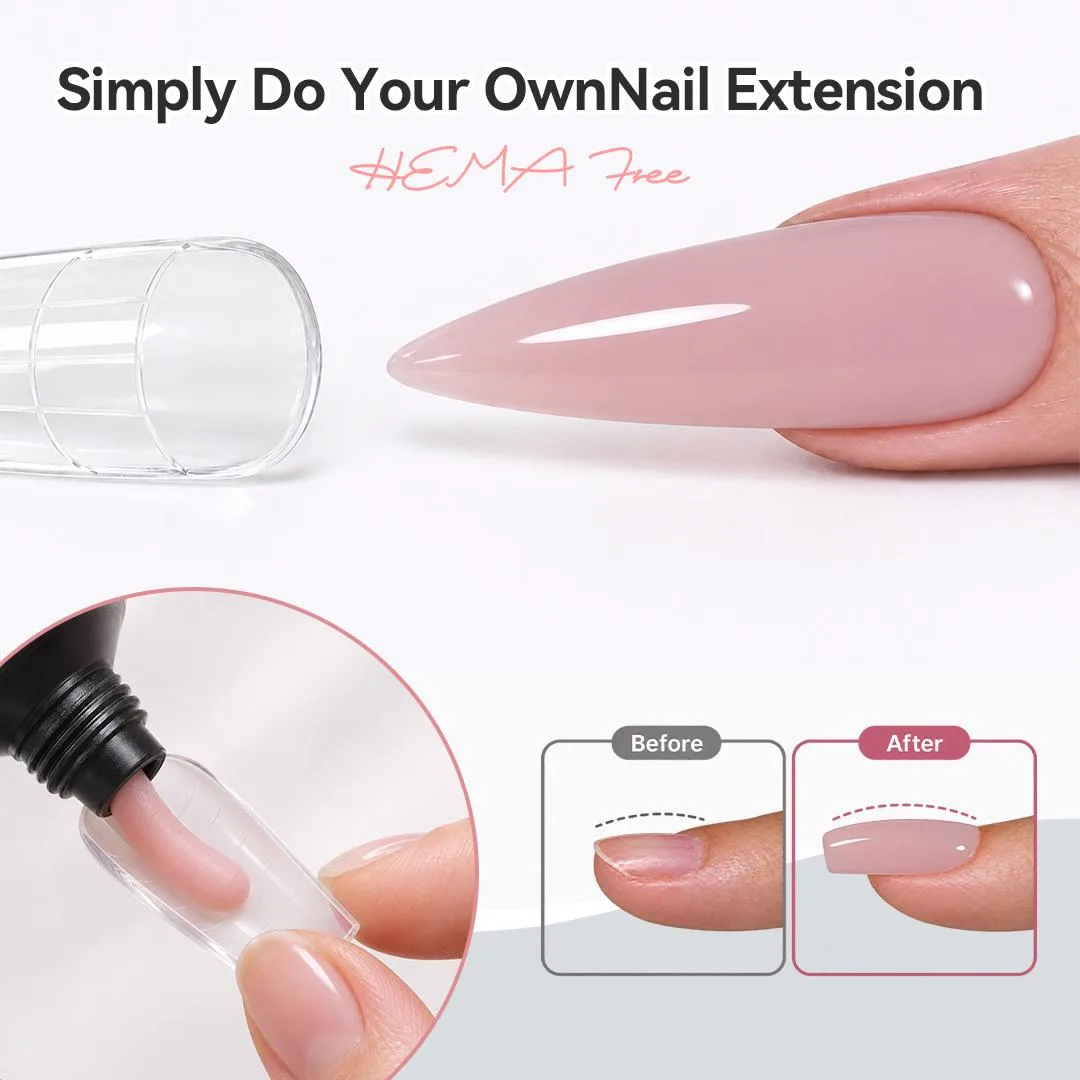
A dual form shapes the top of the enhancement and is removed after curing. It is different from a full-cover tip that remains attached. The image below is a visual overview; use the written instructions for the exact system you own.
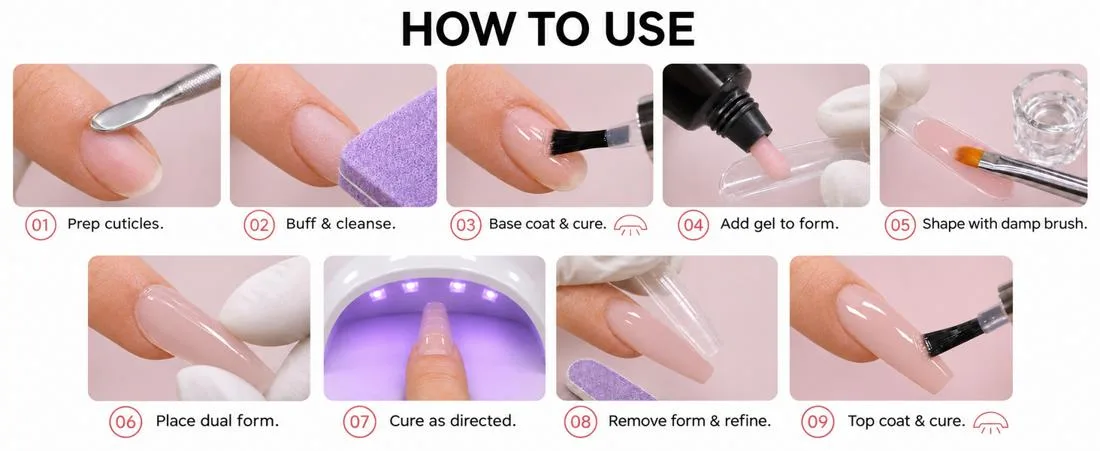
- Assess and plan. Confirm suitability, desired shape and a practical length. Select a form that fits the nail without squeezing the sidewalls.
- Prepare gently. Clean the nail and remove only non-living tissue attached to the plate with appropriate training. Do not cut living skin or aggressively thin the natural nail. Remove filing residue.
- Use the specified bonding sequence. Apply prep, primer if required, and base according to the system. Cure the base as instructed. More primer is not a substitute for clean preparation.
- Place a controlled bead. Put material into the dual form. Start conservatively so the form does not overflow when positioned.
- Shape with a lightly damp brush. Distribute the gel; do not flood it with liquid. Slip solution reduces brush drag and is not a curing activator.[3]
- Position and inspect. Place the form gently, check alignment and look underneath. Remove any uncured overflow from skin before curing; do not press harder to force an unsuitable form to fit.
- Complete the validated cure. Keep the nail correctly positioned. Follow the product’s instructions for any additional exposure after form removal. A brief positioning cure is not the completed service cure.
- Release and refine. Remove the form as directed. Inspect the underside, edges and side profile. Refine without filing into the natural nail.
- Finish. Apply the compatible top coat and cure it according to its own instructions. Remove any inhibition layer only when directed; finish with aftercare.
The supplied GEL PARTY visual sequence, the brand’s product instructions and manufacturer education inform this workflow. Brand-specific prep products and cure settings are not interchangeable.[1], [2], [8]
Professional refinement: architecture before shine
The apex is the highest point of the enhancement’s structure. Its position depends on length and shape; it is not automatically the geometric center of every nail. Build a gradual transition from the cuticle area and retain support through the stress area.[9]
Top: alignment and balanced sidewalls.
Side: a deliberate apex and a continuous upper profile.
Free edge: symmetry and an even, appropriate contour.
Do not solve a weak design by adding bulk everywhere. A heavy cuticle rim, a thick underside and an unsupported free edge can coexist on the same nail. Refine with the intended shape in mind, preserving structural support rather than pursuing thinness alone.[9]
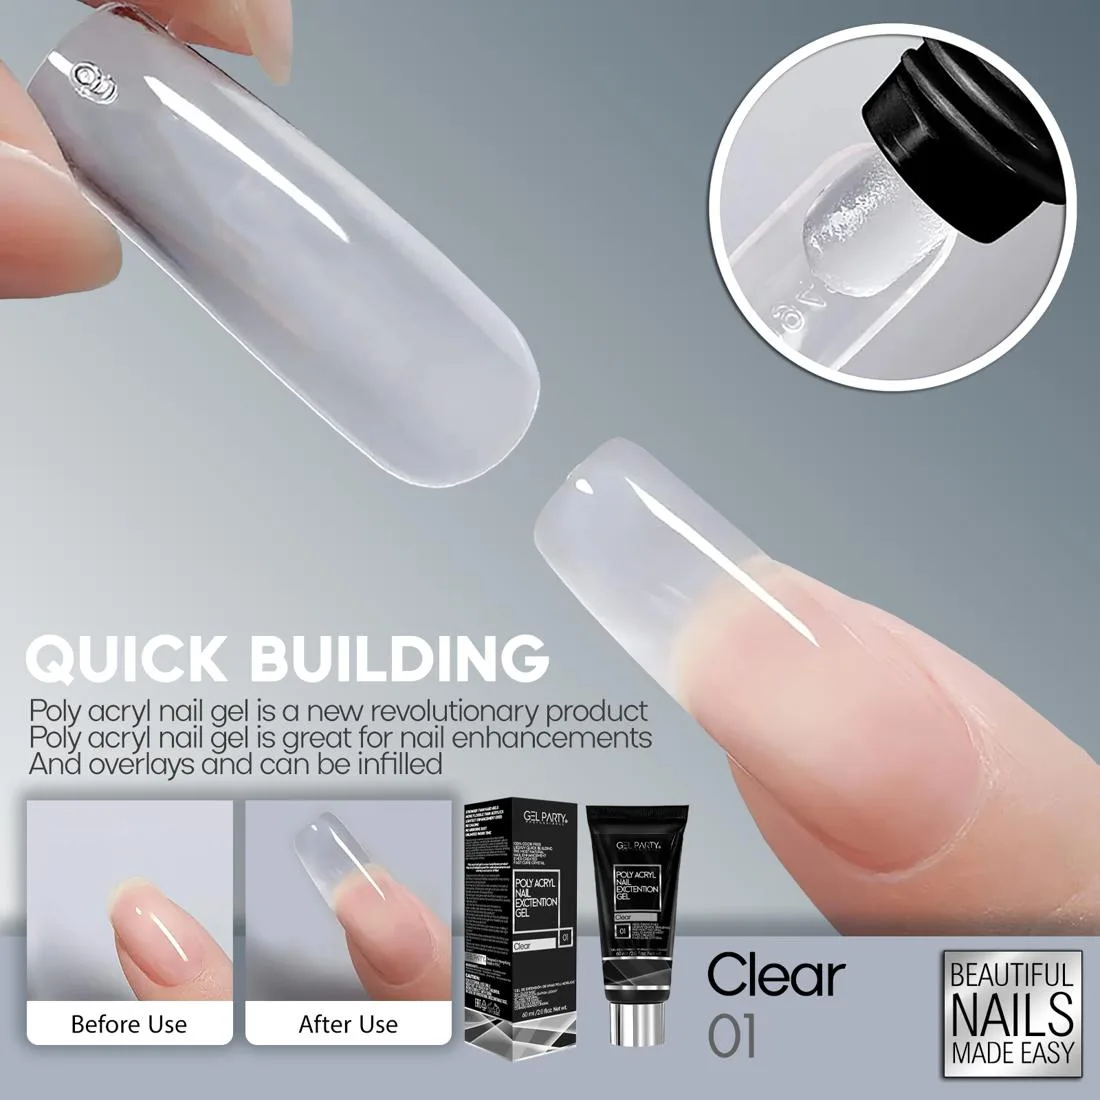
Paper forms offer another route to sculpted length; tips provide a different supporting base. Each requires its own fit and attachment skills. For short overlays, the goal is support over the existing nail rather than extra length. These methods should be practiced separately rather than treated as identical dual-form procedures.[2], [8]
Curing is a system—not a countdown
Use the lamp and exposure schedule validated for the gel. Lamp design, light delivery, hand position and product thickness all affect the result. A wattage printed on a lamp is not, by itself, proof that it is compatible.[7]
Correct product.
Correct lamp.
Correct application.
There is no universal “60 seconds” rule for every polygel, shade and thickness.
Confirm the exact lamp pairing, shade and maximum application thickness with the manufacturer. Approximate web timings are not a universal cure protocol.
Do not assume that a hard-looking surface proves adequate curing throughout. Keep thumbs correctly oriented, follow the prescribed hand placement and maintain the lamp. If you suspect an inadequate cure, stop the service and resolve the cause rather than hiding the material under top coat.[7]
For lamp exposure, the American Academy of Dermatology recommends broad-spectrum, water-resistant SPF 30+ on the hands or dark, opaque fingerless gloves. Keep any sunscreen away from the prepared nail plate. Do not tolerate painful heating as a normal goal of curing.[5]
What HEMA-Free does—and does not—mean
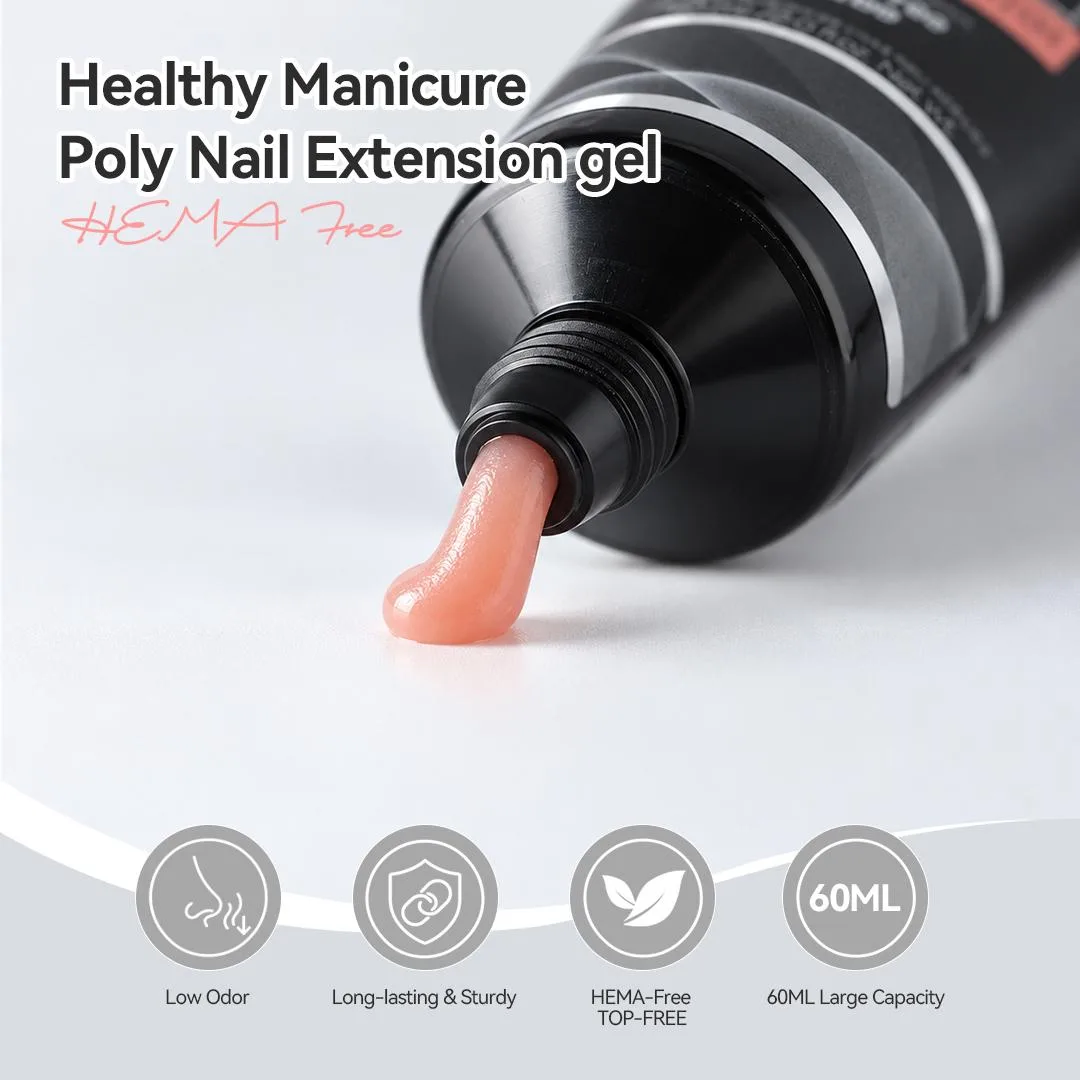
HEMA-Free identifies the absence of a particular ingredient; it does not mean acrylate-free or allergy-proof. Other acrylates may still cause sensitization. A person with a known nail-product allergy should not use a “free-from” claim as clearance to try another gel.[12]
Uncured material on skin and inadequate curing are important avoidable exposures. Stop using the product if itching, swelling, blistering or a persistent rash develops, and seek medical advice. Reactions can appear away from the fingertips, including the eyelids and face. Do not conduct a homemade skin patch test with uncured gel.[4]
The supplied tubes display HEMA-Free and TPO-Free statements. Check the current formula documentation for the exact SKU. They do not establish that a product is harmless, suitable for everyone or proven superior to another system.
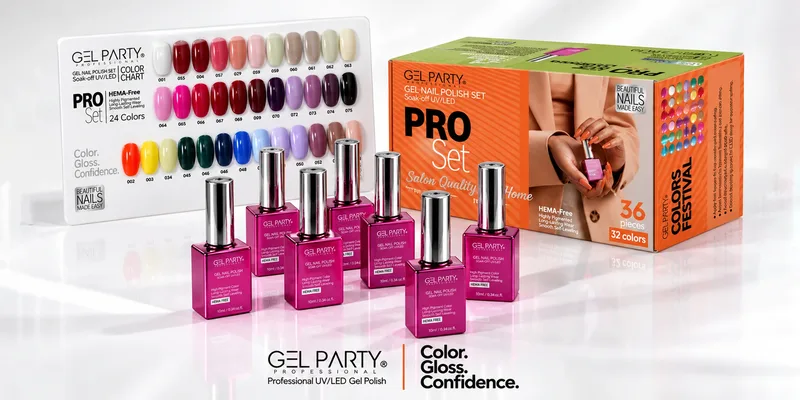
Some supplied promotional artwork uses the spelling “TOP-FREE”; the ingredient claim discussed here is TPO-Free. Always check the current label and formula documentation.
Troubleshooting without guesswork
Use this as an inspection checklist, not a diagnosis. Record where a problem begins and what changed between services; that is more useful than simply increasing cure time or primer.
| Observation | Inspect | Next action |
|---|---|---|
| Lifting near cuticle | Residual tissue, contamination or skin contact. | Review preparation and leave a clean margin. |
| Separation at the free edge | Length, attachment, structure and service demands. | Reassess the design and system compatibility. |
| Bulky underside | Too much material or excessive pressure on the form. | Reduce the starting bead and recheck fit. |
| Air pocket | Uneven contact or movement during positioning. | Correct placement before curing; do not conceal a void. |
| Brush sticking | Brush condition and the specified shaping liquid. | Use a small amount of approved slip solution. |
| Repeated cracks | Support, length and changes to the grown-out shape. | Reassess architecture, not only surface finish. |
| Soft or suspicious material | Lamp compatibility, exposure and thickness. | Stop and obtain manufacturer guidance. |
| Itching, redness or nail separation | Possible reaction or another nail condition. | Stop enhancement work and seek medical assessment. |
Editorial troubleshooting synthesis based on application, architecture, curing and dermatology guidance; these are possible checks, not proof of a single cause.[3], [4], [7], [8], [9]
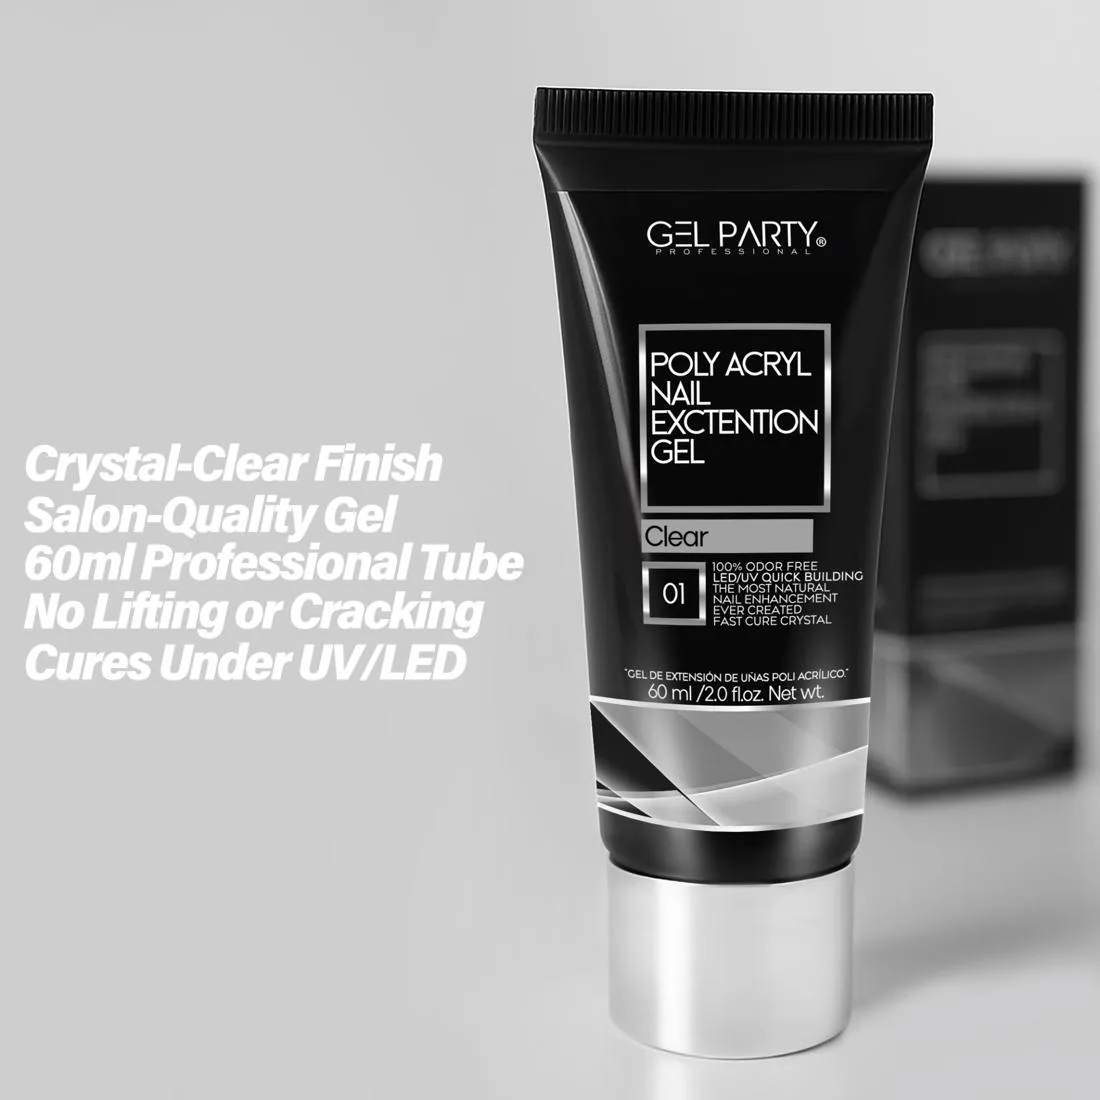
Wear, fills and rebalancing
Plan maintenance individually. Growth, length, shape, product condition and daily activity matter more than a universal promise of a certain number of weeks. Inspect earlier if an edge catches, a crack develops or the enhancement feels loose.
A rebalance is more than filling the visible gap: assess adhesion, restore suitable length and rebuild the support that has moved as the nail grew. Never seal new product over an unresolved lifted pocket. Manufacturer training distinguishes a rebalance from a fresh application.[10]
At home, keep the surrounding skin moisturized, protect hands during household tasks, and avoid using enhancements to pry, scrape or open packaging. Do not pick at a loose area. Book an assessment so the remaining product and natural nail can be checked.
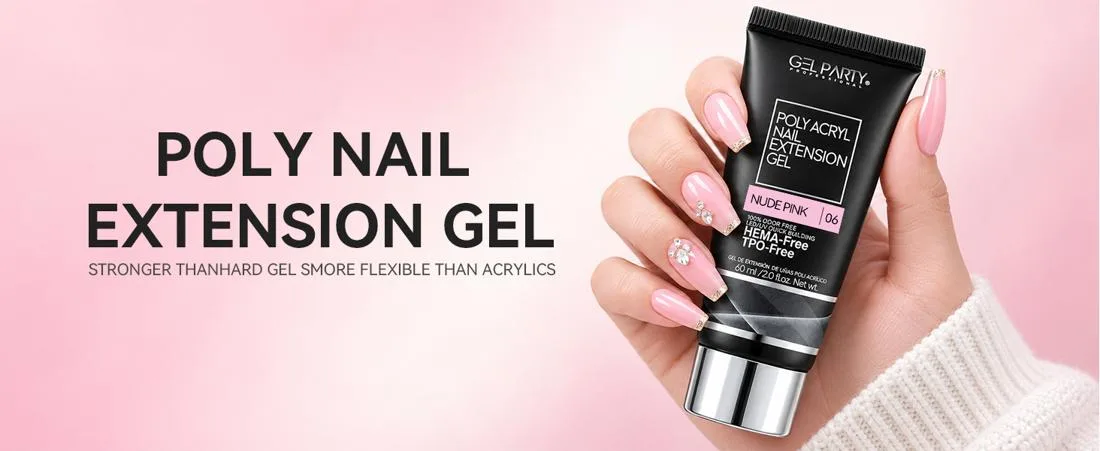
Removal: protect the nail underneath
Check the actual formula before choosing a removal method. Some systems are file-off; others permit soaking after reduction. The word “polygel” alone does not decide which applies.
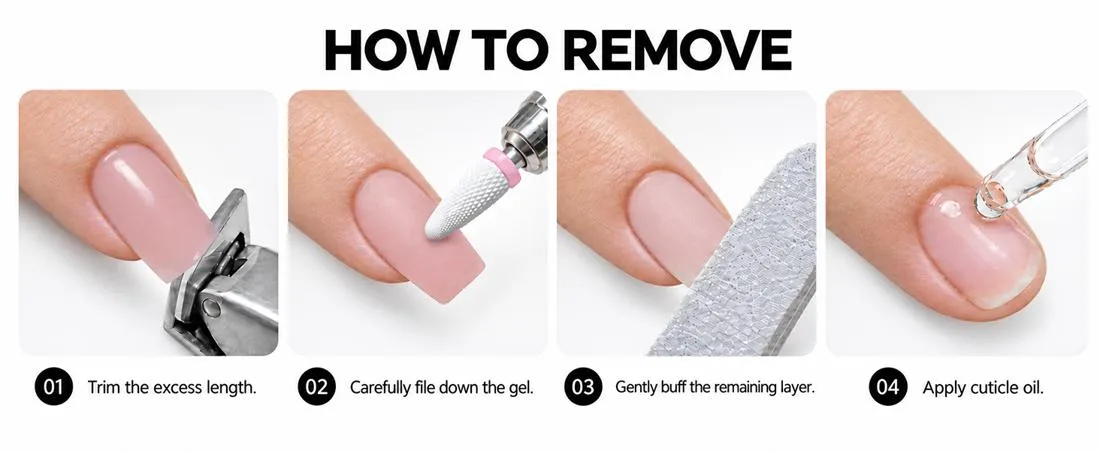
Gelish’s own procedure reduces the enhancement and leaves a thin layer rather than filing into the natural nail. Its method is evidence for that system, not proof that every brand is identical.[1]
For a file-off service, have a trained technician reduce length and bulk carefully, then use gentler refinement near the nail plate. Avoid forcing clippers through a thick, rigid enhancement. E-files require appropriate training and dust control. Stop if there is pain or you cannot distinguish product from natural nail.
Soak only when the exact product instructions support it. Do not keep scraping resistant material or substitute an unverified remover. Never peel or lever an enhancement off. Oil and moisturizer support aftercare; they do not reverse nail plate lost through overfiling.[5], [6]
The questions worth asking
Can a beginner learn polygel?
Yes—start with practice tips, form fitting and controlled placement. A product that is easy to shape still requires training in preparation, curing and removal. Follow professional-use restrictions.
Can I replace slip solution with alcohol or acetone?
Use the liquid specified for the system. Do not assume an improvised solvent is compatible. Slip solution shapes the material; it does not replace the lamp cure.[3]
Does a tacky surface always mean undercuring?
No. Some light-cured products have an inhibition layer. Follow their cleansing instructions, but do not treat surface tack—or surface hardness—as a complete cure test.
Can I paint over polygel?
Yes, when the system supports it. Complete the structural cure and refinement first, then apply compatible color and finish layers according to their separate instructions.[8]
Is polygel automatically healthier than acrylic?
No. A category name does not establish health superiority. Application, exposure control, individual sensitivity and removal all matter.[4], [5], [6]
Are 60 g and 60 mL the same?
No. Grams measure mass; milliliters measure volume. Use the unit on the confirmed SKU and packaging. They cannot be substituted without density information.
How do I get a natural-looking result?
Choose a proportionate length, refine the perimeter, and select a sheer or cover shade intentionally. A neat surface is the last step; balanced structure comes first.
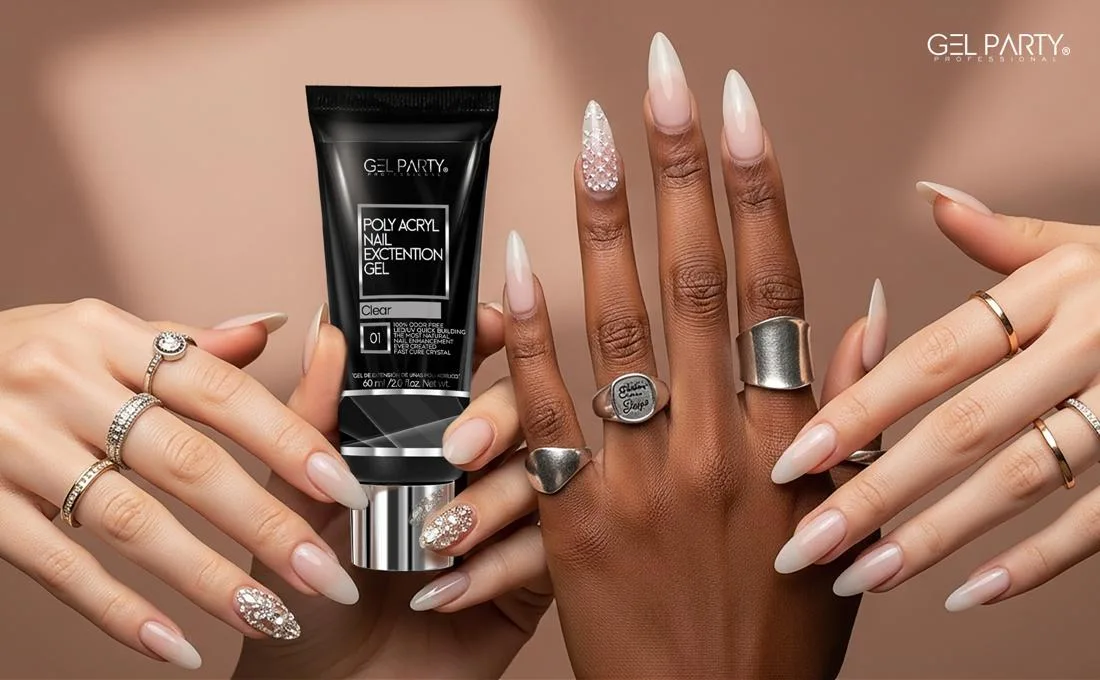
A polished result begins long before top coat: a suitable service, precise placement, a validated cure and careful maintenance.
Sources & editorial transparency
References reviewed 17 November 2026. Manufacturer instructions are cited for their own systems; no outside source is presented as independent testing of GEL PARTY. Images are supplied brand artwork, not clinical evidence.
- Gelish — PolyGel product, application and removal education
System-specific technique; not GEL PARTY cure validation.
- GEL PARTY — Poly Acryl Nail Gel 60 mL – 8 Colors
Shade names, featured collection and brand instructions; technical inconsistencies flagged below.
- Gelish — PolyGel Slip Solution
Purpose of the shaping liquid.
- British Association of Dermatologists — Artificial nail allergy warning
Acrylate exposure, sensitization and symptoms.
- American Academy of Dermatology — Gel manicures: Tips for healthy nails
UV precautions, avoiding picking, nail aftercare.
- OSHA — Health Hazards in Nail Salons: Chemical Hazards
Ventilation, skin protection and safety data sheets.
- Light Elegance — Why the Right Lamp Matters for Every Gel Service
Curing compatibility, application thickness and placement.
- NSI Australia — Professional PolyGel Kits for Nail Extensions
Application, support and finishing guidance for its own system.
- Katie Barnes Tool Range & Education — Understanding Apex Placement for Different Nail Shapes
Architecture and length/shape-dependent apex placement.
- CND / Light Elegance — Enhancement education and builder-gel terminology
Rebalance education; see also https://lightelegance.com/pages/faq for soak-off bottle-builder terminology.
- OSHA — Health Hazards in Nail Salons: Biological Hazards
Avoiding services on broken or visibly infected skin.
- Chartered Trading Standards Institute — Do your nails get the right reaction?
HEMA-free does not mean safe for someone with acrylate allergy; UK-specific rules are not presented as US law.