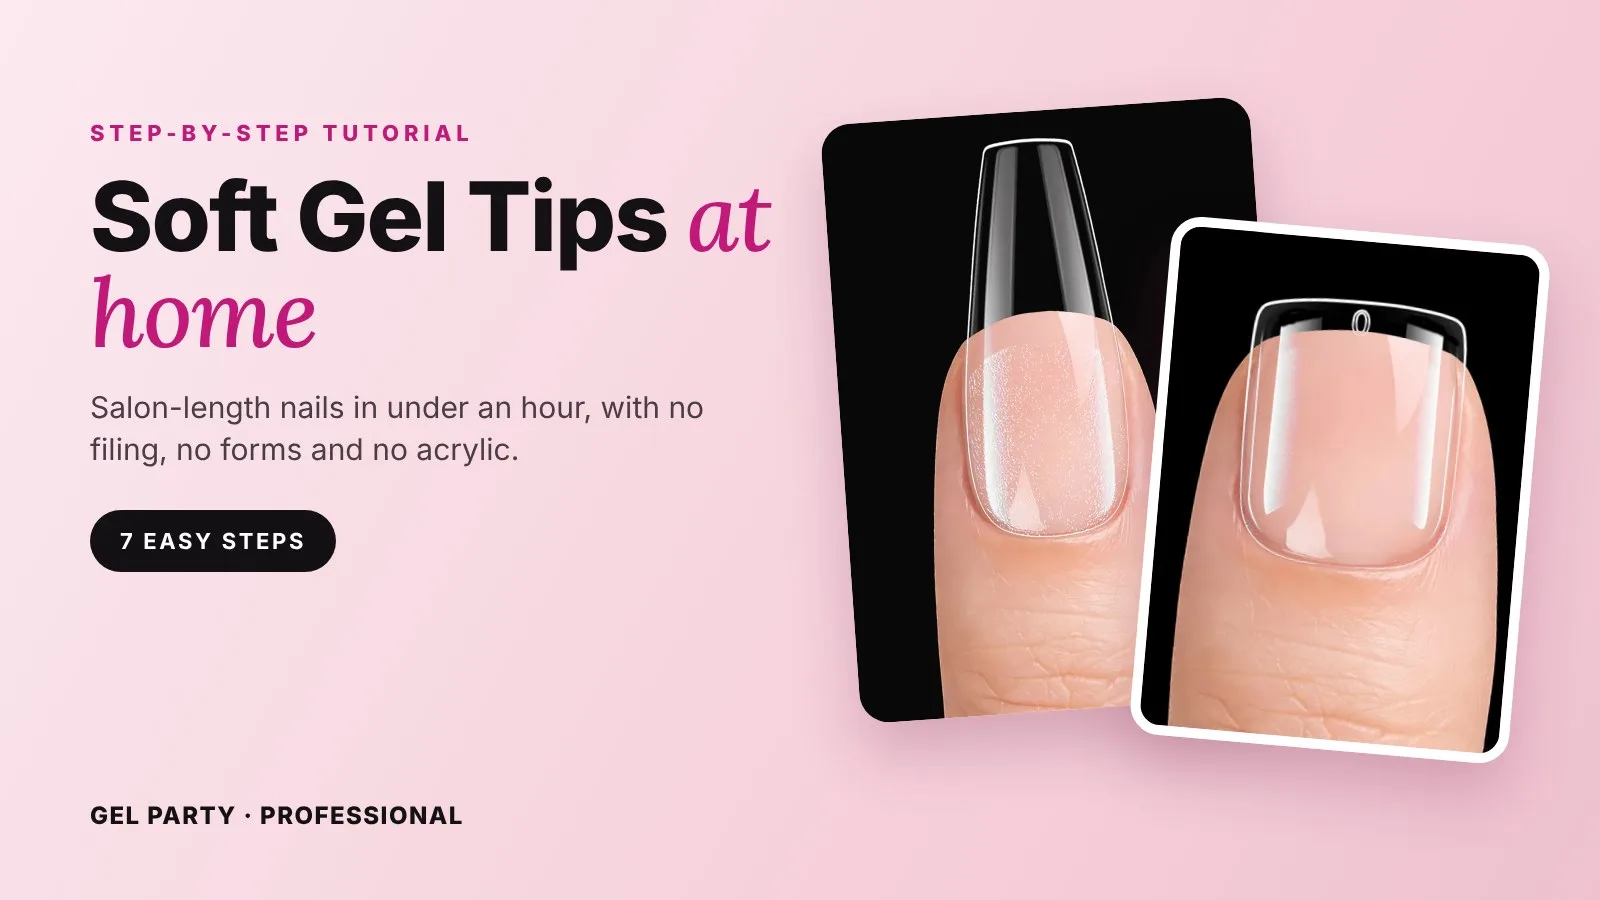
Soft gel tips are the fastest way to get long, salon-quality nails at home. Unlike traditional plastic tips, they are made from flexible soak-off gel, so they bond to your natural nail with gel glue, cure under a lamp, and can be removed with acetone just like a gel manicure. No sculpting, no forms and no acrylic powder.
This guide walks you through the whole process: what you need, how to choose the right size, the exact application steps, and the small mistakes that make tips pop off. A full set takes most beginners 45 to 60 minutes.
What are soft gel tips?
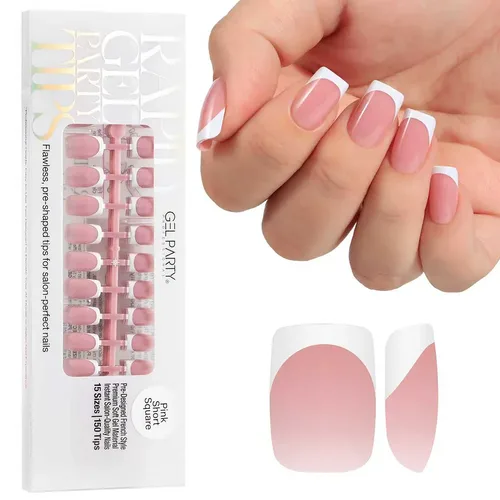
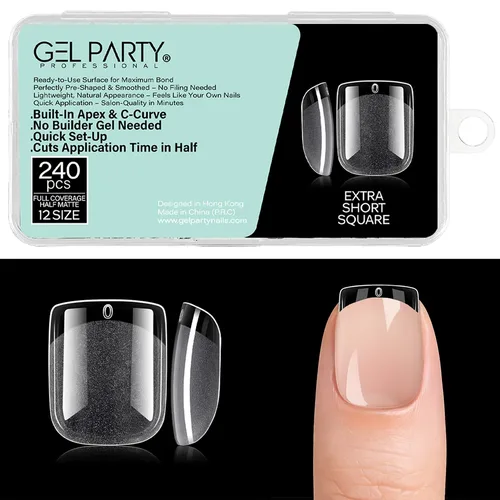
Soft gel tips (sometimes called full-cover gel extensions or soft gel nail tips) are pre-shaped nail extensions made from a flexible gel material. Each tip covers the entire nail, from the cuticle area to the free edge, so you do not need to blend or file a seam.
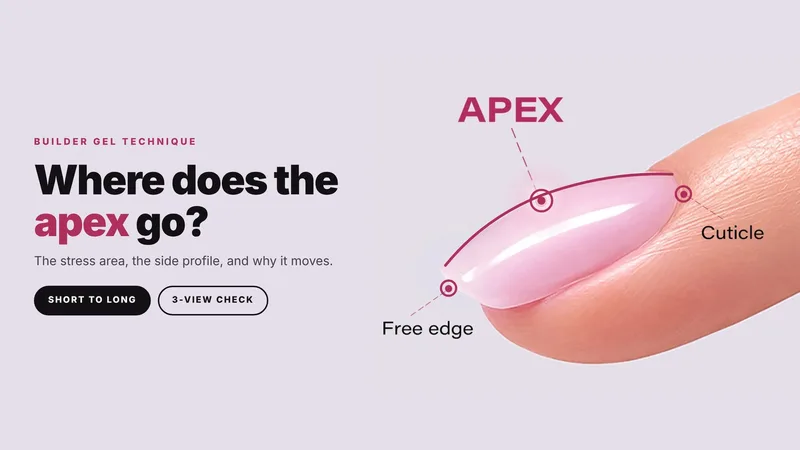
Because the tip is already shaped, with a built-in apex and C-curve, it does most of the structural work for you. That is why soft gel tips are so popular with beginners: the result looks like a sculpted extension without the hours of practice that sculpting takes.
Soft gel tips vs press-on nails: press-ons are usually attached with sticky tabs or regular nail glue and last a few days to about a week. Soft gel tips are bonded with UV/LED glue gel and cured, which gives a much stronger hold. With good prep, a set typically lasts two to three weeks.
What you need
- Soft gel tips in your preferred shape and length. A box with 12 sizes makes it easy to fit every finger.
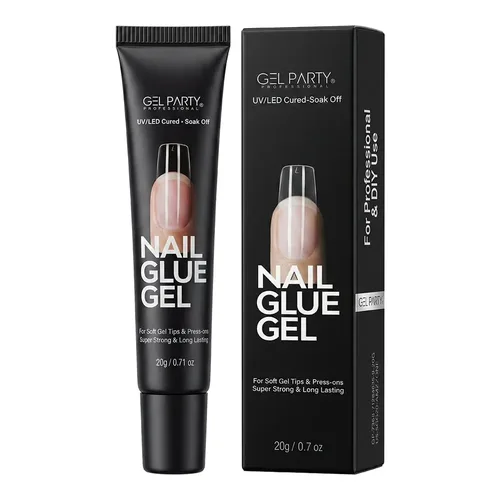
- UV/LED nail glue gel made for soft gel tips.
- A UV/LED lamp. A small handheld lamp is very helpful for flash-curing each tip while you hold it.
- A 180-grit file and a buffer.
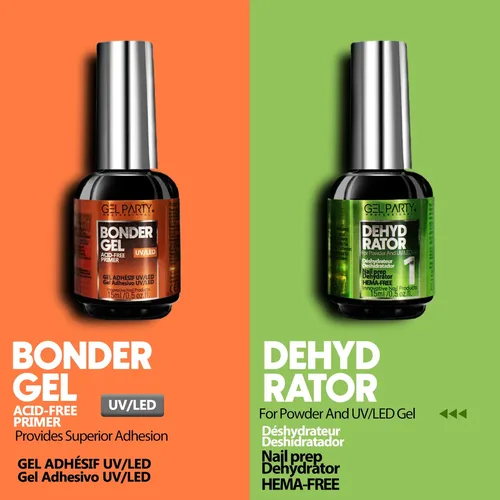
- Nail dehydrator (or 99% isopropyl alcohol) and lint-free wipes.
- Optional: acid-free bonder or primer for extra grip, gel polish and a top coat.
Step 1: Prep the natural nail
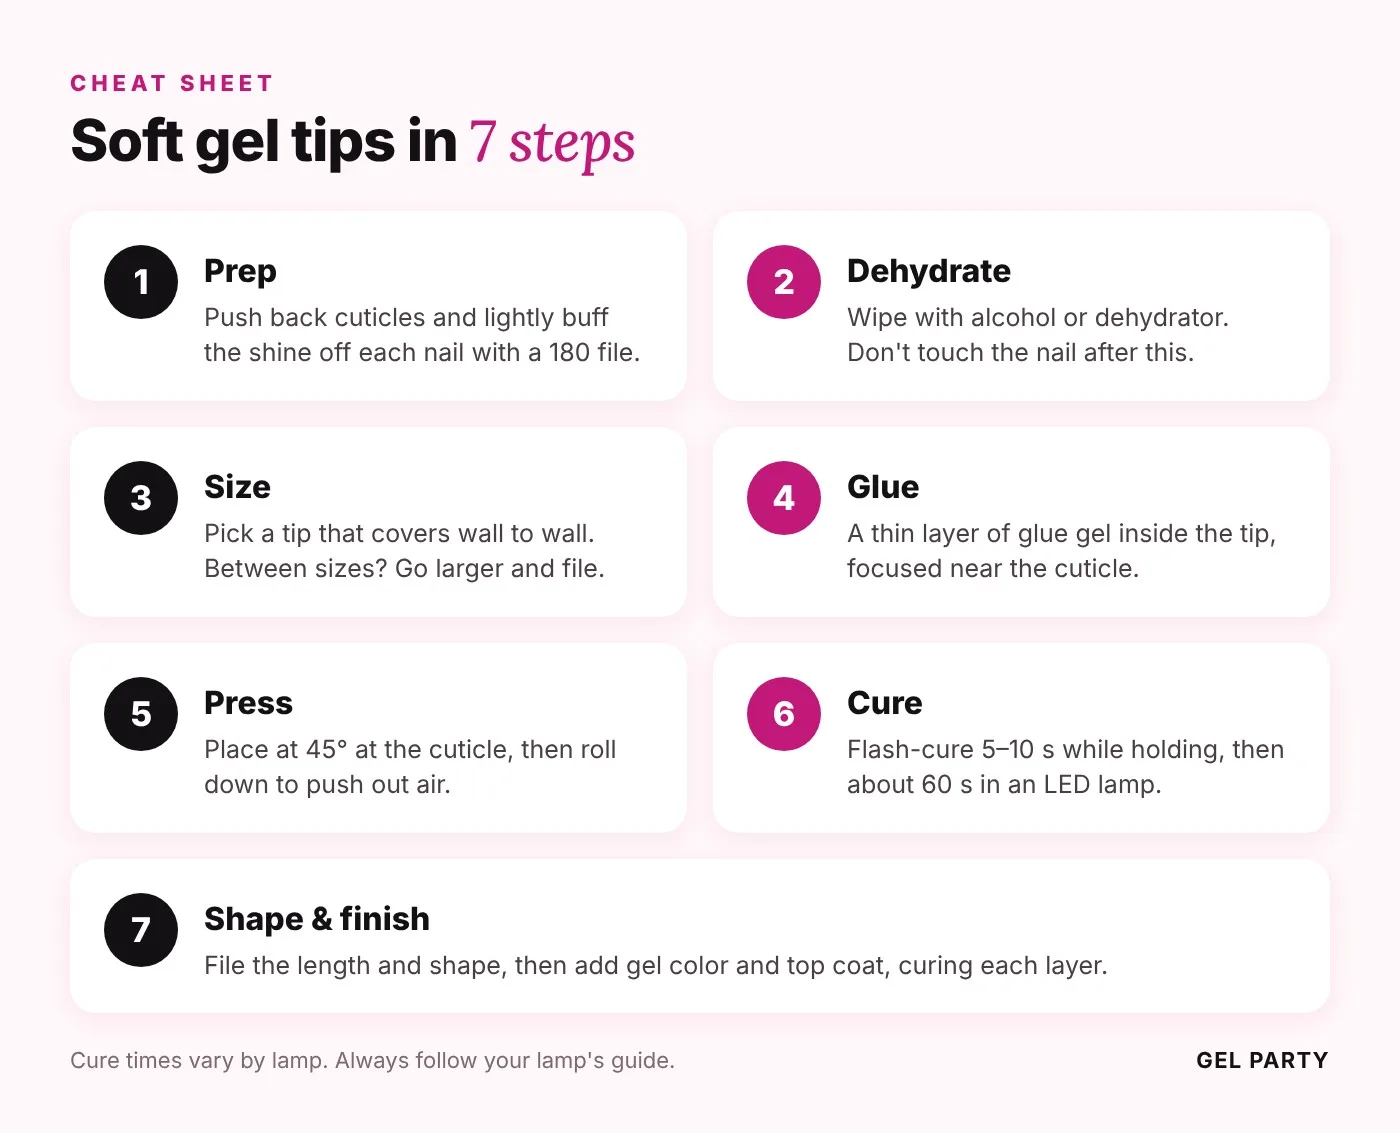
Good prep is the single biggest factor in how long your set lasts. Gently push back the cuticles and remove any thin, clear skin stuck to the nail plate. Then lightly buff the entire surface of each nail with a 180-grit file, just enough to remove the shine. You are not trying to thin the nail, only to give the glue a slightly rough surface to grip.
Brush away all the dust when you are done.
Step 2: Dehydrate (and prime if you like)
Wipe each nail with a lint-free pad soaked in dehydrator or alcohol to remove oils and moisture. From this point on, do not touch the nail plate with your fingers or face. Skin oils are the number one cause of lifting.
If your nails tend to be oily or tips have popped off in the past, apply a thin layer of acid-free bonder after dehydrating. It acts like double-sided tape between the natural nail and the gel.
Step 3: Choose the right size for every nail
Lay out your tips before you start and size all ten fingers first. The right tip:
- covers the nail from sidewall to sidewall,
- sits close to the cuticle without touching the skin,
- does not press down hard on the sides of the nail.
If you are between two sizes, choose the larger one and gently file the sides to fit. A tip that is too small leaves gaps that lift; a tip that is too big presses on the skin and feels uncomfortable.
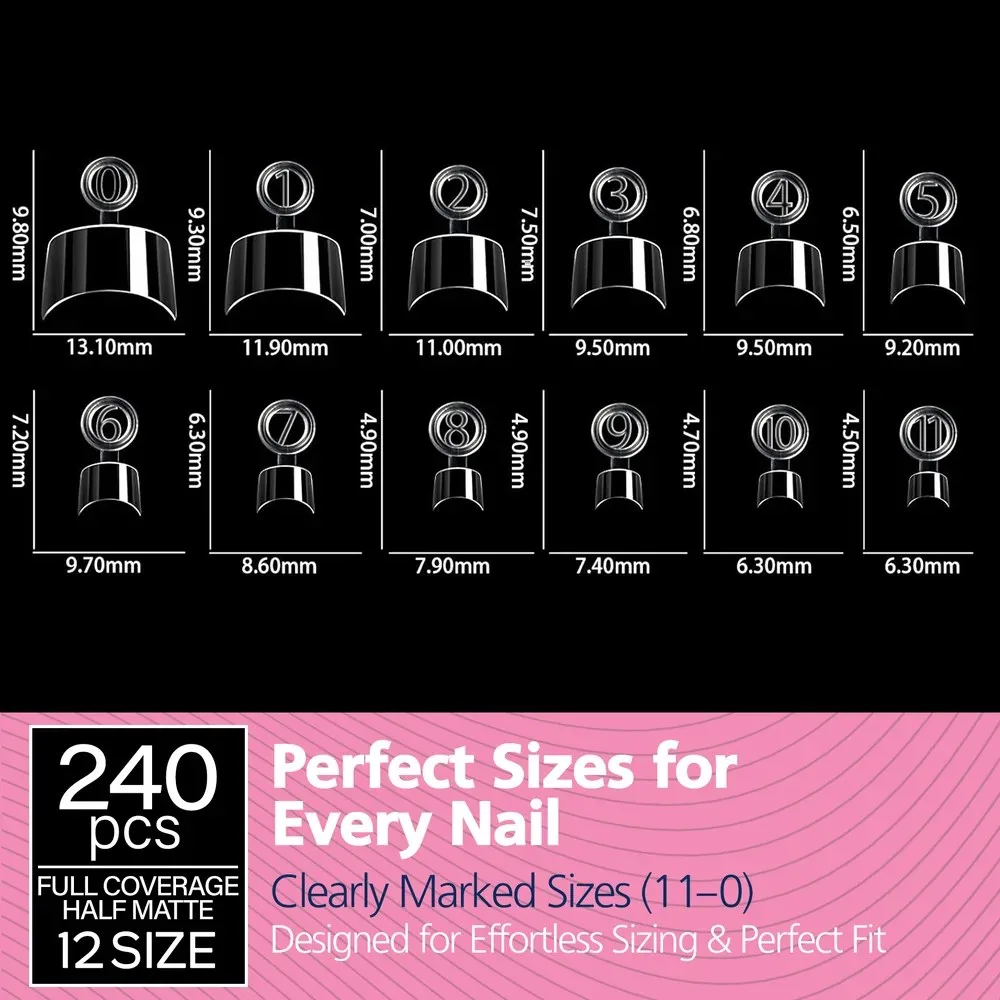
Tip: Write down your sizes (for example, thumb 1, index 5, middle 4, ring 6, pinky 9). Next time, you can grab the right tips in seconds.
Step 4: Apply the glue gel
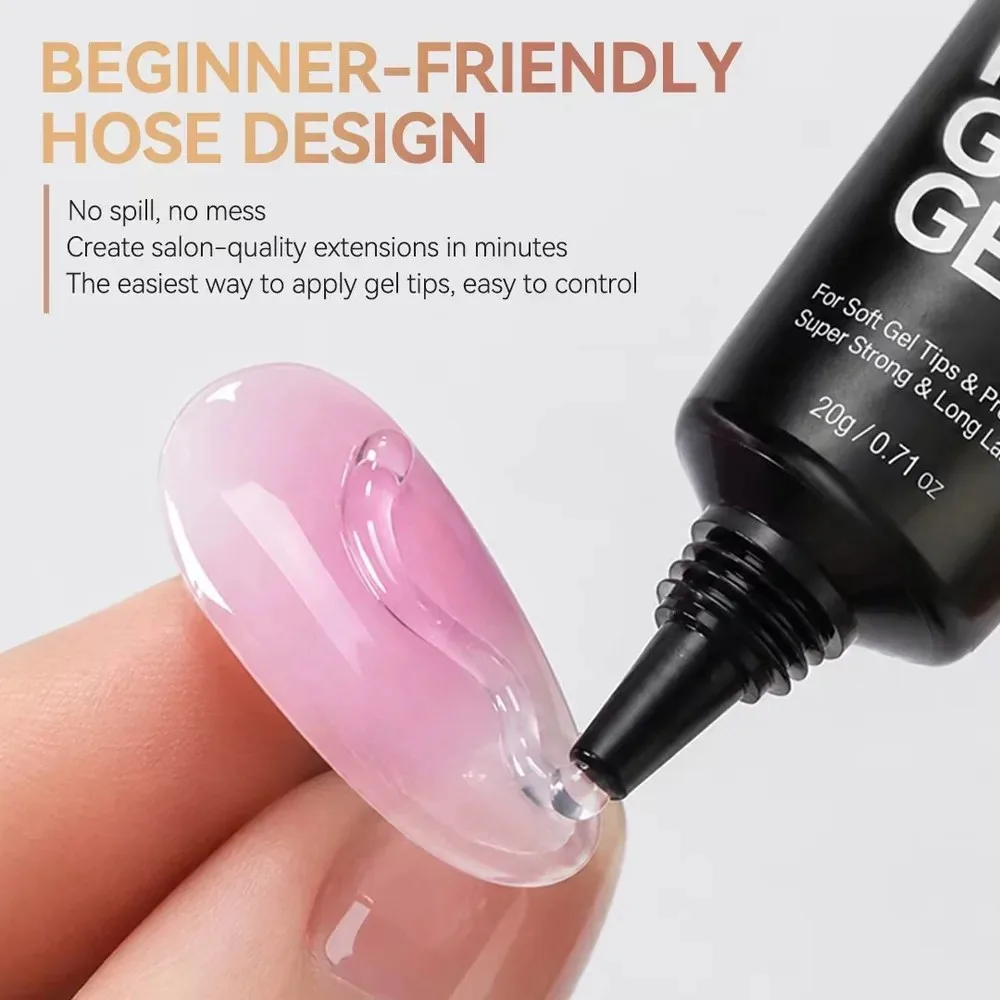
Apply a thin, even layer of glue gel to the inside of the tip, concentrating on the area that will sit near the cuticle. Use just enough to cover the contact area. Too much glue will flood out around the cuticle when you press the tip on.
Some techs also apply a very thin layer to the natural nail and flash-cure it first. Either method works; the key is a thin, bubble-free layer.
Step 5: Press the tip on
Hold the tip at about a 45° angle, place the cuticle end down first, then slowly roll the tip down onto the nail. This pushes air out toward the free edge instead of trapping it. Press gently in the center and along the sidewalls.
Look through the tip: you should see no bubbles or dry patches. If you do, remove the tip before curing and try again.
Step 6: Flash-cure, then fully cure
While still holding the tip in place, flash-cure for 5 to 10 seconds under a handheld lamp. This locks it in position so it cannot slide. Then move on to the next nail.
When all ten tips are on, place each hand under your main UV/LED lamp for a full cure, usually about 60 seconds in an LED lamp. Cure times depend on your lamp's wattage, so always follow your lamp and glue instructions.
Step 7: Shape and finish
Now file the length and shape. Soft gel tips file easily, so a 180-grit file is all you need. You can keep them clear for a glassy look, or apply gel polish, chrome or nail art on top. Finish with a top coat and cure each layer.
Common mistakes (and how to fix them)
| Problem | Most likely cause | Fix |
|---|---|---|
| Tip lifts near the cuticle | Oils on the nail, or the tip touches the skin | Dehydrate again and avoid touching the nail; choose a size that clears the skin |
| Air bubbles under the tip | Tip pressed flat instead of rolled on | Place at 45° at the cuticle and roll down slowly |
| Glue on the skin | Too much glue gel | Use a thinner layer; clean excess with a brush before curing |
| Tip pops off after a few days | Shine not buffed off, or tip too small | Buff the whole nail plate; size up and file the sides |
| Tips feel tight or painful | Tip too narrow, pressing on the sidewalls | Choose the next size up |
How long do soft gel tips last?
With careful prep and the correct size, soft gel tips usually last two to three weeks. Wear gloves for cleaning and dishes, use your fingertips (not your nails) to open things, and apply cuticle oil daily to keep the surrounding skin and nail flexible.
How to remove soft gel tips safely
Never pull or pry tips off. That removes layers of your natural nail along with them.
- File off the top coat and most of the tip's thickness with a 180-grit file.
- Soak a cotton pad in acetone, place it on the nail and wrap it with foil, or soak your fingertips in a bowl of acetone.
- Wait 10 to 15 minutes, then gently push the softened gel off with a cuticle pusher.
- Buff the nail lightly, wash your hands and apply cuticle oil.
The bottom line
Soft gel tips are the easiest way to get long-lasting extensions at home: buff, dehydrate, size, glue, press, cure and finish. Take your time on prep and sizing, keep the glue layer thin, and your set will look salon-made for weeks.
Want more step-by-step help? Every GEL PARTY product page includes a full how-to guide, and you can find them all in our how-to guides.