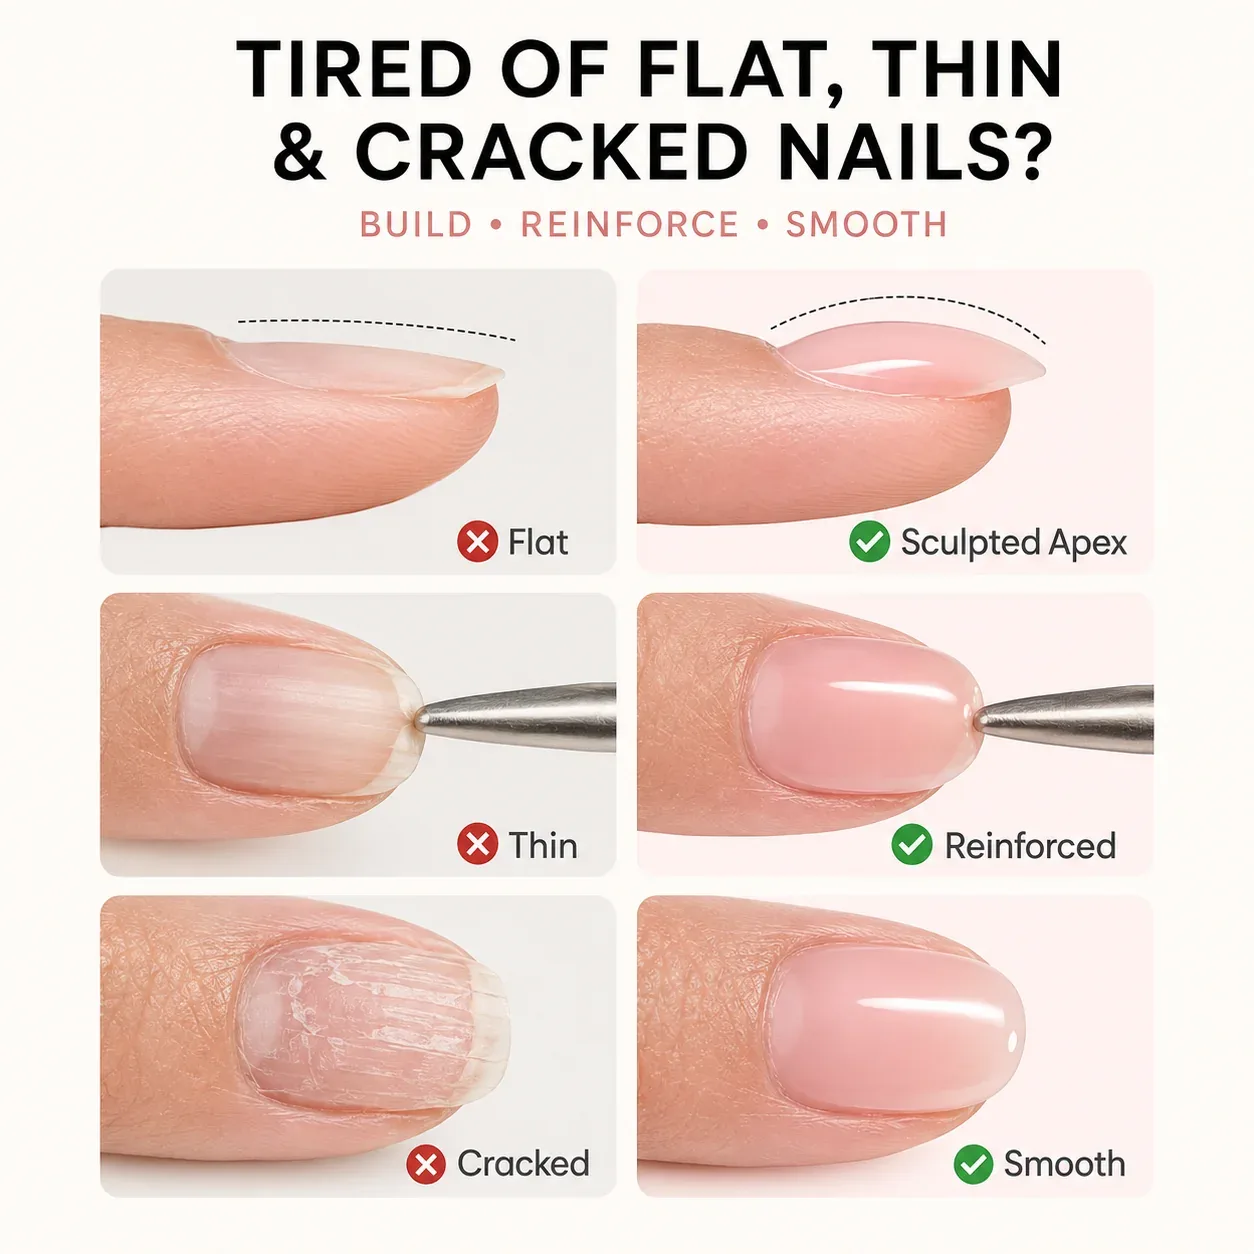
A client sends you a photo three days after her appointment: one nail cracked straight across the middle. Before you blame the gel, look at that nail from the side. More often than not, the apex is the problem. It's too flat, too far forward, or it got filed away during finishing.
From above, a good apex is almost invisible, which is why it's hard to learn from photos. You see it from the side, and you notice it most when it's missing. Below we go through where it sits on short and long nails, how to build it with builder gel, and how to check and fix it.
What the apex is
The apex is the high point of the nail's curve when you look at it from the side. In builder gel terms, it's the spot where you place the most product.
Kevin Nicholls, writing for NailKnowledge, explains why it works. A natural nail has two arches: the upper arch running from the cuticle to the free edge, and the C-curve running from sidewall to sidewall. An arch is a strong structure because forces on it are spread across the whole curve rather than landing on one point. Where both arches peak, usually in the center of the nail just behind the hyponychium (the skin under the free edge), is the apex or stress area. That's where a nail bends and breaks, and that's where the strength needs to be.
Think of the apex as reinforcement over the weakest point: the place where the nail leaves the nail bed and starts to stick out on its own.
What a balanced apex looks like
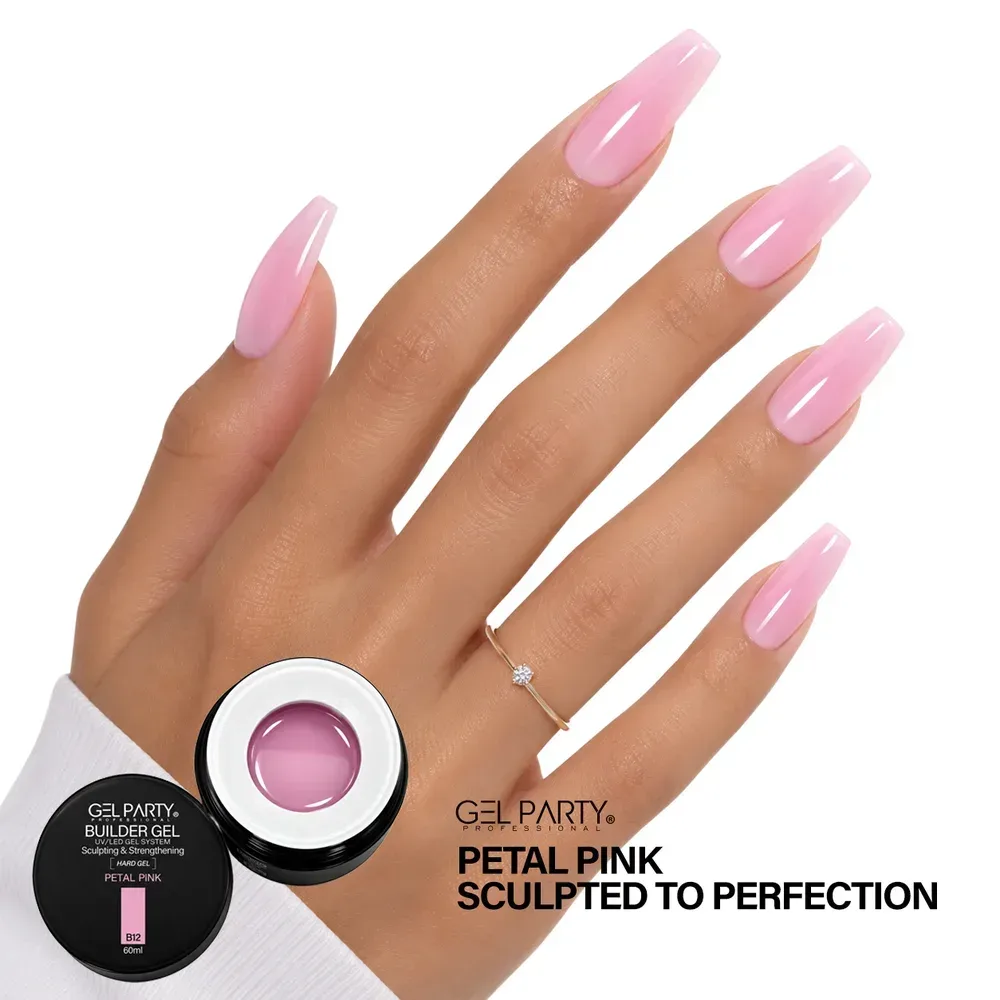
A sheer pink GEL PARTY gel set on a coffin shape. The traced line follows the side profile: low at the cuticle, highest at the apex, then a smooth slope to the free edge.
The three zones of the nail
Many educators split the nail into three zones when they build structure. NAILS Magazine's apex step-by-step describes placing builder gel in zone two and dragging it across the stress area.
Three zones, one apex
- Zone 3: free edgeThe part that sticks out past the finger. Keep the gel thin here and cap the edge.
- Zone 2: stress areaJust behind where the nail leaves the finger. The apex goes here on a short natural nail: this is where most of the product sits.
- Zone 1: cuticle areaTaper the gel down to almost nothing, with a 1 mm gap from the skin.
Treat the zones as a guide. The boundaries move with the shape of each client's nail and with the length you're adding.
Where the apex goes on different lengths and shapes
On a short natural overlay, the apex sits roughly in the middle of the nail plate, over the stress area. Add length and the apex moves. Nicholls notes that on longer, more extreme shapes, the strong apex needs to sit further back toward the base of the nail, where it acts as an anchor for the long free edge. Longer shapes may also need a subtle "backbone" running down the length of the nail.
A longer free edge works like a longer lever, so the support has to sit further back. That's why many builder gel instructions, including those for our Builder Gel, describe the apex as sitting about one-third of the way down from the cuticle on the finished nail.
Long nails: the apex moves back
The markers show the typical apex position on long coffin nails: closer to the cuticle than the tip. Photo: GEL PARTY Builder Gel in Petal Pink B12.
| Nail | Apex position | Profile | Gel choice |
|---|---|---|---|
| Short natural overlay | Center of the nail, over the stress area | Gentle, low curve | Rubber base, builder in a bottle or a soft jar builder |
| Natural nail with a little length | Stress area, a touch further back | Moderate curve | Builder in a bottle or jar builder |
| Medium extension (square, oval, almond) | Toward the back third of the finished nail | Clear apex, slim free edge | Jar builder or solid builder |
| Long coffin or ballerina | Further back, with a subtle backbone down the center | Strong apex, straight sidewalls | Rigid jar builder or solid builder |
| Short stiletto | Near the base of the nail | Low curve; an apex over the stress area would look like a claw | Jar builder or solid builder |
On an extension: apex, sidewalls, form
On an almond extension built on a form, the apex sits over the natural nail's stress area, behind the point where the form starts. The sidewalls taper toward the tip, and the free edge stays slim.
The right position won't save the wrong gel. A flexible rubber base can't hold a long free edge no matter where you put the apex: it bends, and the bending breaks the seal. We compare the textures in rubber base vs builder gel vs hard gel, and the wider systems in builder gel vs poly gel vs acrylic.
Why the apex matters
With the apex in the right place:
- The nail resists bending. Most of the product sits over the point that flexes, so the overlay supports the nail where it needs support.
- The edges stay thin. Because the bulk is in the middle, the cuticle area and free edge stay slim. Thin edges don't catch, don't lever up, and look natural.
- The nail looks right. A smooth, balanced curve looks like a healthy natural nail instead of a layer of product. NAILS Magazine puts it simply: an unbalanced apex can make even the cleanest nails look awkward.
With the apex in the wrong place, you'll usually see one of these:
- No apex (a flat overlay): the stress lands on a thin layer at the bending point. Cracks appear across the stress area, or the overlay lifts at the sidewalls.
- Apex too far forward: the nail becomes top-heavy. Every knock on the free edge acts like a lever on the cuticle area, and that's where lifting begins. It's one of the structural causes we list in why builder gel lifts.
- Bulk at the cuticle: a thick edge at the cuticle is easy to catch and lifts as the nail grows out.
Why the apex carries the load
Simplified: the arrow shows a load on the free edge, the glow shows where the apex takes it. The thicker the apex relative to the edges, the less the nail flexes at the stress area.
Side view: right and wrong
Simplified cross-sections, not to scale. The pulsing dot marks the highest point of each profile.
How to build the apex with builder gel
The exact steps depend on your gel, so follow its label. This is the general method for a self-leveling jar or bottle builder.
1. Prep and base
Prep as usual: cuticle tissue off, shine off with a 180 grit file, dust off, dehydrate, bond. Then a very thin base or slip layer, scrubbed in and cured. The apex is only as strong as what's holding it on. If you want the full prep routine, it's in our complete builder gel guide.
2. Pick the right bead
Pick up a bead sized for the nail: smaller for pinkies, larger for thumbs. Twist the brush as you lift it so the gel doesn't string. A bead that's too large is the most common reason the cuticle floods.
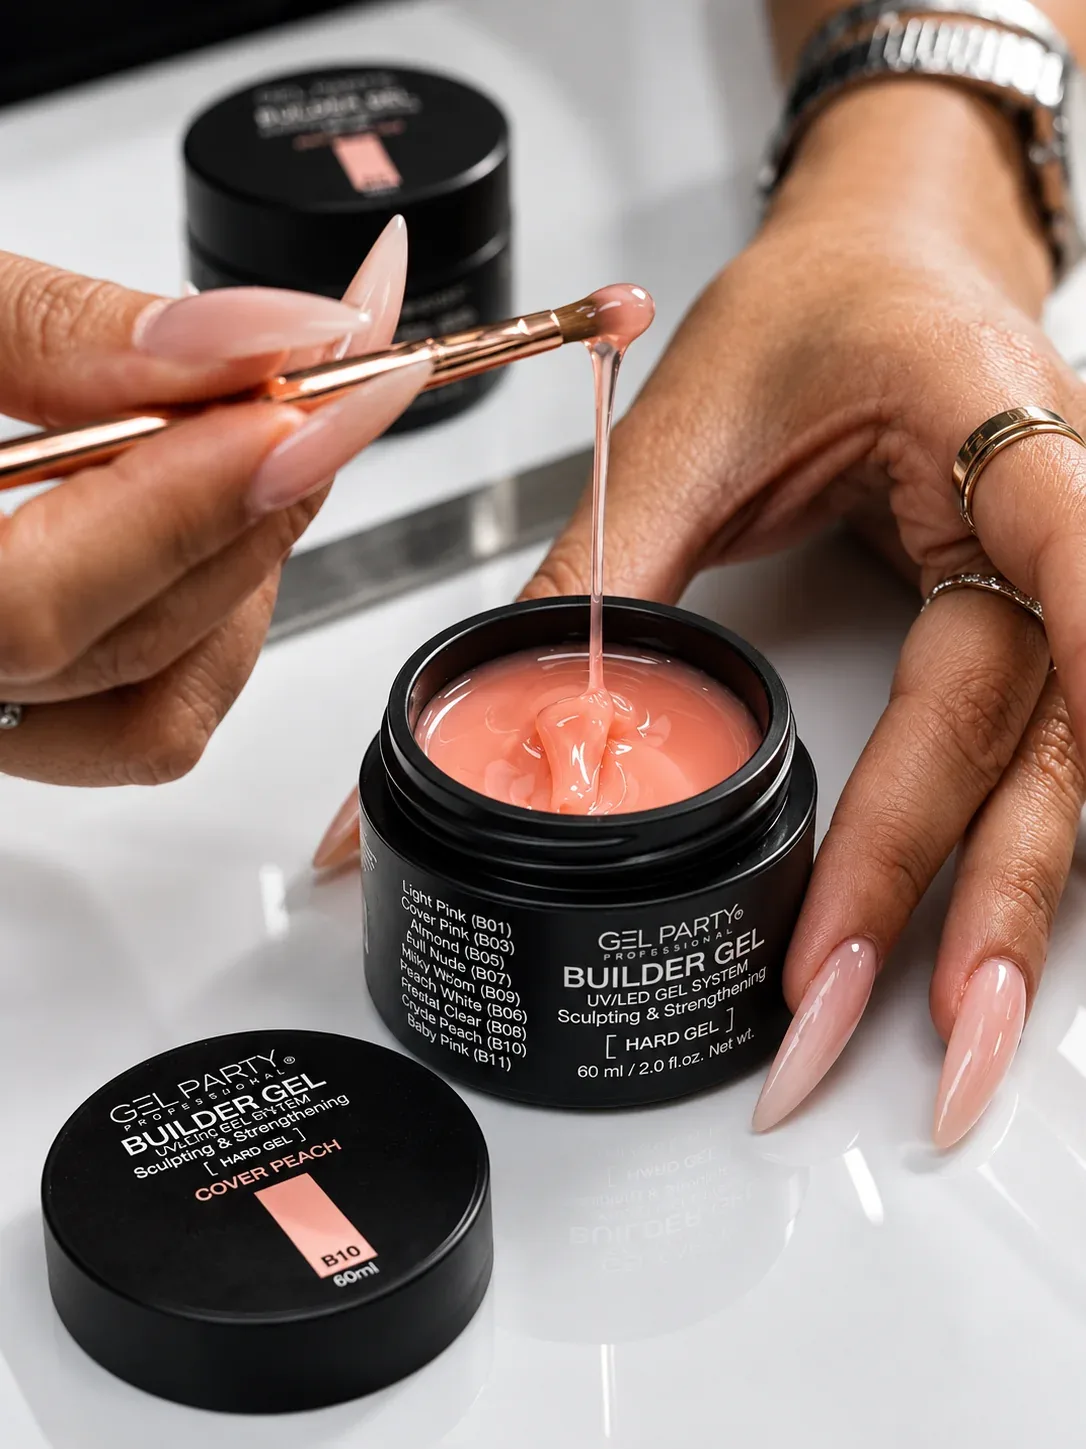
3. Place it in the stress area
Drop the bead in zone two, at the point where you want the apex. Don't place it at the cuticle and push it forward; you'll end up with a thick cuticle edge.
4. Float the gel out
Use the belly of the brush to float the gel toward the cuticle (stop about 1 mm short), toward the sidewalls (same gap) and toward the free edge. Small, gentle movements work better than long strokes. Leave the bulk where you placed it.
5. Use gravity on purpose
Self-leveling gel keeps moving until you cure it. Our Builder Gel instructions suggest turning the hand upside down for 5 to 10 seconds so the gel settles into a smooth curve. Scratch magazine adds a useful warning from the other side: if the client's fingers point downward while you work, gel can pool toward the free edge and drag the apex forward. Keep the hand level while you build, flip it briefly to settle the curve, then check.
6. Check, then flash cure
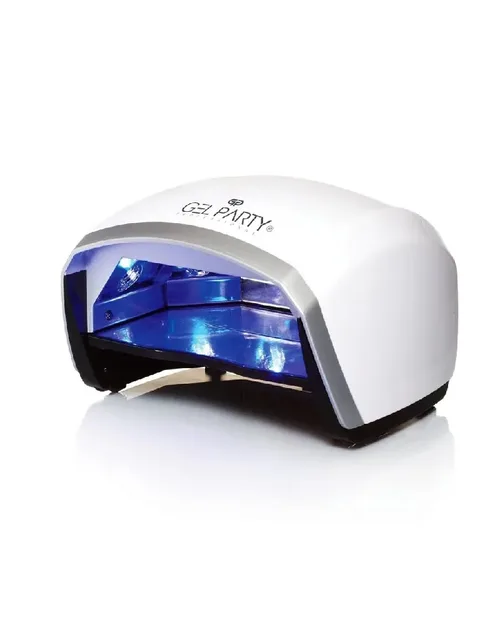
Look at the side profile before you cure. If the apex is in the right place, flash-cure for about 10 seconds to lock it, then give a full cure: about 60 seconds in an LED lamp or 120 seconds in a UV lamp for our Builder Gel, depending on your lamp's wattage. Work one or two nails at a time.
7. Build in two thin layers
For extensions or weak nails, two thinner builder layers are better than one heavy bead. A thick layer can look cured on top while staying soft underneath, and extra lamp time won't fix it. Build a thin structure layer, cure, then add a second bead at the apex if needed.
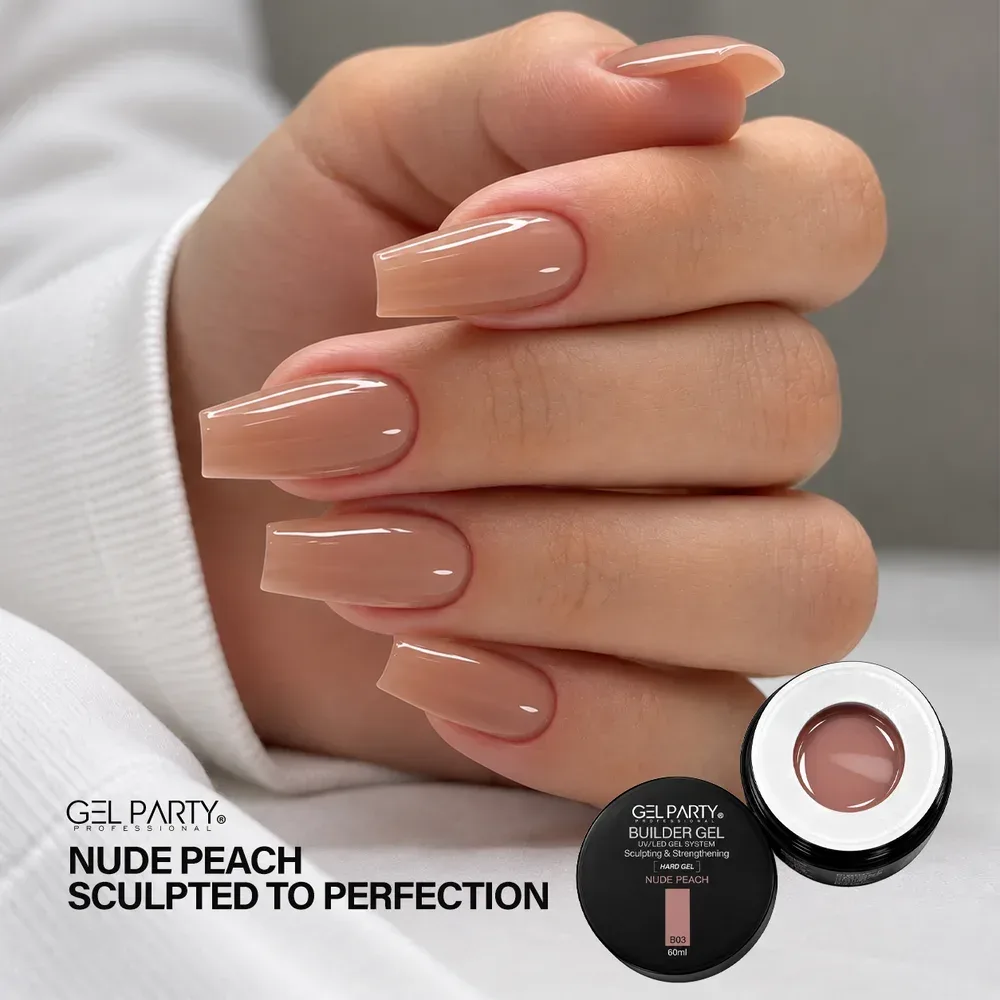
Builder in a bottle on short natural nails
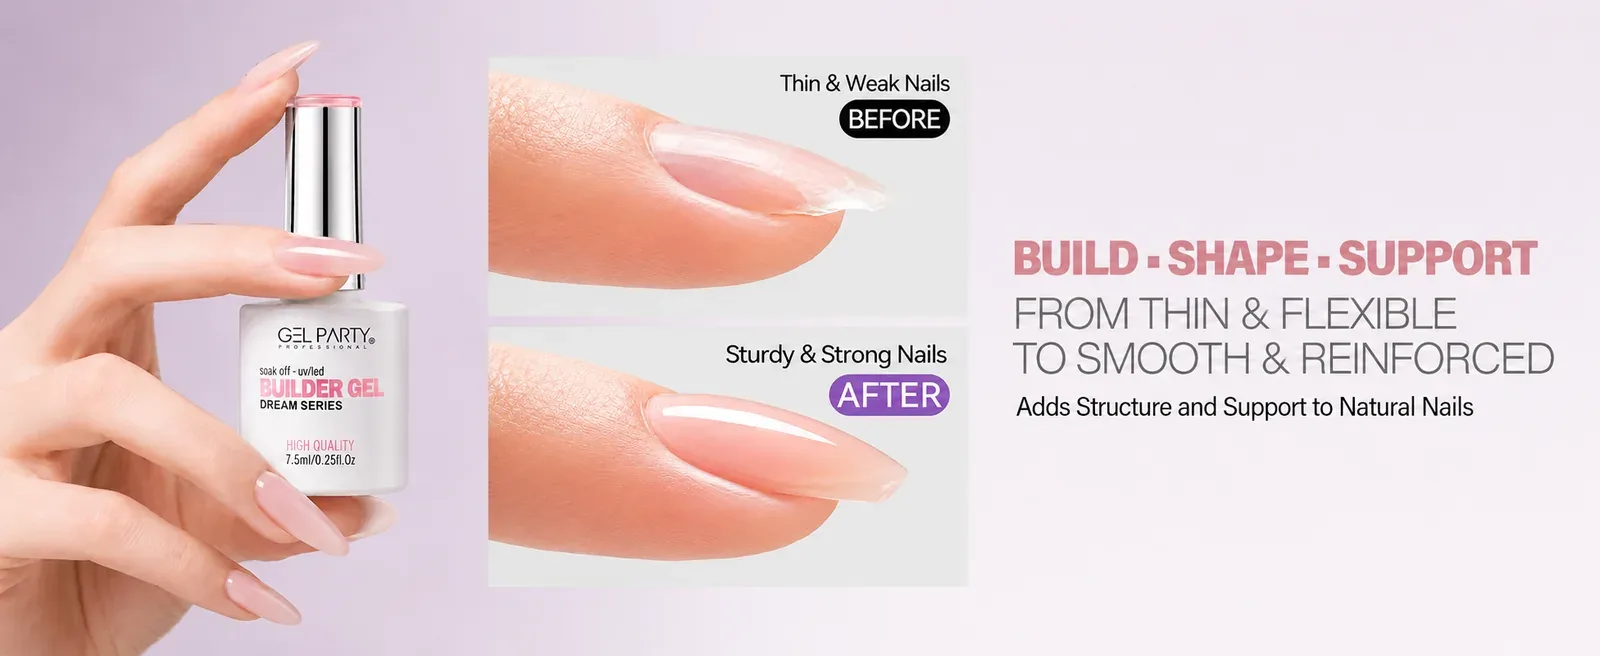
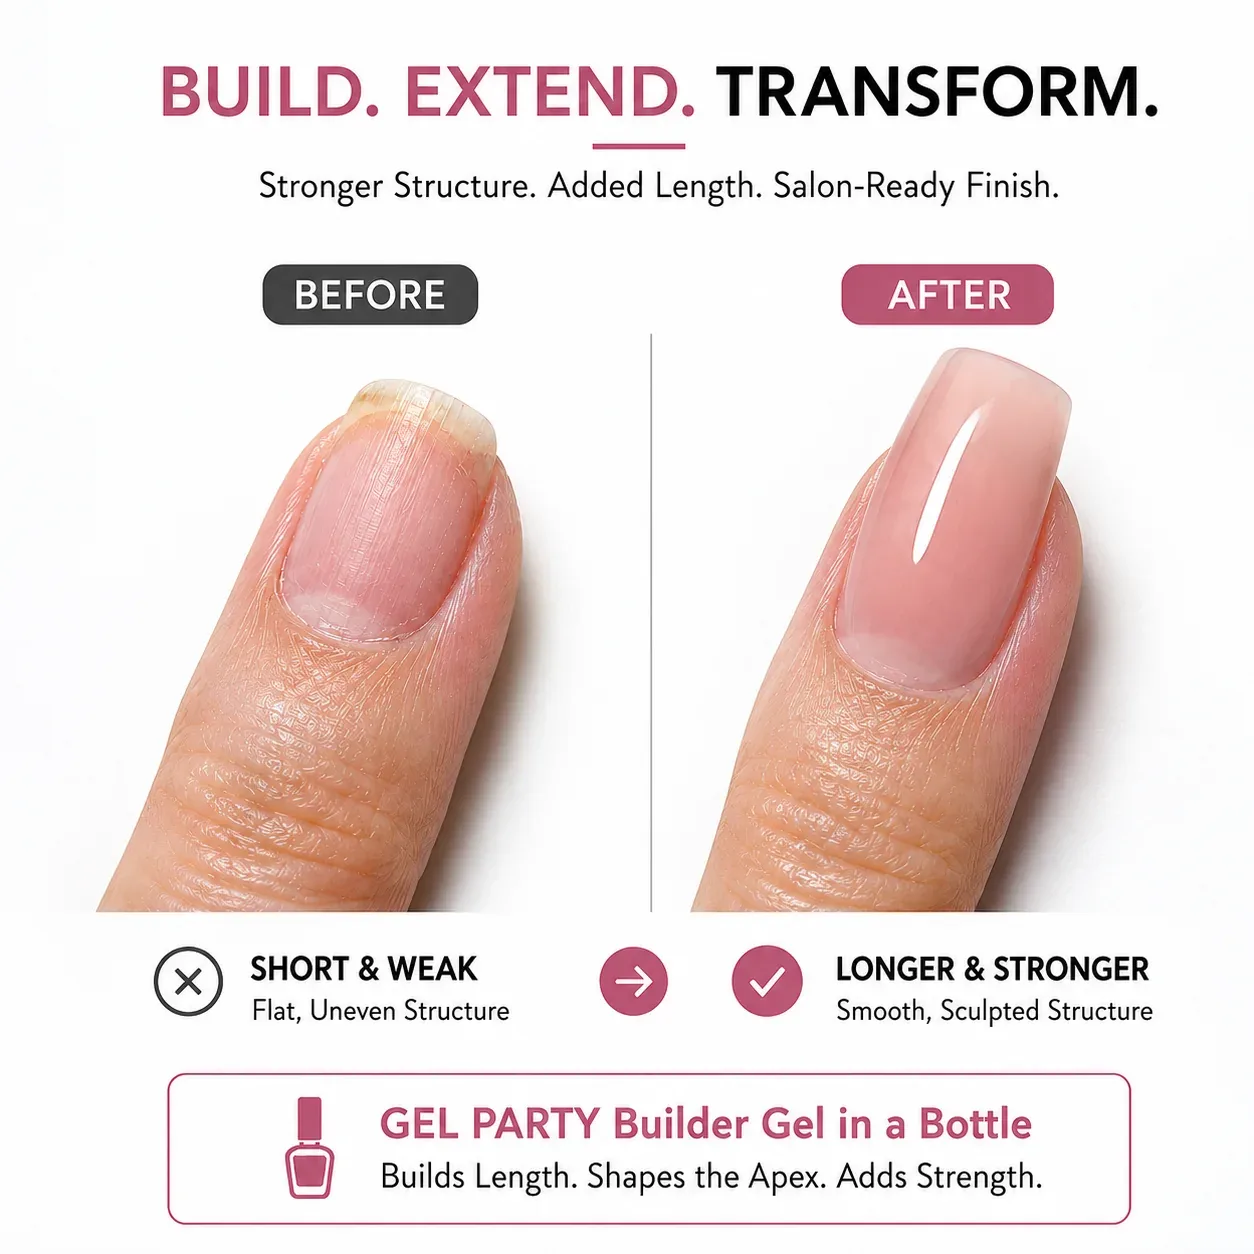
On short natural nails, a brush-on builder gel does the same job with less product: one bead in the stress area, floated out and turned upside down for a few seconds. It gives thin, flat or bendy nails a gentle arch they don't have on their own. For real length, switch to a jar builder or solid builder on a tip or form.
Solid builder and the apex
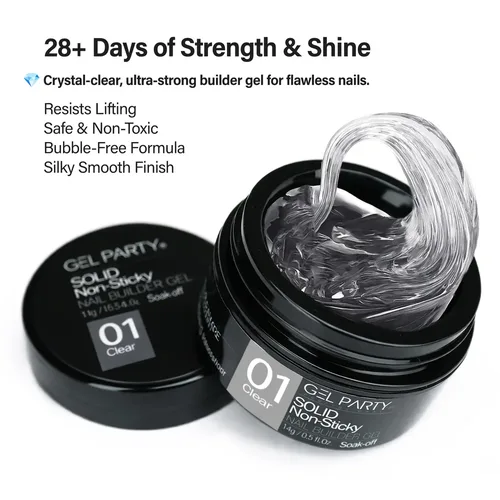
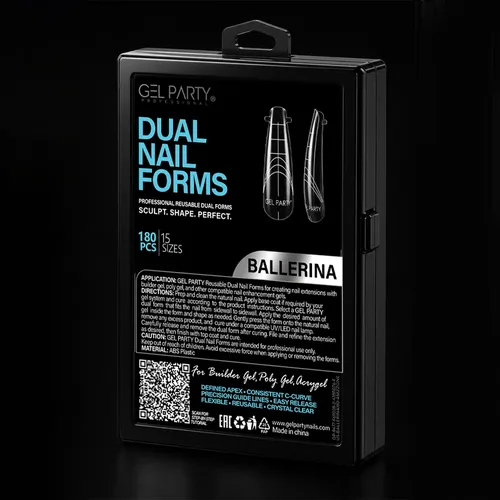
With a putty-like gel such as our 3D Solid Builder Gel, the apex doesn't form by itself. You place and press the product into shape, build the apex in the center and keep the gel thin near the cuticle. The upside: it doesn't move until you cure it, which is helpful for long shapes where self-leveling gel would slide forward. On dual forms, the form shapes the top of the nail, so place the product thickest where the apex will be and keep the cuticle end thin.
How to check the apex: three views
Check every nail from three angles before the final cure and again after filing.
- From the side. NAILS Magazine describes the target profile: the free edge tapers gently upward to the apex, and the apex tapers down to the cuticle. No humps, no dips, no flat sections.
- Down the barrel. Hold the client's finger and look from the free edge toward the cuticle. You should see an even C-curve, the same height on both sides, with the highest point in the center.
- From above. Check symmetry. The highest point should be centered between the sidewalls, and the sidewalls should be straight and parallel for square and coffin shapes.
Then compare nails. All ten apexes should sit in a similar position relative to each nail, even though each nail is a different size.
Common apex mistakes and fixes
| Mistake | What you see | Fix |
|---|---|---|
| No apex | Flat side profile, cracks across the stress area | Add a bead in zone two and let it settle into a curve |
| Apex too far forward | Highest point near the tip, top-heavy nail | Keep the hand level while building; place the bead further back |
| Bulk at the cuticle | Thick edge, easy to catch, lifts early | Smaller bead, start in zone two, float up to a 1 mm gap |
| Hump instead of a curve | A bump in the side profile | Let the gel self-level longer before curing; refine gently with a file |
| Apex off center | Highest point closer to one sidewall | Check down the barrel before curing; center the bead |
| Apex filed away | Strong at first, flat after finishing | File the free edge and sidewalls, not the apex; refine with a 180 grit |
| One thick layer | Soft or wrinkled gel underneath, heat in the lamp | Build in two thinner layers |
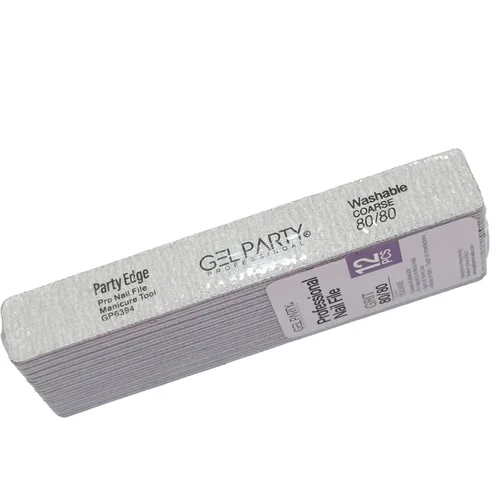
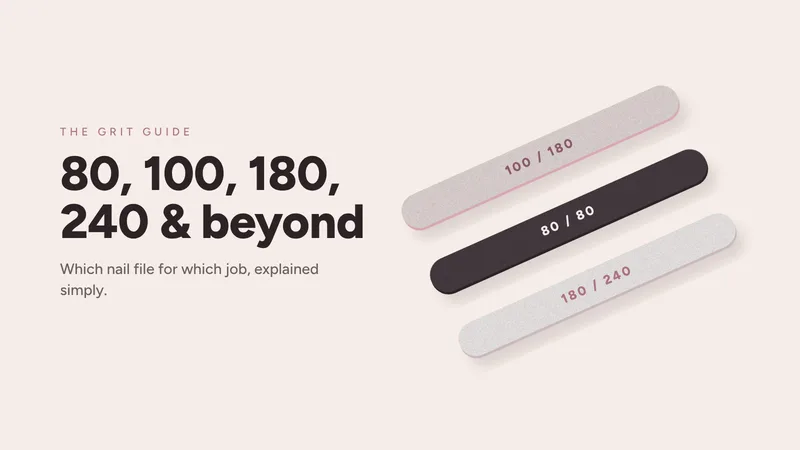
A lot of good apexes get lost at the filing stage: you build the shape, then file it flat while smoothing the surface. Use a 100 grit for shaping the free edge and sidewalls, a 180 for refining, and keep strokes light over the apex. Our nail file grit guide explains which grit belongs where, and our Professional Nail Files come in 100/100 and 100/180 for exactly this.
Why GEL PARTY Builder Gel makes the apex easier
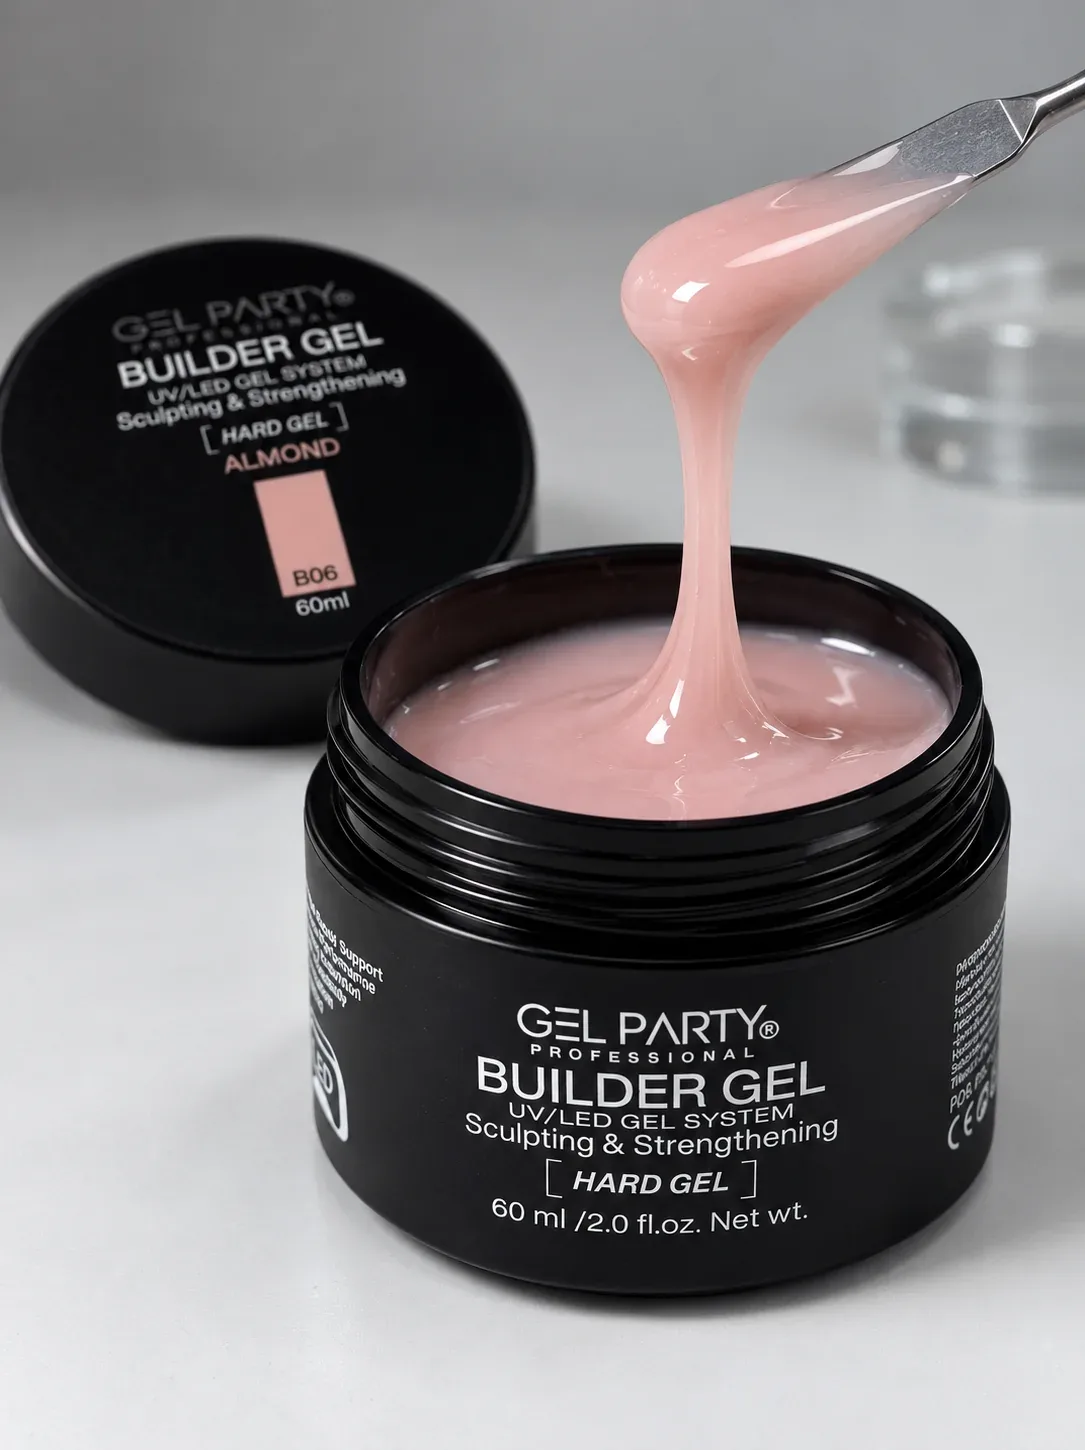
We designed our Builder Gel around the technique in this guide. It's a self-leveling hard gel: it holds a bead on the brush, then relaxes into a smooth curve, so the apex forms with gravity instead of heavy filing.
In practice:
- Self-leveling, with enough body to hold a bead. The gel settles into a smooth apex when you turn the finger over, which saves filing time and keeps the profile even.
- One gel for overlays and extensions. Use it to strengthen natural nails or to build length on dual forms and soft gel tips.
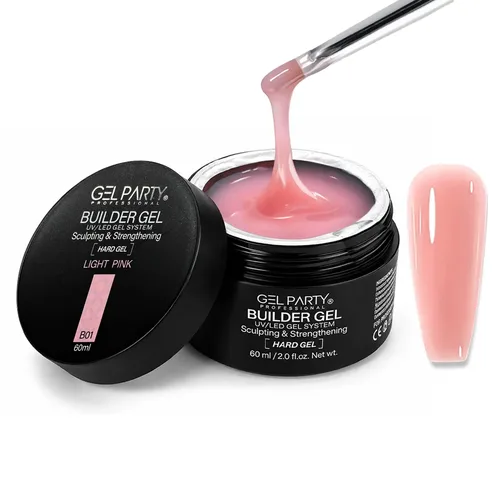
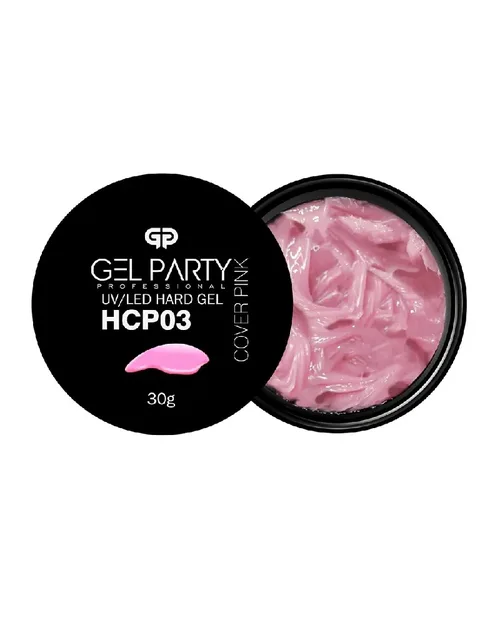
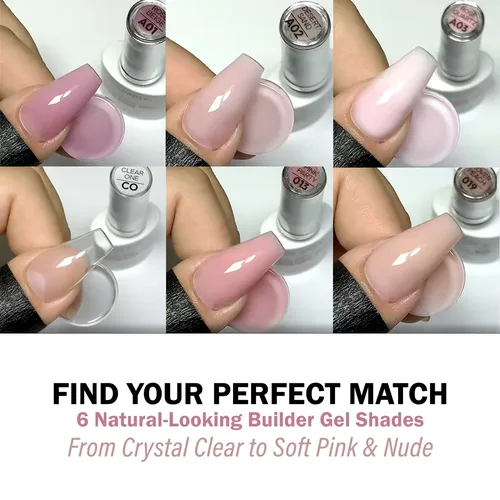
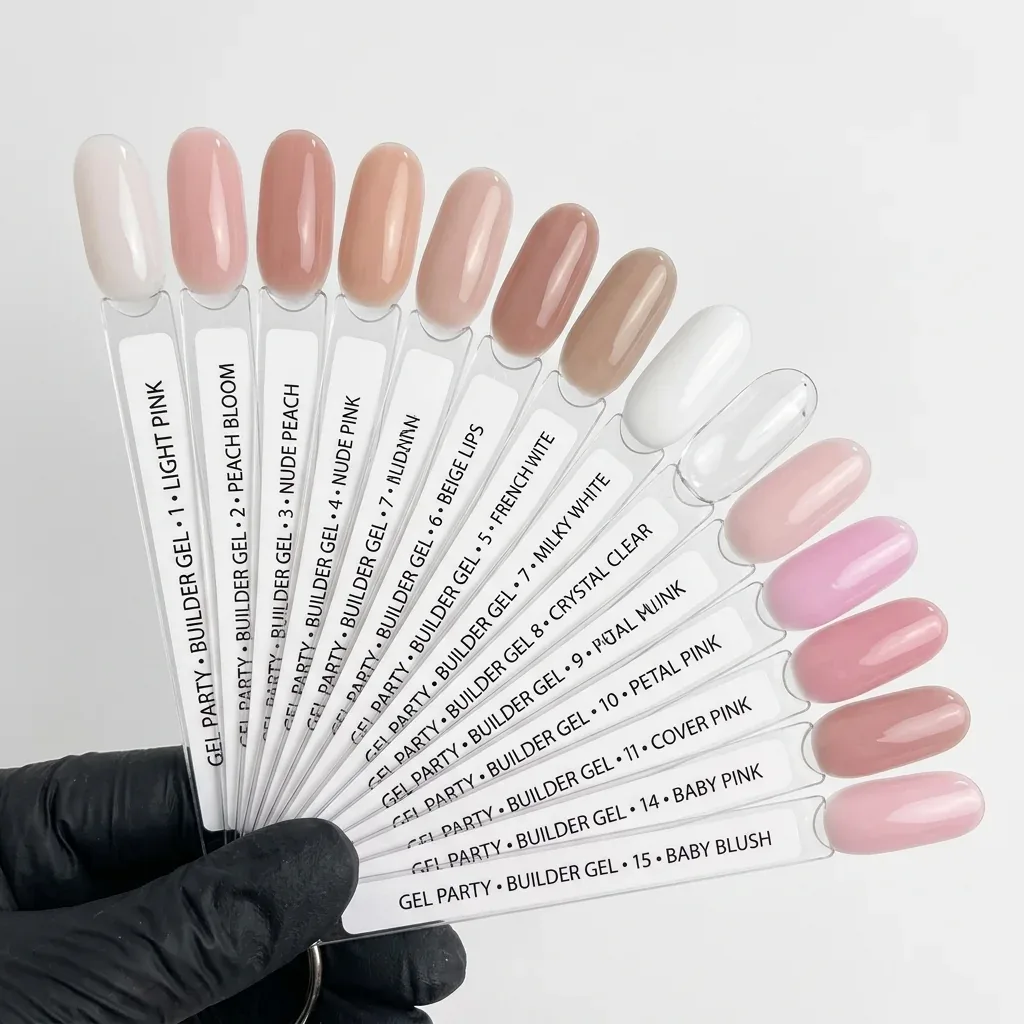
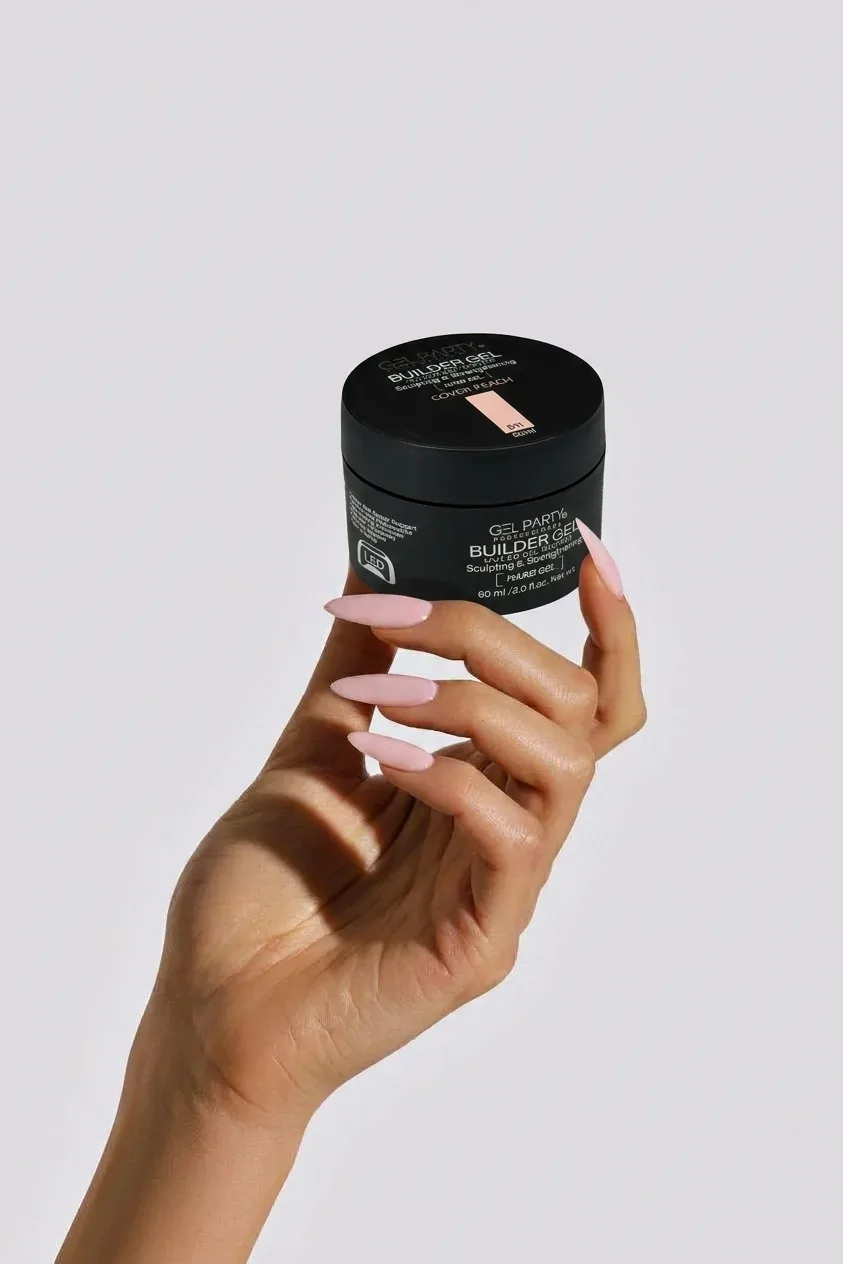
- 15 shades in a 60 mL jar. Sheer camouflage pinks and nudes, cover shades that hide the nail bed, Milky White and French White for French sets, and Crystal Clear to layer over any color.
- UV/LED curing. About 60 seconds in an LED lamp or 120 seconds in a UV lamp, depending on the lamp. Cure thick layers in two thinner passes.
- Easy to remove. File off the top layer, then soak off the rest with gel remover.
The apex at every infill
The apex doesn't stay where you put it. As the natural nail grows, the whole overlay moves forward with it, and the apex travels toward the free edge. Nicholls explains that this unbalances the structure and causes breaks, which is why the thick apex is thinned and rebuilt in the correct position at maintenance. That's where the word "rebalance" comes from.
At each infill:
- Debulk the old apex so the overlay is a thin, even layer again. Don't just add new gel on top; Scratch warns that repeated refilling on old product makes nails thick and chunky.
- Prep the new growth at the cuticle like a new set.
- Rebuild the apex in the stress area of the nail as it is now.
- Shorten and reshape the free edge so the nail is balanced again.
Most clients need this every two to four weeks, depending on growth. If a client keeps breaking at the same spot just before her appointment, the apex is probably moving too far forward between visits: book sooner or keep the length shorter.
Frequently asked questions
Where should the apex be on a builder gel nail?
On a short natural overlay, in the stress area: the center of the nail just behind where it leaves the finger. On longer extensions, further back toward the cuticle, so it anchors the free edge. Many instructions describe it as about one-third of the way down from the cuticle on the finished nail.
Do short nails need an apex?
Yes, but a gentle one. Short nails don't carry much leverage, so a low, smooth curve over the stress area is enough. Without any apex, a thin overlay is easy to crack at the point where the nail bends.
Why do my nails break right at the stress area?
Usually because there isn't enough product there: no apex, an apex too far forward, or an apex filed away during finishing. A gel that's too flexible for the length can also bend and crack there.
How thick should the apex be?
There's no single number: it depends on the length, shape and client. The goal is a smooth curve that's clearly highest at the stress area and slim at the edges. If the nail looks bulky from the side, build in thinner layers and refine.
Can I build an apex with builder gel in a bottle?
Yes. Brush-on builders like our Builder Gel in a Bottle are made for it: place a bead in the center, guide it toward the edges and let it self-level. For long extensions, a jar or solid builder gives more control.
Why does my apex slide to the tip?
Self-leveling gel keeps moving until it's cured. If the fingers point down, it flows toward the free edge. Keep the hand level, work one or two nails at a time and flash cure as soon as the shape looks right.
Quick recap
On short nails, put the most product over the stress area. On long nails, move it further back. Keep the cuticle and free edge slim, and check each nail from the side, down the barrel and from above before the final cure. At every infill, debulk and rebuild the apex where the nail is now. If a client keeps sending photos of nails that snapped in the middle, check her apex first.
Sources
- Kevin Nicholls, NailKnowledge. The structure of overlays and enhancements (two arches, apex or stress area, apex further back on long shapes, backbone, rebalancing as the nail grows). 14 November 2021.
- NAILS Magazine. The agony of the apex (builder placed in zone two across the stress area, side profile check, an unbalanced apex looks awkward). 1 June 2008.
- Rebecca Hitchon, Scratch. Brush-on builder gel: how to nail application & infill (hand level to avoid pooling at the free edge, infill timing, debulking). 27 August 2024.
- Kevin Nicholls, NailKnowledge. UV curing: why thin layers matter for perfect nails (thick layers stay soft underneath; build in thin layers). 17 August 2025.
- GEL PARTY product information: Builder Gel, 3D Solid Builder Gel, Builder Gel in a Bottle, Dual Nail Forms (application steps, apex placement, cure times).