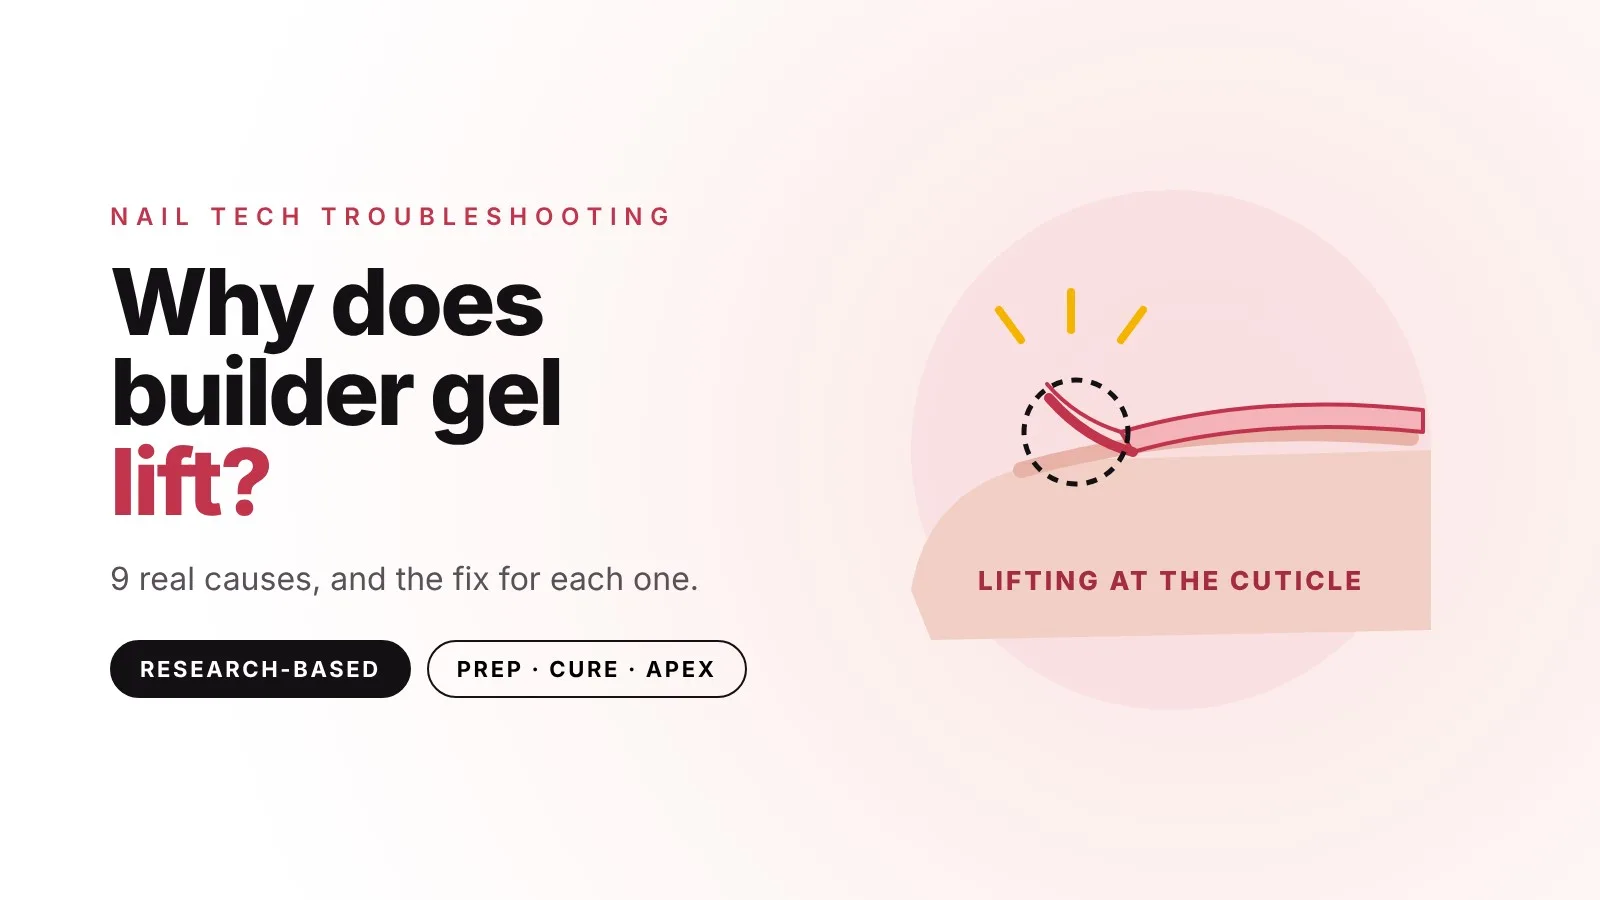
Lifting is the client message every nail tech dreads. "Hey, one of my nails has a little gap at the bottom…" It's day nine. You did the same service you always do. So why this nail, and why this client?
The good news is that lifting is rarely random. Builder gel that is applied on a clean, prepped nail plate and fully cured forms a tight seal. When that seal fails, something in the process gave way, and the place where the lift starts usually tells you what it was. This guide walks through the nine most common causes, how to spot each one, and what to change on the next set.
First, look at where the lift starts
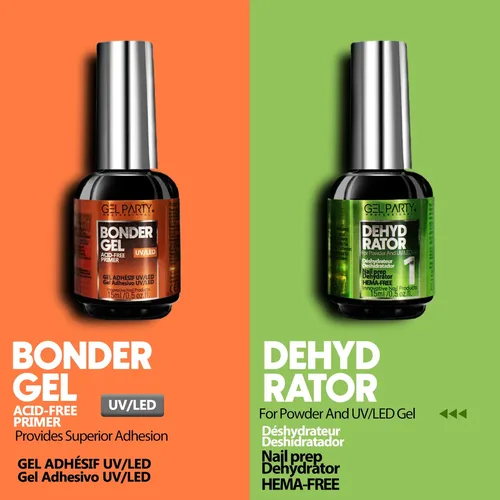
Before you change anything, look closely at the lifted nail. Where the gap begins is the best clue you have.
The lift map
- Free edgeFree edge not capped, gel too flexible or too rigid for the nail, no apex.
- SidewallsGel flooded onto the skin, sidewalls not prepped, filing broke the seal.
- Cuticle areaTissue or shine left on the plate, gel too thick or touching the skin. After 3 to 4 weeks: an infill is due.
Lift at the cuticle points to prep and application. Lift at the sidewalls points to flooding or a broken seal. Lift at the free edge points to structure, capping or the wrong product for that nail.
| Where it lifts | When | Most likely cause | What to change |
|---|---|---|---|
| Cuticle area | First week | Cuticle tissue or shine left on the plate; gel too thick or touching skin | Cleaner cuticle work, thinner gel at the cuticle, 1 mm gap from the skin |
| Cuticle area | Week 3 to 4 | Normal growth, the infill is due | Book the infill sooner |
| Sidewalls | Any time | Gel flooded onto the skin, sidewalls not prepped, filing broke the seal | Prep the sidewalls, keep gel off the skin, file in one direction |
| Free edge | Any time | Free edge not capped, gel too rigid or too flexible for the nail, no apex | Cap the edge, rebuild the structure, match the gel to the nail |
| Whole nail pops off | First days | Contaminated or wet plate, missed dehydrator or bonder, base layer undercured | Repeat prep, don't touch the plate, thin cured base layer |
| One or two nails only | Any time | Usually the thumbs or the dominant hand: knocks, tools, technique on harder-to-reach nails | Extra care with apex and capping on those fingers |
The 9 causes of builder gel lifting
1. Shine, dust or cuticle tissue left on the nail plate
This is the big one. Gel can't grip a glossy surface, and it definitely can't grip a thin, clear layer of dead skin. That invisible tissue that rides up the nail plate from the cuticle (it isn't the living cuticle, it's non-living tissue stuck to the plate) is one of the most common reasons a set lifts right at the base.
Fix: push back and remove the non-living tissue from the plate, then lightly buff away the shine with a 180 grit file until the whole surface is evenly matte. Pay extra attention to the area right next to the cuticle and the sidewalls, where shine hides. Brush off every bit of dust. Our nail file grit guide explains why 180, not 100, belongs on a natural nail.
2. Touching the nail after you dehydrate it
You prep perfectly, dehydrate, and then rest your client's finger on yours, or brush a strand of hair from your face before you pick up the brush. It sounds small. It isn't. Skin oils, lotion and moisture on the surface weaken adhesion where they land.
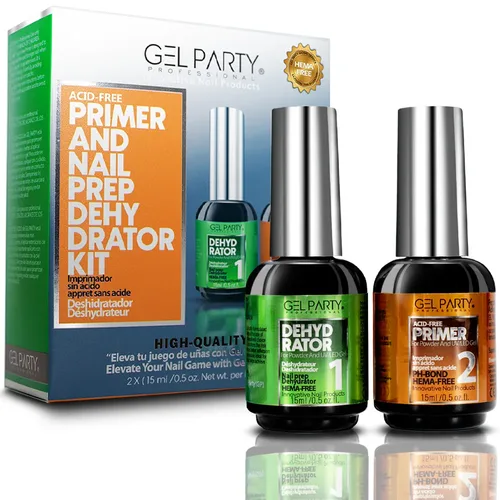
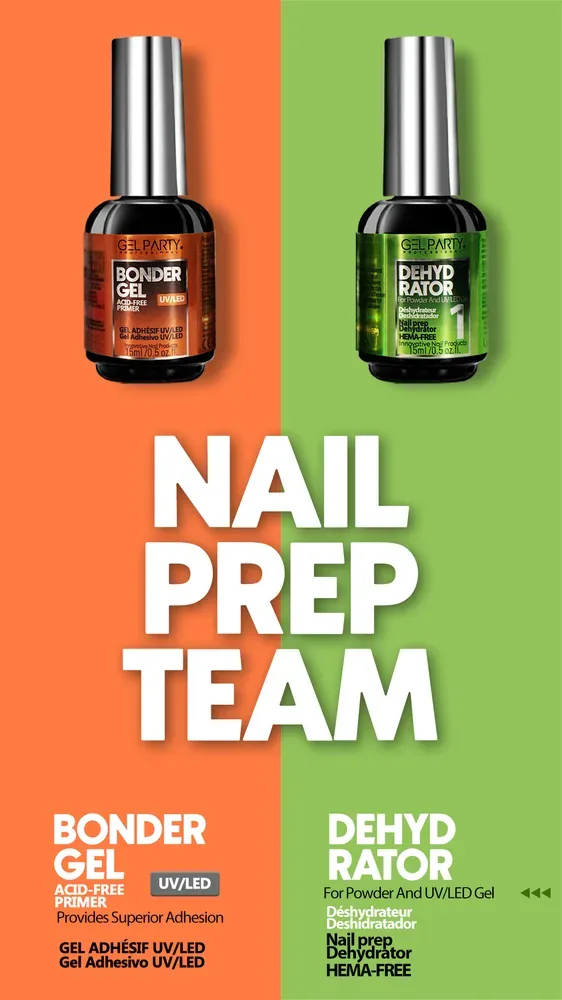
Fix: dehydrate last, right before the first layer, and don't touch the nail plate afterwards. Our Nail Prep Kit puts the dehydrator and bonder side by side for exactly this moment.
3. Too much, too little or the wrong adhesion layer
A dehydrator removes surface moisture and oil. A primer or bonder helps the gel grip. Skipping these on a client who lifts is asking for trouble, but so is overdoing them. Primer that pools in the sidewalls or touches the skin doesn't help adhesion. It just creates another problem.
Fix: one thin coat of dehydrator over the whole plate, then a thin layer of primer or bonder on the nail plate only. An air-dry, acid-free primer like the one in our Dehydrator & Primer Kit needs no lamp. A bonder gel is cured: about 60 seconds in an LED lamp or 120 seconds in UV, depending on your lamp.
4. Gel on the skin or cuticle
When builder gel touches the skin, the skin keeps moving as the nail grows and the hand bends. That movement levers the gel up from its edge. It also brings a second risk: uncured or partly cured gel against the skin is how many acrylate allergies start, which we cover in our HEMA-free guide.
Fix: leave a hairline gap, about 1 mm, between the gel and the cuticle and sidewalls. If gel floods onto the skin, wipe it away with a clean brush or a cleanup tool before curing. Never cure product that's touching skin.
5. Undercuring
Builder gel that hasn't fully cured is softer, weaker and less firmly attached. The tricky part is that an undercured layer can feel hard on top while staying soft underneath. Light gets absorbed as it travels down through the gel, so the deeper you go, the less light reaches the gel.
Thin layers cure. Thick layers can't.
Less light reaches the bottom of a thick layer. Extra time in the lamp won't fully fix it, because the light still can't get through. Build in thin layers instead. Lamp photo: stock photo via Pexels.
Fix:
- Work in thin layers. Researcher Kevin Nicholls explains that a thick coat can look cured on top and stay soft below, and that adding curing time doesn't solve it. Build strength in two thinner layers rather than one heavy bead.
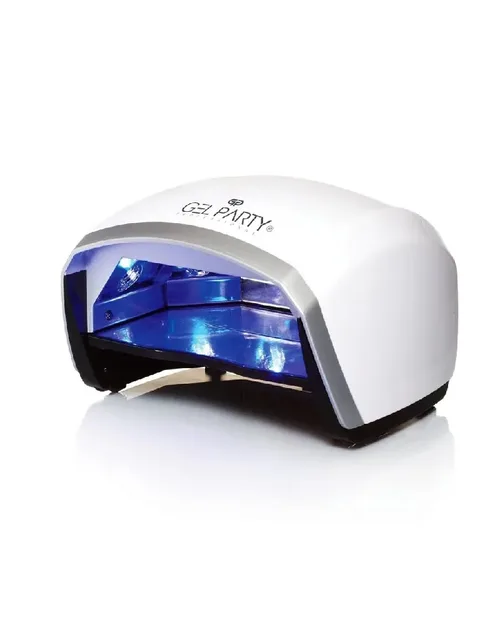
- Use the right lamp. Gels are formulated to cure under certain wavelengths and intensities. Use a lamp that matches your gel, follow its cure times, and keep it clean. A professional 48W lamp like our EARTH MOON gives even light across all five fingers.
- Watch the thumbs. Thumbs often sit at an angle or half outside the lamp. Cure them separately and flat.
- Go thinner with dark and glittery shades. Pigment and glitter block light from reaching lower layers.
6. Gel too thick at the cuticle
Even when it's fully cured, a thick edge at the cuticle acts like a lever. Every time the client knocks the nail, that edge takes the hit. And as the nail grows out, a bulky edge is easy to catch.
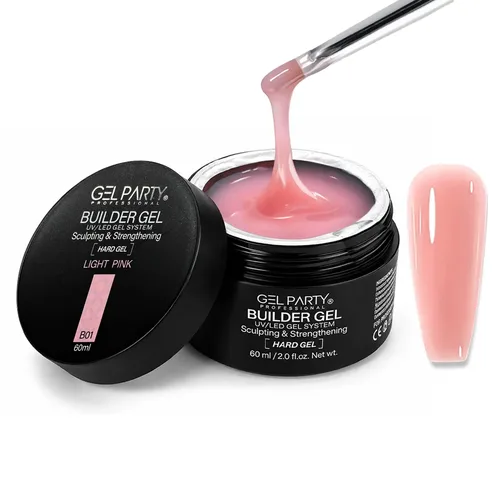
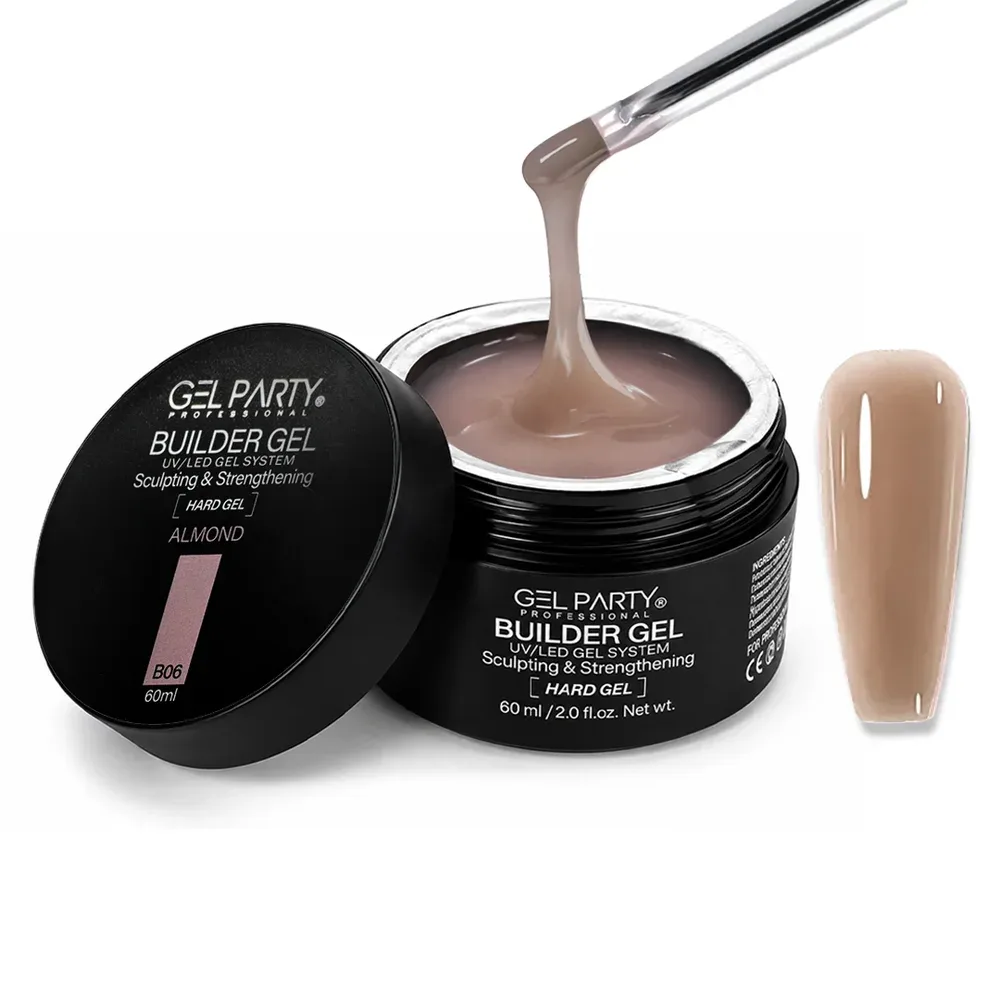
Fix: keep the gel thinnest at the cuticle and sidewalls, thickest at the apex, and thin again toward the free edge. The Builder Gel is self-leveling: place a bead in the center, float it toward the edges without touching the skin, and turn the finger upside down for a few seconds so it settles into a smooth apex.
7. No apex, or the apex in the wrong place
A flat overlay puts all the stress on a thin layer at the point where the nail bends most. Over time, that stress shows up as cracks or as lifting that starts at the sidewalls or free edge.
Fix: build an apex, the highest point of the nail, in the stress area, roughly a third of the way down from the cuticle. Look at the nail from the side and down the barrel from the tip. The curve should be smooth, with no dips or humps. Longer nails need a stronger apex.
8. The wrong gel for that nail
Not every client's nails want the same product. Very thin, bendy natural nails flex a lot. A rigid gel on a flexible nail can lose grip as the nail moves underneath it. A soft, flexible base on a long extension doesn't have the strength to hold the shape, so it bends and lifts at the free edge.
Fix: match the product to the nail and the length. Flexible rubber base suits short, natural overlays. Builder in a bottle sits in the middle. Hard builder gel is for structure and length. We break this down in detail in rubber base vs builder gel vs hard gel.
9. The free edge isn't sealed, or the infill is overdue
The free edge takes the most daily wear: typing, opening cans, washing hair. If the gel doesn't wrap the very edge of the nail, water and knocks get underneath from the front. Aggressive filing at the end can also break that seal again.
And sometimes nothing is wrong at all. As the natural nail grows, the gel moves forward and the new growth at the cuticle is unsupported. After a few weeks, the balance of the nail shifts and the edge starts to lift. That's an infill that's due, not a failed set.
Fix: cap the free edge on every layer: base, builder, color and top coat. File with light pressure in one direction. Many techs book builder gel infills every three to four weeks, depending on how fast the client's nails grow.
How to fix a nail that has already lifted
The urge to glue it back down is strong. Don't. A gap under the gel can hold moisture and debris, and sealing that in makes things worse.
- File away the lifted gel until there is no ledge left and the edge blends smoothly into the remaining gel. Use a 100 or 150 grit on the gel, and switch to 180 near the natural nail.
- Prep the exposed natural nail again: remove tissue, buff away the shine, dust off.
- Dehydrate and prime or bond the exposed area only.
- Rebalance: apply a thin layer, cure, then rebuild the apex and cure again.
- Seal and cap the free edge, then finish with top coat.
If the nail under the lift looks discolored, smells, feels sore or the client reports pain, don't cover it. Recommend they see a doctor.
A prep routine that prevents most lifting
Print it, pin it at your desk, run it on every client:
- Clean hands and tools.
- Push back the cuticle and remove non-living tissue from the nail plate.
- Buff away all shine with a 180 grit file, sidewalls included.
- Brush away all dust.
- Dehydrate. From now on, don't touch the plate.
- Thin primer or bonder on the nail plate only. Cure if it's a bonder gel.
- Thin base or slip layer of builder, scrubbed in, cured.
- Builder layer: thin at the edges, apex in the stress area, 1 mm from the skin. Self-level, then cure.
- Cap the free edge on every layer.
- Send the client home with a cuticle oil and a date for the infill.
Frequently asked questions
Does cuticle oil cause gel to lift?
Not on a well-applied set. Doug Schoon explains that a properly applied enhancement forms a tight seal that oil can't get under, and daily oil can actually help keep nails and the coating flexible. Oil can make an existing lift worse by wicking into a gap that's already there. If lifting increases with oil use, look at your technique first, not the oil.
Why does my builder gel lift at the cuticle after a week?
Lifting at the cuticle within the first week usually means something was left on the plate there (shine, dust or non-living cuticle tissue), the gel was too thick at the cuticle, or it touched the skin. Check those three first.
Why does builder gel lift on only one or two nails?
The thumbs and the nails of the dominant hand take the most knocks, and they're harder to reach and cure flat. Pay extra attention to prep, apex and capping on those fingers, and cure thumbs separately.
Will curing longer stop lifting?
Not if the layer is too thick. Light can't get through a heavy layer no matter how long you cure. Use thinner layers and a lamp that matches your gel, and follow the cure times for that lamp.
Do I need a primer for builder gel?
On nails that lift, yes. A dehydrator plus a thin primer or bonder gives the gel the best chance to grip. On clients who never lift, some techs skip the primer, but a dehydrator is always worth it.
Can I glue down a lifted gel nail?
It's not a good idea. Gluing seals moisture and debris under the gel. File the lifted area away, prep the natural nail again and rebalance.
The bottom line
Lifting is feedback, not bad luck. Look at where it starts, match it to the cause, and change one thing at a time on the next set. In most cases, the fix is cleaner prep at the cuticle, thinner layers that cure all the way through, and an apex that carries the stress. Get those right and the "my nail has a little gap" messages get a lot less frequent.
Sources
- Doug Schoon, NailKnowledge. Nail oil and lifting (properly applied coatings seal; oil can worsen an existing lift; prep and curing are the likely causes). 24 July 2022.
- Doug Schoon, NailKnowledge. Oily nail plates and proper nail coating application (oils are 3 to 5% of nail plate weight; lifting comes more often from preparation, application, curing or removal). 7 August 2024.
- Kevin Nicholls, NailKnowledge. UV curing: why thin layers matter for perfect nails (thick layers stay soft underneath, extra curing doesn't fix it, use the lamp recommended for the gel). 17 August 2025.
- Doug Schoon, NailKnowledge. Unveiling the hazards of thick UV gel application (light intensity falls with depth; thinner layers cure more evenly). 12 March 2024.
- GEL PARTY product information: Builder Gel, Nail Prep Kit, Dehydrator & Primer Kit, Bonder Gel (application steps and cure times).