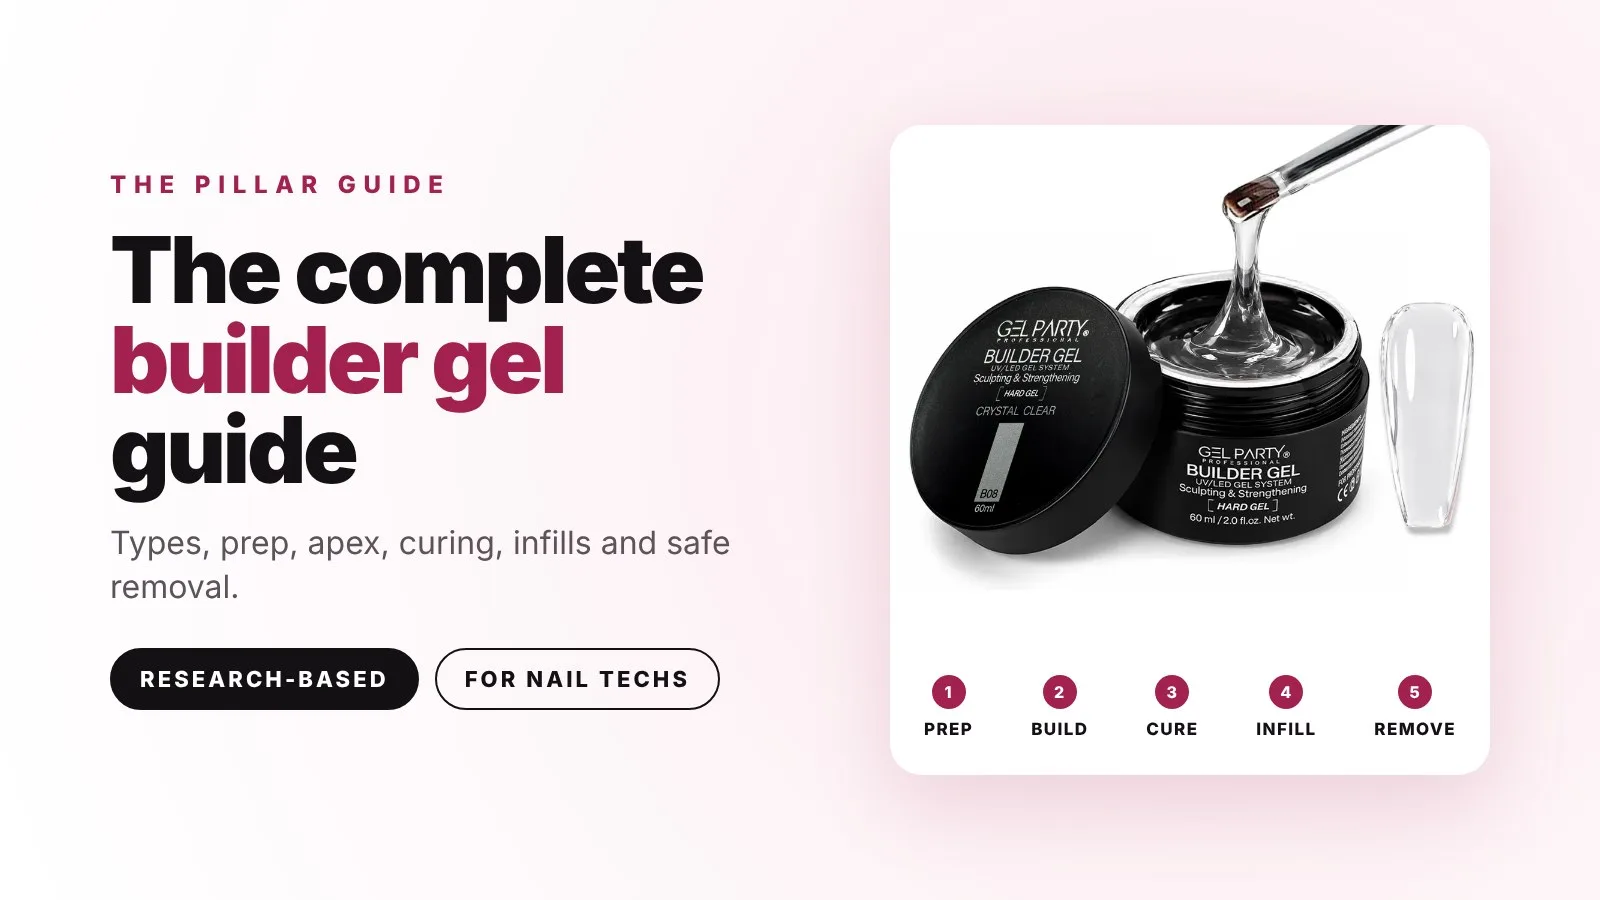
Builder gel is one of those products that looks easy on a 30-second video and feels a lot less easy on a real client with thin, bendy nails and a bus to catch. The bead floats where it wants, the cuticle floods, the apex ends up at the tip, and three weeks later you're filing off a set that lifted on day ten.
It doesn't have to go that way. Builder gel follows a few simple rules, and once you understand them, every step of the service makes sense: why you prep the way you do, why the apex sits where it sits, why thin layers matter more than lamp time, and why the infill is a rebalance, not just a top-up. This guide puts it all in one place. Where a topic deserves more depth, we link to the full article.
What builder gel actually is
All nail gels, from gel polish to the hardest sculpting gel, are built from the same family of ingredients: acrylate and methacrylate monomers and oligomers that link together into a solid network when UV light hits them. The difference between a gel polish and a builder gel is mostly about viscosity and how tightly that network locks together when it cures.
NAILS Magazine explained it this way back in 2014: traditional hard gels have a tight molecular structure that acetone can't get into, so they must be filed off. Soft gels have a more open structure with space for solvents to penetrate, so they soak off. All soft gel and gel polish start life as traditional gel, with ingredients added to make the cured film less tightly packed.
Builder gels sit along that line. Some are true hard gels that only come off with a file. Many modern builders, including our Builder Gel, are formulated to be soak-off: you file down the bulk and soak off the thin remainder. That's why the first rule of builder gel is simple: read the label of the gel you're holding, because "builder" tells you what it does, not how it comes off.
What builder gel is for
- Strengthening natural nails. A thin overlay with a proper apex stops weak, peeling or bendy nails from breaking, and lets them grow.
- Short extensions. Over a soft gel tip or on a form, builder gel holds length and shape.
- Repairs. A crack or split can be patched and reinforced.
- Encapsulation and art. Clear builder seals foils, glitter or dried flowers inside a smooth, thick layer.
- A smooth canvas for color. A builder layer evens out ridges so gel color sits flat.
The types of builder gel
"Builder gel" covers several textures. They overlap, but each has a sweet spot. The single most useful question is: how much strength does this nail need, and how much length is it carrying? We go deeper into flexibility in our guide to rubber base vs builder gel vs hard gel, and into the wider choice between enhancement systems in builder gel vs poly gel vs acrylic.
Four textures, four jobs
Rubber base
Thick, self-leveling base gel that moves with the nail. Short, thin natural nails. Not a length product.
Builder in a bottle
Builder strength with a polish brush. Natural nail overlays, a strong apex, a little length.
Jar builder (hard gel)
Self-leveling, medium to thick. Extensions, overlays, a precise apex and repairs.
Solid builder
Putty texture that stays where you place it. Sculpting, extensions on tips or forms, 3D art.
Flexibility drops and strength rises from rubber base to jar builder. Solid builder is about texture: it doesn't move until you cure it.
| Type | Texture | Best for | Length it can carry | Typical removal |
|---|---|---|---|---|
| Rubber base | Thick, flexible, self-leveling | Short, thin, bendy natural nails | Little or none | Soak off |
| Builder in a bottle | Medium, brush-on, self-leveling | Natural nail overlays, small repairs | Short | Soak off (check the label) |
| Jar builder gel (hard gel) | Medium to thick, self-leveling | Overlays, extensions, apex, repairs | Short to long | File down; soak off the rest if it's a soak-off formula |
| Solid builder | Firm putty, non-runny | Sculpting, extensions on tips/forms, 3D art | Short to long | File down, then follow the label |
In our own range, that looks like this:
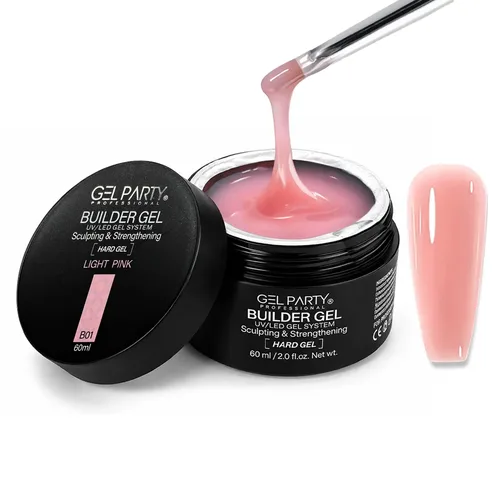
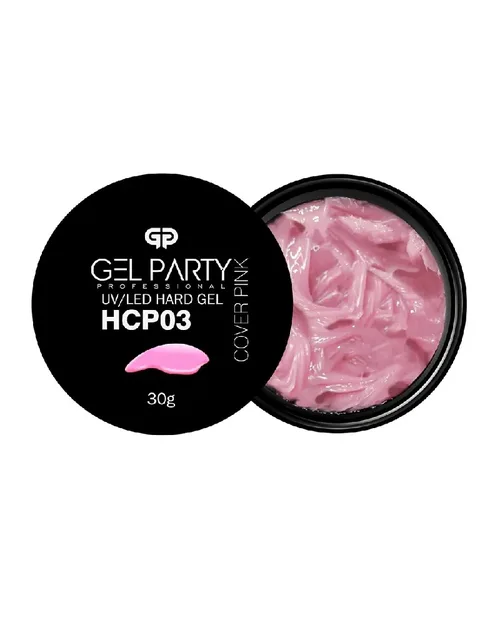
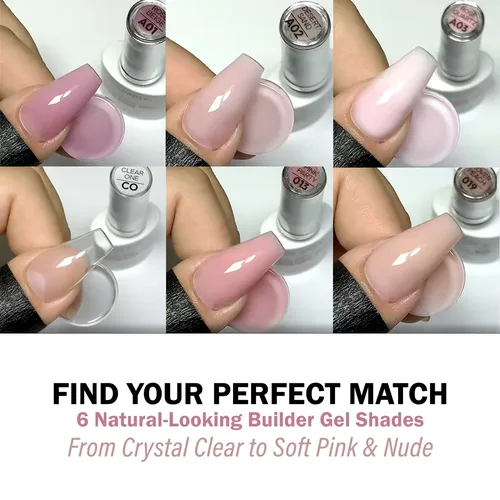
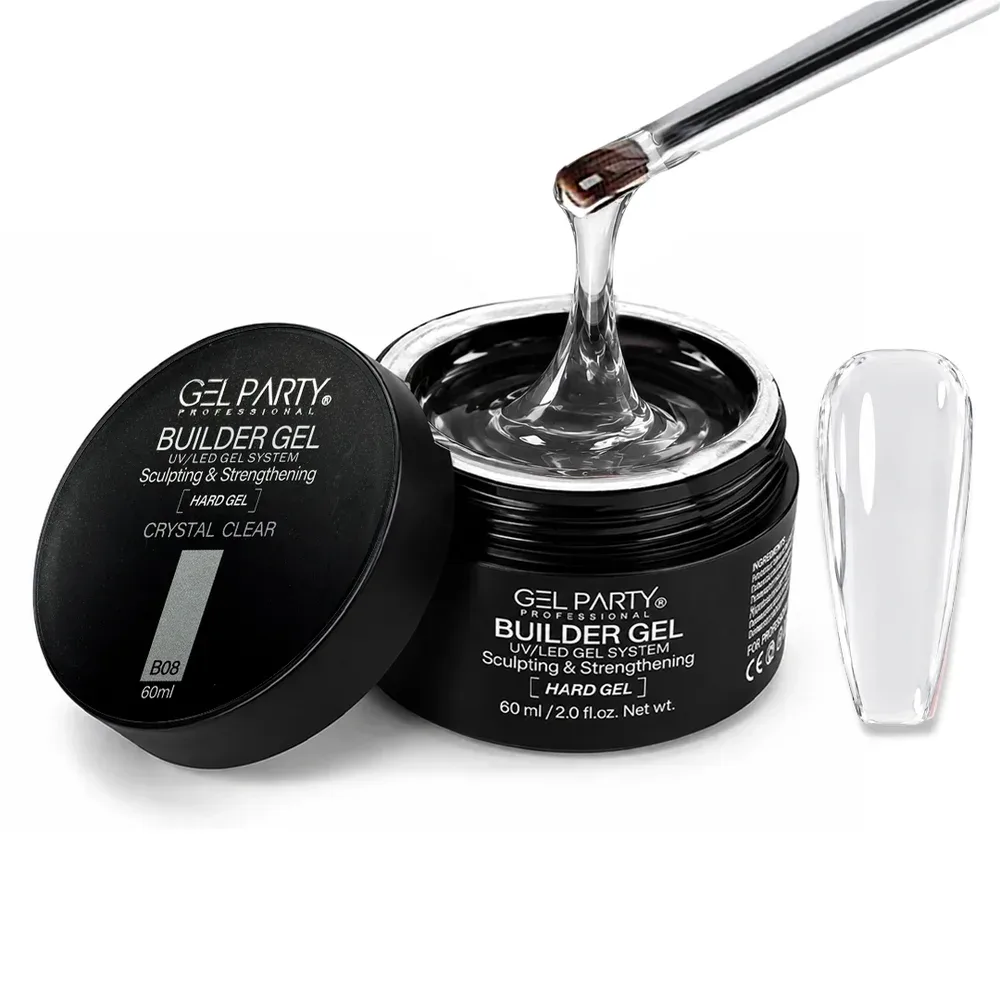
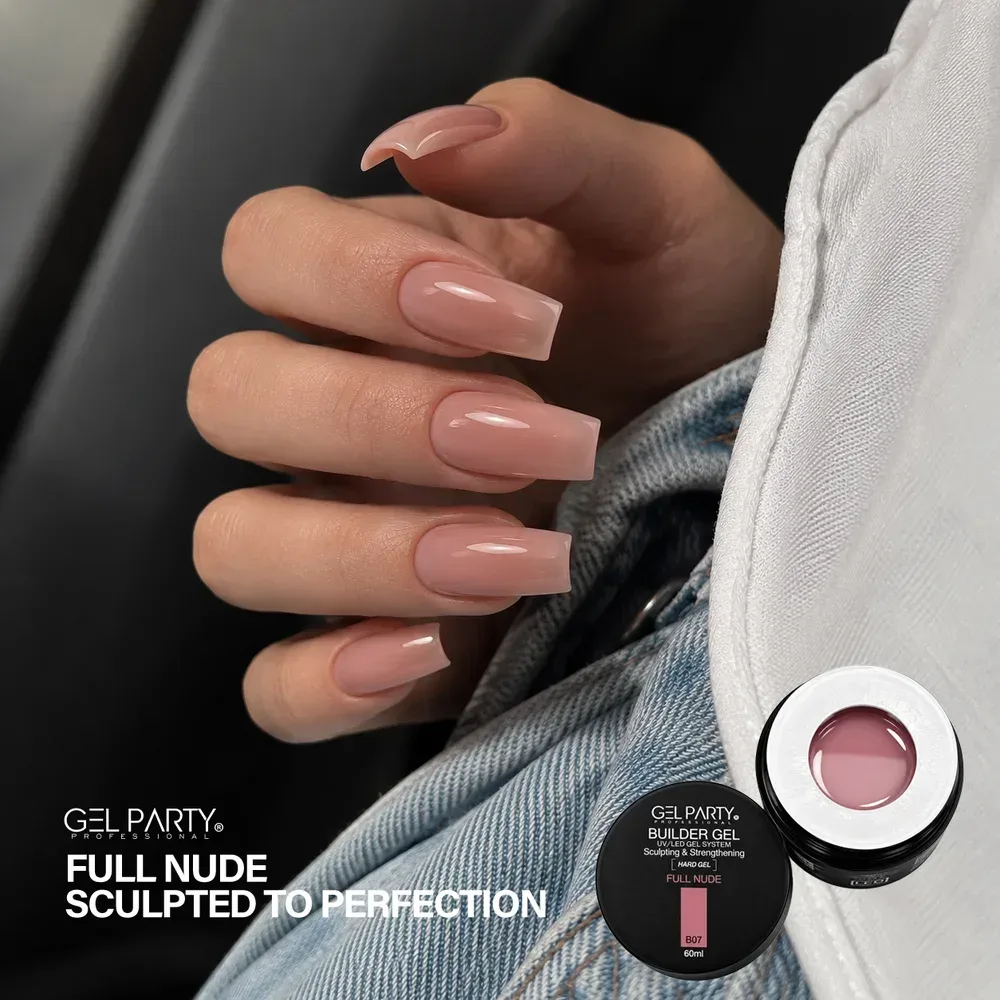
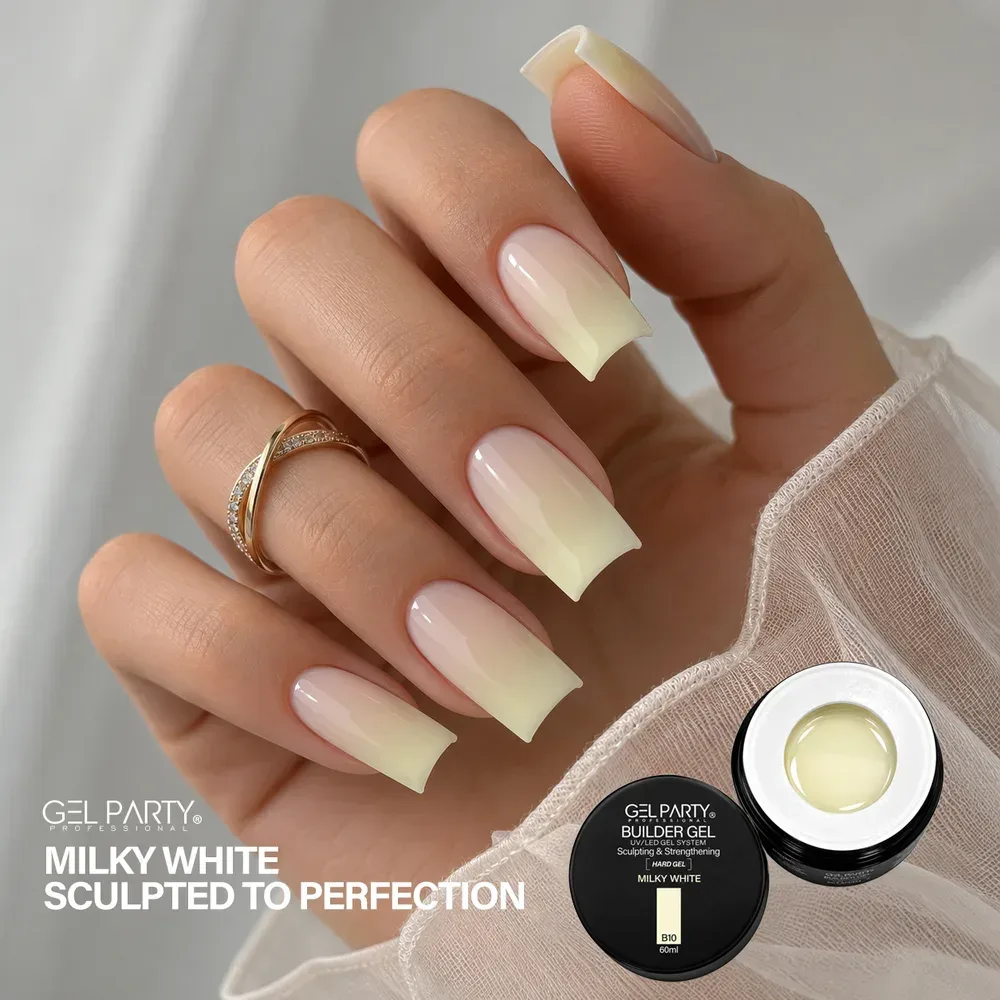
- Builder Gel 60 mL: a self-leveling hard gel in 15 shades, from Crystal Clear to cover pinks and milky whites. HEMA-free and soak-off, made for overlays, extensions, apex work and repairs.
- Classic Hard Builder Gel: a medium-viscosity salon builder in 30 and 60 mL jars. The Clear can be used single-phase as base, builder and gloss.
- Builder Gel in a Bottle sets: six 7.5 mL brush-on shades per set, a good way to try sheer, milky and cover builders before buying a full jar.
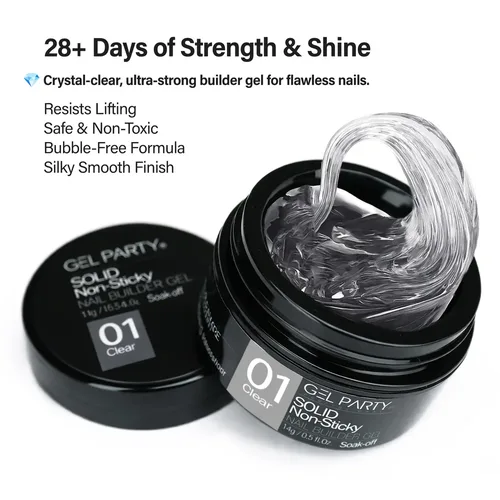
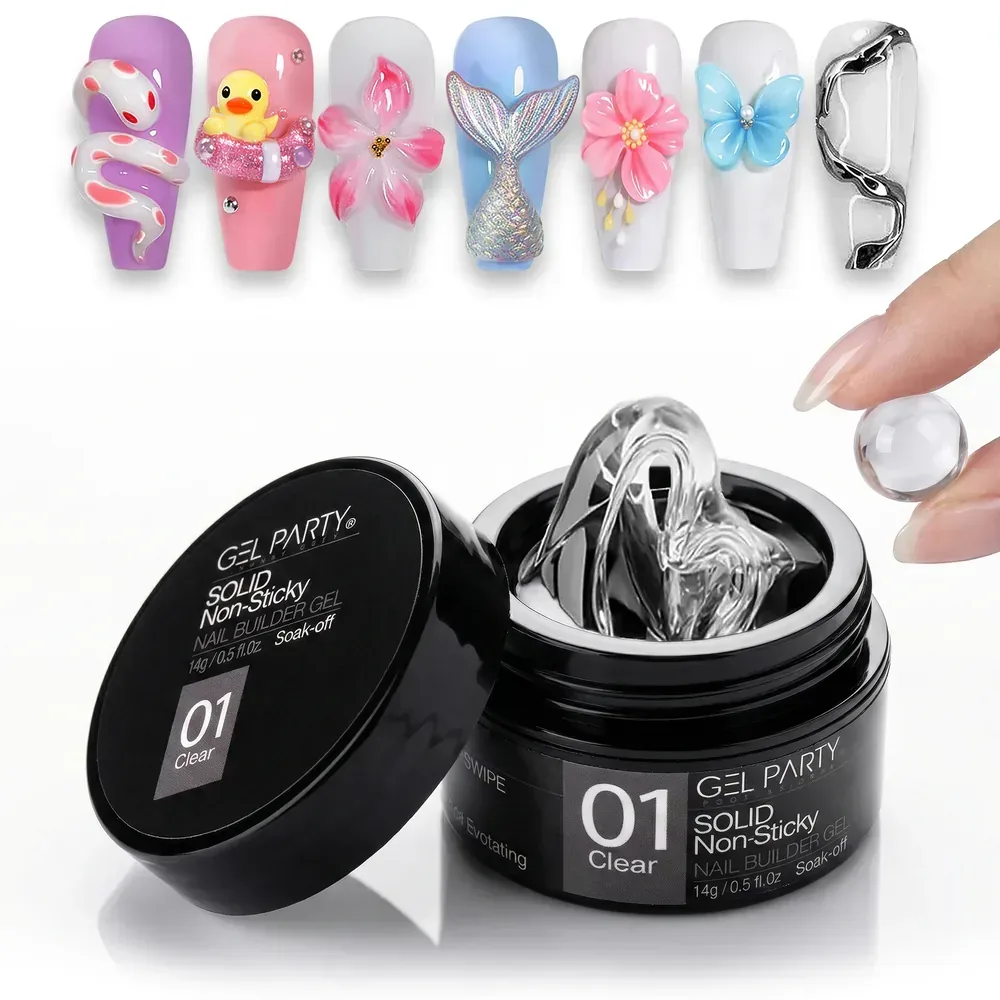
- 3D Solid Builder Gel: a non-stick putty that holds its shape until cured, for extensions, repairs, gem setting and carved 3D details.
Clear, cover or milky?
Shade is more than looks. Clear shows everything underneath, which makes it perfect over color, for encapsulation and for extensions where you want a glassy finish. Sheer pinks and nudes soften the look of the nail bed and suit a "your nails but better" result. Cover shades are more opaque and hide stained nails, uneven growth or a tip line. Milky whites give a soft French or "milk bath" look. Remember that more pigment means less light reaching the bottom of the layer, so keep cover and milky layers thin.
Prep: where most sets are won or lost
If builder gel lifts, the cause is usually in the first five minutes of the service. Doug Schoon, the chemist behind NailKnowledge, makes the point repeatedly: properly prepared nail plates let coatings adhere well, and lifting comes far more often from preparation, application, curing or removal than from the client's nails. We break down every cause in why builder gel lifts.
Good prep is about removing what's in the way, not about roughing up the nail.
- Clean hands and tools.
- Push back the cuticle and remove the thin, clear non-living tissue stuck to the nail plate. This is the most commonly missed step.
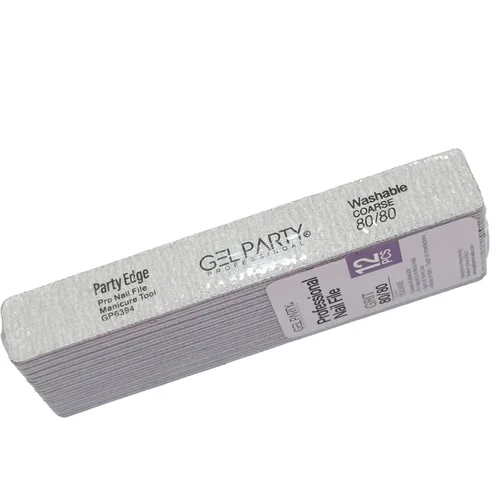
- Remove the shine with a light hand. A 180 grit (or finer) on the natural nail, never coarse grits. Schoon warns that heavy-handed use of a coarse file or e-file can remove half the layers of the nail plate, and that a thinned, overly flexible plate actually hurts adhesion. Only the surface shine should go. Our nail file grit guide explains which grit belongs where.
- Brush away all dust, especially from the sidewalls and cuticle area.
- Dehydrate. From this moment, nobody touches the nail plate.
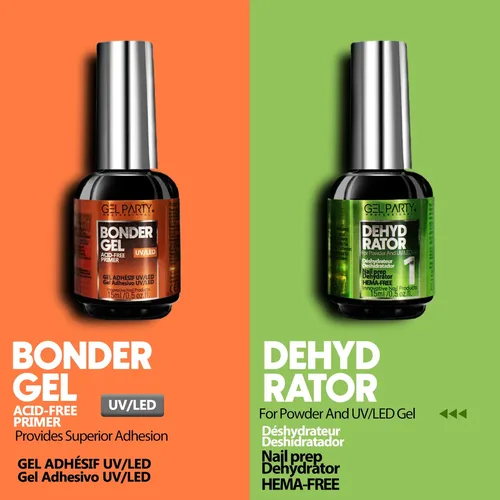
- Bond or prime the nail plate only. A thin layer, never pooled in the sidewalls. Our Nail Prep Kit pairs a dehydrator with a bonder gel for this step.
Application: the base, the bead and the float
Every builder gel has its own instructions, so follow the label. The overall rhythm is the same for most jar and bottle builders.
1. A thin base or slip layer
Scrub a very thin layer of base coat or builder into the nail and cure it. This is the anchor. Some educators also use an uncured "slip layer," a thin film of builder that you don't cure, so that the next bead glides on and self-levels without bubbles. Scratch magazine's guide to brush-on builder describes exactly this base, slip and bead approach.
2. Pick up a bead
Take a small bead on your brush and twist as you lift it out of the jar so it doesn't string. Size matters: a bead too big floods the cuticle; a bead too small means you'll be dragging and dabbing until the surface is lumpy.
3. Place it in the stress area and float
Place the bead near the center of the nail and float it toward the sidewalls, the free edge and up toward the cuticle without touching the skin. Leave a hairline gap of about 1 mm at the cuticle and sidewalls. Use small, gentle movements rather than long strokes, and work one or two nails at a time so the gel doesn't run.
4. Let gravity help
Our Builder Gel instructions suggest turning the hand upside down for 5 to 10 seconds so the gel settles into a smooth curve. Check the side profile, then flash-cure for about 10 seconds to lock the shape before the full cure.
5. Cap the free edge
Run a thin film of gel over the very edge of the nail on every layer: base, builder, color and top coat. An uncapped edge lets water and knocks get underneath from the front.
The apex: the part that makes builder gel strong
The apex is the highest point of the nail when you look at it from the side. It's where builder gel earns its name.
Nail educator Kevin Nicholls describes the natural nail as two arches: one running from the cuticle to the free edge, and the C-curve running from sidewall to sidewall. Where both arches peak, usually in the center of the nail just behind where it leaves the finger, is the stress area, and that's where the most product belongs. The overlay is thinned at the cuticle, the sidewalls and the free edge.
Where the gel goes
- Free edge: thin and cappedA thin film wraps the very edge on every layer. Bulk here just adds weight and leverage.
- Apex: the thickest pointIn the stress area, the center of the nail just behind where it leaves the finger. This is where the nail bends, so this is where the strength goes.
- Cuticle zone: thin, 1 mm from the skinThe gel tapers down to almost nothing, with a hairline gap from the cuticle and sidewalls.
Thin, thick, thin: that's the whole profile. The glowing band marks the stress area where the apex belongs on a short natural nail.
Two details catch people out:
- Length moves the apex back. Nicholls notes that on longer, more extreme shapes the apex needs to sit further back toward the base, where it anchors the long free edge. On a short stiletto it sits near the base so the nail doesn't look like a claw.
- Growth moves the apex forward. As the natural nail grows, the apex travels toward the free edge and the nail becomes unbalanced. That's when breaks happen, and it's exactly why the infill is called a "rebalance."
We cover apex placement, checking it from three angles and fixing common apex mistakes in our dedicated guide: builder gel apex: where it goes and why.
Curing: thin layers, the right lamp
Builder gel cures from the top down. UV light only travels a short distance into the gel before it's absorbed, so the bottom of a thick layer gets far less light than the top. Kevin Nicholls puts it plainly: a gel coat that's too thick can look shiny and cured on top while staying soft underneath, and curing longer doesn't fix it, because the light still can't get through. Thin, even layers with the correct lamp work far better than extra lamp time.
Cure it right
Times are from the GEL PARTY Builder Gel instructions and vary with lamp wattage: always follow the label and your lamp's guide. Lamp photo: stock photo via Pexels.
Match the lamp to the gel
Gels are formulated for a specific range of wavelengths and intensity. Doug Schoon's advice is blunt: UV gels should only be cured with the lamp or lamps specified by the gel manufacturer, and no single lamp can properly cure every gel. Using a strong LED lamp on a gel designed for an older fluorescent UV lamp can overcure and overheat it. Using a weak or mismatched lamp can undercure it. The British Association of Dermatologists gives the same advice for home users: use the recommended lamp and don't use it with other polishes bought separately.
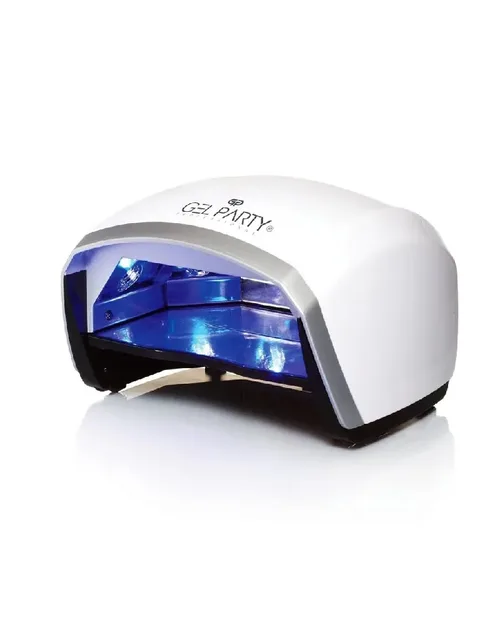
A professional lamp like our EARTH MOON 48W LED lamp has 10, 20 and 30-second timers, an auto sensor and a low-heat setting. Whatever lamp you use, keep the base clean, keep fingers flat, and cure thumbs on their own.
Heat spikes
That sudden burning feeling in the lamp is a heat spike. Schoon explains that every time two molecules join during curing, a tiny amount of heat is released, and across a whole nail that adds up. The thicker the layer, the more heat. Thumbs, with their bigger nail plates, feel it first. Over-filed nail plates and friction burns make it worse. Thin layers, the right lamp and a gentle prep are the fix. If a client feels heat, a short flash cure followed by a full cure is kinder than leaving them in pain.
The sticky layer
Many builder gels leave a tacky layer on the surface after curing. That's normal. Wipe it with a lint-free pad and cleanser before filing, or leave it in place if you're going straight to the next gel layer and your system's instructions allow it.
Shaping and finishing
Once the builder is fully cured:
- Wipe any sticky layer.
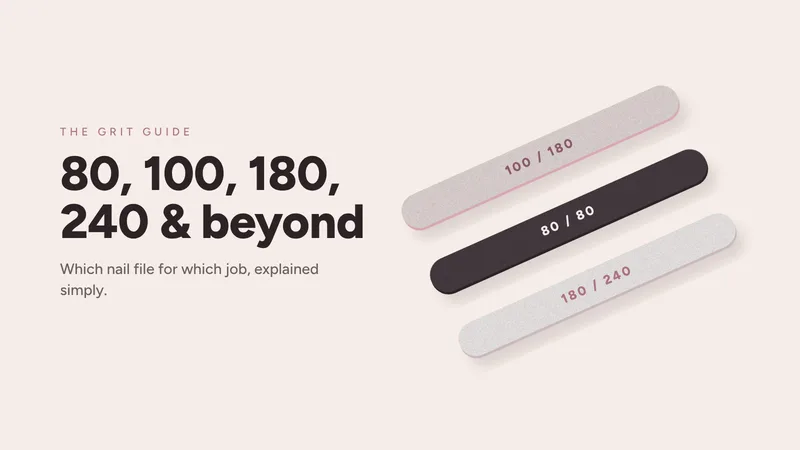
- Shape the free edge with a 100 or 100/180 file. Keep strokes long and light.
- Refine the surface. Look down the barrel of the nail (from the tip toward the cuticle) and from the side. Smooth any dips; don't flatten the apex.
- Dust off completely.
- Color, or wear it sheer. Add gel color if you like, or leave a pretty builder shade as is.
- Top coat, capped, then cure.
- Cuticle oil to finish and to send home with the client. On a well-applied set, daily oil keeps the nail and the coating flexible; it doesn't cause lifting.
Extensions with builder gel
Builder gel can carry length, as long as the structure is right. There are three common routes:
- On soft gel tips: apply the tip, then overlay with builder to add an apex and strength. Our soft gel tips guide covers the tip application, and our nail glue guide explains which adhesive to use.
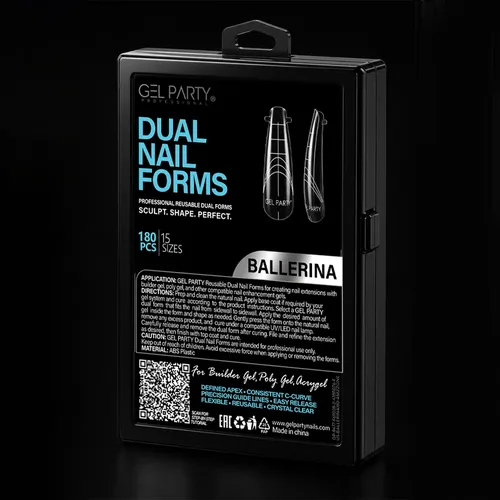
- On dual forms: fill a dual form with builder or solid builder, press it on at an angle, cure and pop it off.
- On paper forms: the classic sculpting method, where builder is laid over the nail and onto a form under the free edge.
Whichever you choose, the longer the nail, the more rigid the gel needs to be, and the further back the apex sits. A flexible rubber base on a long extension will bend and lift at the free edge. Solid builder is a good choice when you want full control: the 3D Solid Builder Gel doesn't run into the cuticles and can also be carved into 3D details.
Infills and rebalancing
Builder gel isn't meant to be removed every visit. As the nail grows, you file the old product down to a thin, even layer, then rebuild the structure in the right place. Scratch magazine's guide notes that infills are typically due around two weeks after the first service, with fuller maintenance at two to three weeks as the apex moves forward. Many techs book every three to four weeks depending on how fast the client's nails grow; our Builder Gel in a Bottle instructions use the same 3 to 4 week window.
The infill cycle
- Day 0Fresh set: apex in the stress area, thin at the cuticle, free edge capped.
- Week 2New growth shows at the cuticle. The apex has started to move forward with the nail.
- Week 2 to 4Infill due: file the old product down to a thin base, rebuild the apex where it belongs, shorten and reshape.
- OverdueThe apex sits over the free edge, the nail is top-heavy, and breaks or lifting at the free edge become likely.
Growth speed differs from client to client: book by how the nail looks, not only by the calendar.
The basic infill:
- Check for lifting. File away any lifted product completely until no ledge remains. Never seal over a lift.
- Debulk. Reduce the existing builder to a thin, even foundation. Remove most of the old apex. Scratch points out that if you keep refilling on top of old product, nails become thick and chunky.
- Prep the new growth like a new set: tissue off, shine off, dust off, dehydrate, bond.
- Rebuild: a thin layer over the whole nail, then a bead to place the apex back in the stress area.
- Shape, refine, finish as for a new set.
When filing the old product, file the gel, not the natural nail. If you use an e-file, keep it moving, use light pressure and lower speeds near the cuticle.
Removal: file or soak?
Removal causes more nail damage than application ever does, so take your time.
| Filing down | Soak-off | |
|---|---|---|
| Works on | All builder gels, including hard gels that don't soak off | Soak-off builders, rubber base, builder in a bottle (check the label) |
| How | Hand file (100 grit on the gel) or e-file with light pressure, down to a thin layer | File off the top layer and bulk first, then soak or apply remover, then push gently |
| Risk | Over-filing and heat on the natural nail if you go too far | Dry skin from acetone; damage if you pry or scrape |
| Good to know | Leave a thin layer over the natural nail and soak off the rest, or keep it as the base for the next set | Never peel or pry; reapply remover on stubborn spots |
For our Builder Gel, the instructions are: file the product down with a 100/180 file or an e-file, leaving a thin layer over the natural nail, then soak off what remains or leave it as the base for the next set. Gel removers made for gel polish and rubber base are not meant for hard, non-soak-off builders; those must be filed. Whatever the product, the golden rule is the same: never peel, pick or pry builder gel off a natural nail. That takes layers of nail plate with it.
Troubleshooting builder gel
| Problem | Most likely cause | What to change |
|---|---|---|
| Lifting at the cuticle in week one | Tissue or shine left on the plate, gel too thick or on the skin | Cleaner cuticle prep, thinner gel, 1 mm gap |
| Lifting at the sidewalls | Gel flooded onto the skin, sidewalls not prepped | Smaller bead, prep the sidewalls, wipe flooding before curing |
| Cracks at the stress area | No apex, apex too far forward, gel too flexible for the length | Rebuild the apex in the stress area, use a more rigid gel |
| Soft or wrinkled gel after curing | Layer too thick, wrong lamp, heavy pigment | Thinner layers, the lamp made for that gel, cure thumbs separately |
| Burning in the lamp | Heat spike from a thick layer or a mismatched lamp, thinned nail plate | Thinner layers, flash cure first, gentler prep |
| Bubbles | Air whipped in by overworking, bead dropped from too high | Slip layer, gentle floating, let the jar rest |
| Bulky, thick nails | Infills built on top of old product | Debulk properly before every infill |
| Free edge chips | Free edge not capped, aggressive final filing | Cap every layer, file with light pressure |
Most of these come back to the same handful of habits. For the full diagnosis of lifting, from where it starts to what it means, read why builder gel lifts.
A builder gel checklist
Print it, pin it at your desk:
- Prep: tissue off, shine off, dust off.
- Dehydrate, then don't touch.
- Bond or prime the plate only.
- Thin base or slip layer.
- Bead in the stress area, float to the edges, 1 mm from the skin.
- Self-level, check the side profile, flash cure.
- Full cure with the right lamp, thumbs separately.
- Cap the free edge on every layer.
- Shape, refine, top coat, oil.
- Book the infill.
Frequently asked questions
Is builder gel bad for your nails?
Not when it's applied, maintained and removed properly. NAILS Magazine quotes the Nail Manufacturers Council: nail enhancement products are safe for the natural nail if properly applied, maintained and removed. Damage usually comes from over-filing the natural nail, prying product off or skipping infills, not from the gel itself.
How long does builder gel last?
Builder gel isn't a one-off manicure. With good prep and structure, a set is maintained with infills, typically every two to four weeks depending on how fast the nails grow. How long it holds up between appointments depends on the client's nails, lifestyle and the quality of the apex.
Can I use builder gel on short natural nails?
Yes. That's one of its best uses. A thin overlay with a gentle apex protects short, weak nails while they grow. For very thin, bendy nails, a more flexible gel such as rubber base or builder in a bottle may suit better than a rigid hard gel.
Do I need a base coat under builder gel?
Most builder gels are applied over a dehydrated nail with a bonder or a thin base layer. Our Builder Gel instructions use a very thin, cured base coat or slip layer of builder as the anchor. Follow the steps for your gel.
Can you soak off builder gel?
Some, not all. Traditional hard gels can't be soaked off and must be filed. Soak-off builders are filed down first, then the rest is soaked off. Check the label of your gel.
Why does my builder gel get hot in the lamp?
Curing releases heat, and thicker layers release more of it. A lamp that's too strong for the gel, a thinned nail plate or a large thumbnail make it more noticeable. Use thinner layers, the lamp made for your gel and a short flash cure first.
How often should builder gel be filled?
Most clients need an infill every two to four weeks. Book sooner if the apex has moved forward, the nail looks top-heavy or you see lifting at the cuticle.
What's the difference between builder gel and gel polish?
Gel polish is a thin color coat. Builder gel is thicker and is designed to add structure, so it can build an apex, carry length and strengthen the nail. Many techs use both: builder for structure, gel polish for color on top.
The bottom line
Builder gel rewards care in a few specific places: a clean, matte nail plate, product kept off the skin, thin layers that cure all the way through under the right lamp, and an apex that sits in the stress area and gets moved back there at every infill. Pick the texture that matches the nail and the length, file gently, and never pry. Get those habits right and builder gel becomes the most reliable service on your menu.
Sources
- Kevin Nicholls, NailKnowledge. The structure of overlays and enhancements (two arches, the apex in the stress area, apex further back on long shapes, rebalancing as the nail grows). 14 November 2021.
- Kevin Nicholls, NailKnowledge. UV curing: why thin layers matter for perfect nails (thick layers stay soft underneath, extra curing doesn't fix it, use the recommended lamp). 17 August 2025.
- Doug Schoon, NailKnowledge. If I use an LED nail lamp on a product designed for traditional UV nail lamps, will the UV gel become over cured? (use the lamp specified by the gel maker; no one lamp cures all gels). 5 January 2024.
- Doug Schoon, NailKnowledge. Heat spikes during UV gel nail coatings (curing releases heat; thicker layers release more; avoid over-thinned plates). 18 March 2022.
- Doug Schoon, NailKnowledge. Nail plate overfiling is an avoidable, yet common problem (coarse files and e-files can thin the plate; thinned plates hurt adhesion; remove only the surface shine). 13 November 2020.
- Doug Schoon, NailKnowledge. Oily nail plates and proper nail coating application (lifting comes more often from preparation, application, curing or removal). 7 August 2024.
- NailKnowledge glossary. Soak-off gels (soak-off gels are porous and removed with acetone; hard gels must be filed). Last updated 18 January 2023.
- Beth Livesay, NAILS Magazine. Hard vs. soft: a closer look at gels (molecular structure, filing vs soaking, Nail Manufacturers Council statement). 4 August 2014.
- Rebecca Hitchon, Scratch. Brush-on builder gel: how to nail application & infill (thin first layer, slip layer, infill timing, debulking). 27 August 2024.
- British Association of Dermatologists. Dermatologists reiterate artificial nails warning and risk of at-home kits (uncured product on skin, undercuring, recommended lamps, nitrile gloves). 14 April 2023.
- GEL PARTY product information: Builder Gel, Classic Hard Builder Gel, Builder Gel in a Bottle, 3D Solid Builder Gel, EARTH MOON 48W LED Lamp (application steps, cure times, removal).