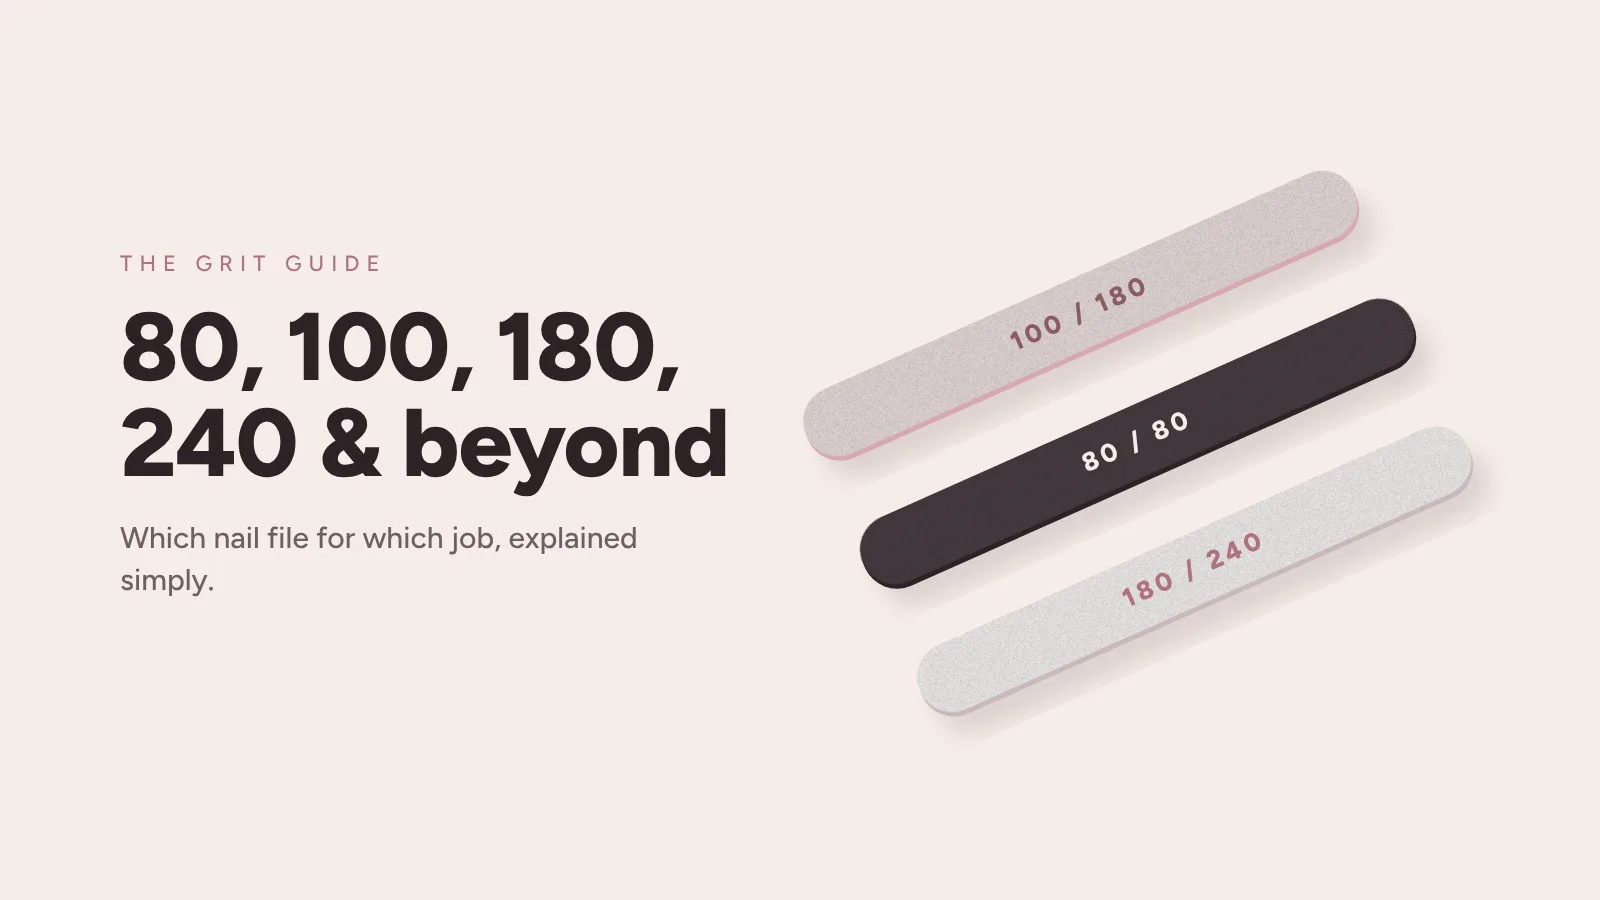
Most people grab whatever nail file is closest and start sawing. I did too, for years. Then a nail tech friend watched me file my natural nails with a black 80 grit file meant for acrylic, winced, and took it out of my hand. "That's a power tool," she said. "You're using a power tool on paper."
She was right, and it's the single most common mistake I see. The number printed on a nail file is not decoration. It tells you how aggressive the file is, and picking the wrong one is the fastest way to end up with peeling, splitting, paper-thin nails, or a gel set that takes forever to shape.
So let's clear it up properly. This guide covers what grit actually means, what each common number is for, which files belong on natural nails and which belong only on gel, acrylic and poly gel, and how to file so your nails stay strong. I'll use our own GEL PARTY files and buffers as examples throughout, because they cover the full range from 80 grit to a 4000 grit shine side.
What does "grit" mean on a nail file?
Nail files borrow their numbering from sandpaper. The grit number describes how fine the abrasive particles are. It comes from the sieve, or mesh, used to grade the particles: a higher number means a finer mesh, so the particles that get through are smaller.
That gives you one rule to remember, and it trips everyone up at first because it feels backwards:
The lower the number, the coarser and more aggressive the file. The higher the number, the finer and gentler it is.
An 80 grit file has big, sharp particles spaced far apart. It bites into whatever it touches and removes material fast. A 240 grit file has tiny particles packed tightly together, so each stroke takes off far less. By the time you reach the 1000 to 4000 range, you're not really "filing" at all. You're polishing.
From coarse to fine
Each circle shows the abrasive getting finer as the number goes up. Fewer, bigger particles cut fast. More, smaller particles smooth and polish.
Why most files have two numbers
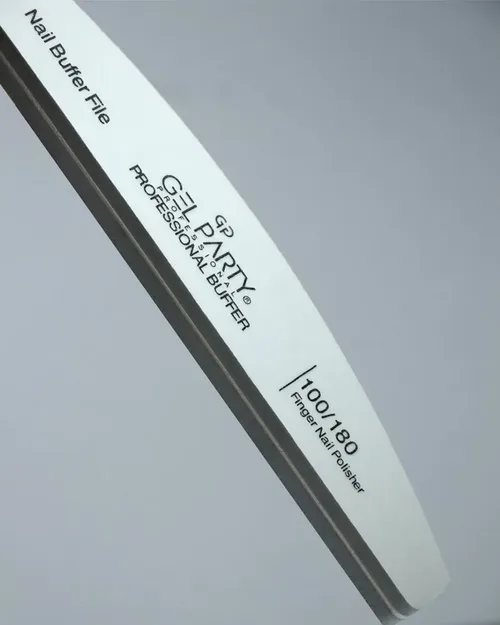
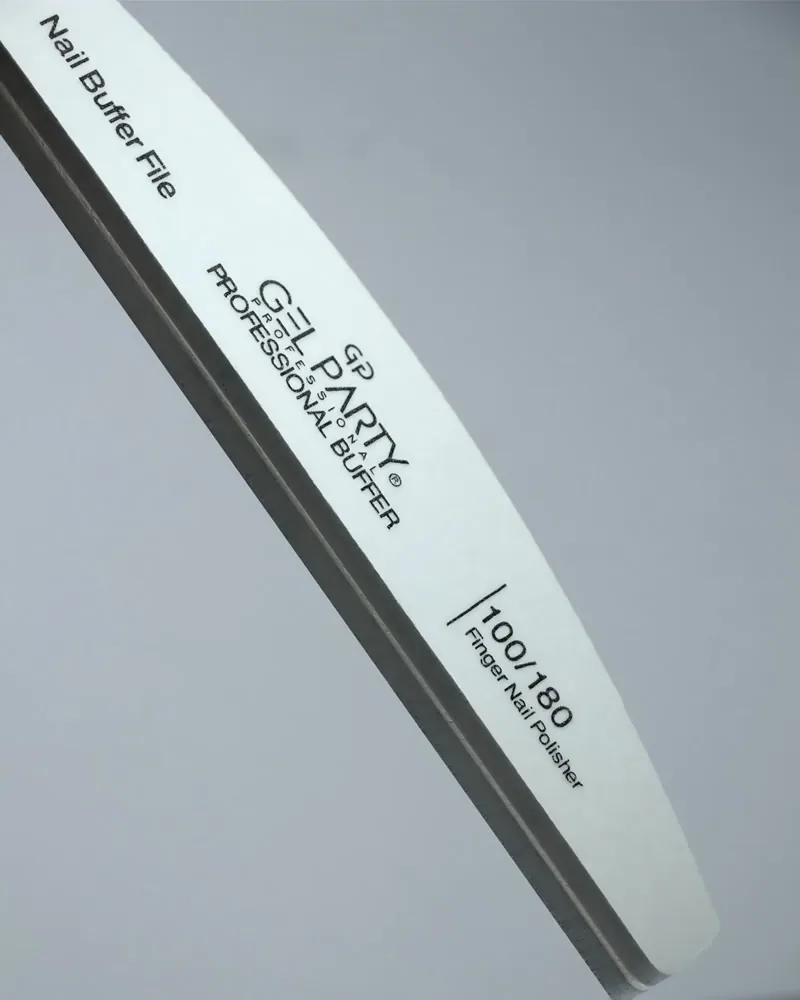
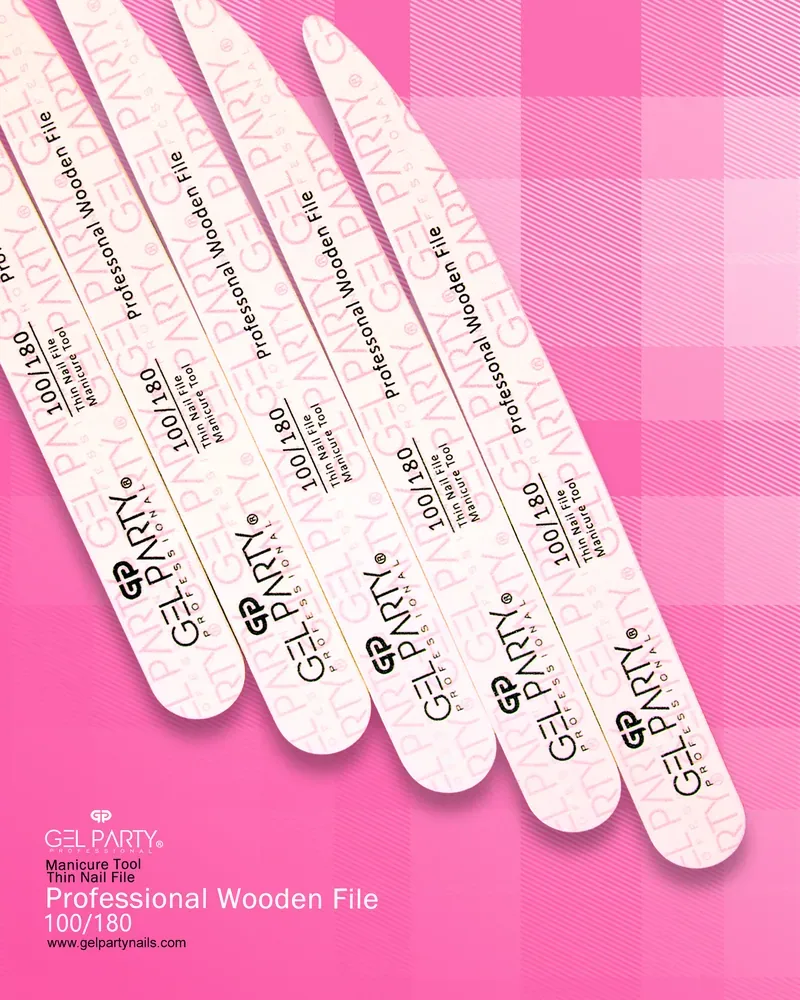
Pick up almost any professional file and you'll see two numbers, like 100/180. Each side has a different grit. The first number is usually the coarser side and the second the finer one. A 100/180 file lets you shape with the 100 side and finish with the 180 side without switching tools. When both numbers match, as on an 80/80 or 100/100 file, both sides are the same.
What each grit is for
Here's the part that matters day to day. I've written each section the way I'd explain it to a friend standing in front of a nail supply shelf.
80 grit: the heavy lifter
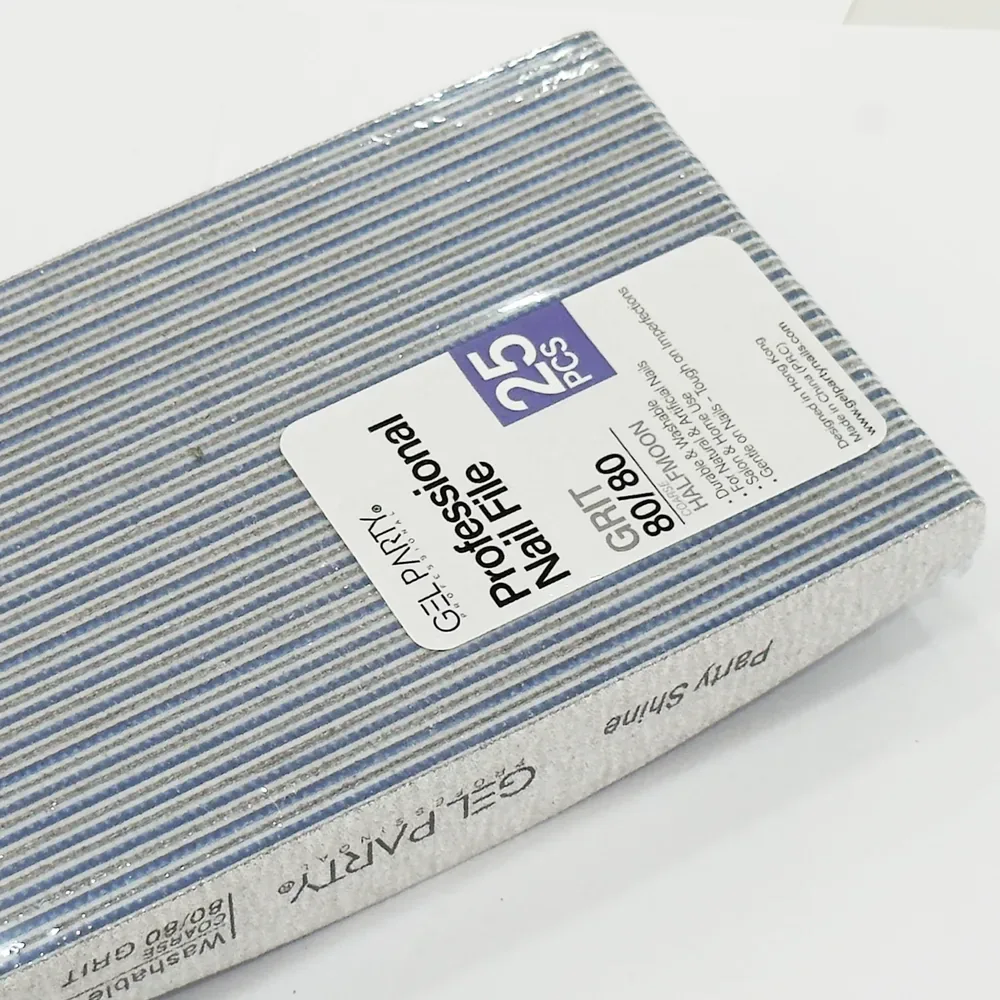
80 grit is the coarsest file most people will ever own, and it's meant for one thing: taking down hard product quickly. Think removing bulk from an acrylic or hard gel set, shortening long extensions, or cutting through old product before a rebalance.
What it is not for is your natural nail. Not to shape it, not to shorten it, not "just quickly." The particles are so aggressive that they tear the layers of the nail plate instead of cleanly shaping them. That's where a lot of mystery peeling and splitting comes from.
Even on enhancements, use it with light pressure and keep it moving. Let the file do the work. Pressing harder doesn't make it faster, it just makes it hotter and less controlled.
100 grit: shaping enhancements
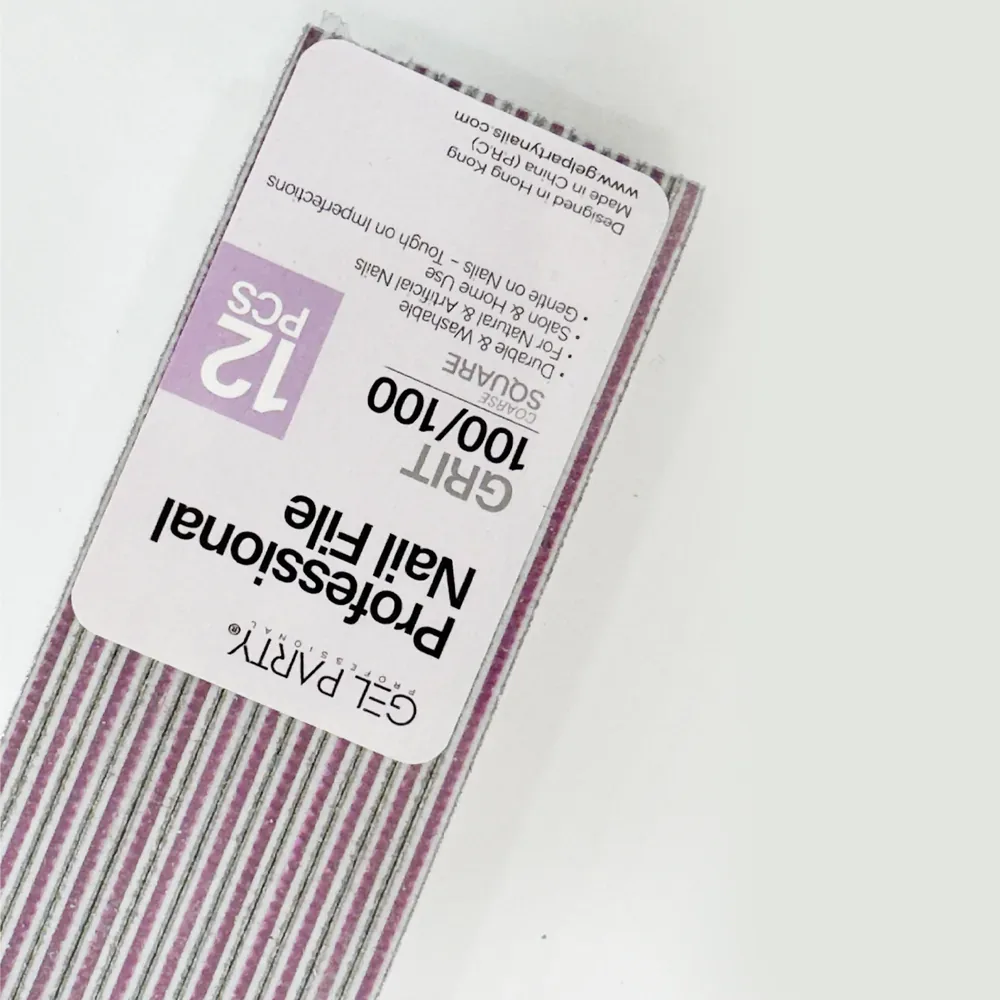
100 grit is still coarse, but it's the workhorse for shaping artificial nails. Use it to set the length and shape of gel, acrylic and poly gel, file sidewalls, and build a clean free edge. Most techs reach for 100 grit more than any other number when they're working on a full set.
Like 80, it stays off the natural nail plate. If you're removing gel polish, you might use the 100 side very gently to break the top coat seal before soaking, but never on bare nail.
180 grit: the natural nail file
This is where natural nails live. 180 grit is gentle enough to shape your own nails cleanly when you file in one direction, and fine enough to refine the edge of an enhancement after the 100 side has done the heavy shaping.
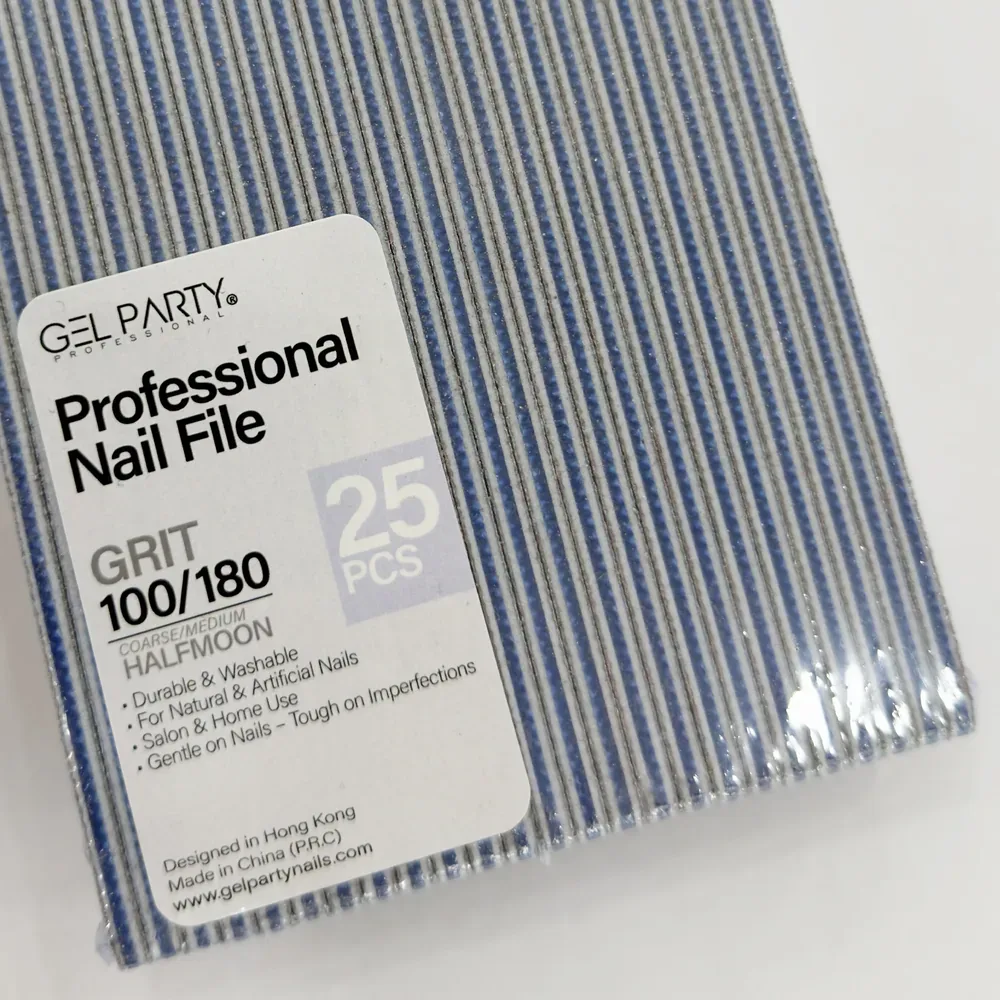
If you only buy one file for home, a 100/180 is the smartest choice. The 100 side is there for gel or acrylic. The 180 side handles natural nails, soft gel tips, smoothing the free edge and those final little corrections.
240 grit: for thin, soft or damaged nails
240 grit is the gentle one. If your nails are thin, bendy, prone to splitting, or still recovering from a removal that went wrong, step up to 240. It works slowly, and that's the point. Slow means controlled. You're far less likely to over-file or leave rough, frayed edges.
It's also lovely for a final pass on the free edge of natural nails to seal the layers and leave a smooth finish that won't snag on knitwear.
Buffers: 400 to 4000 and above
Once shaping is done, buffers take over. A buffer isn't a file in disguise and shouldn't be used to shorten anything. Its job is to smooth the surface, remove fine scratches and, at the very fine end, polish the nail to a natural shine.
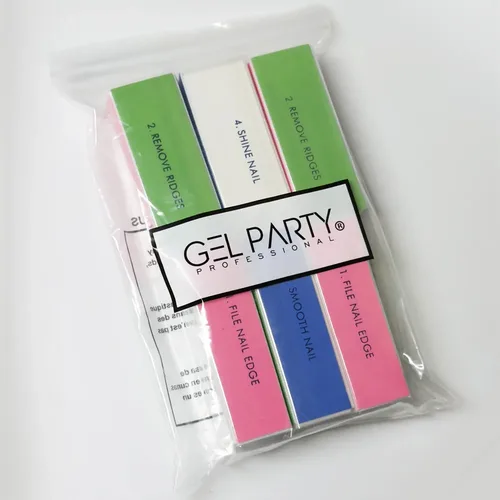
A 4-way buffer block packs a full routine into one tool. Our GEL PARTY 4-way block uses four grits: 180 to shape, 400 to smooth, 600 to buff and 4000 to shine. Each side is color coded so you always know which step comes next.
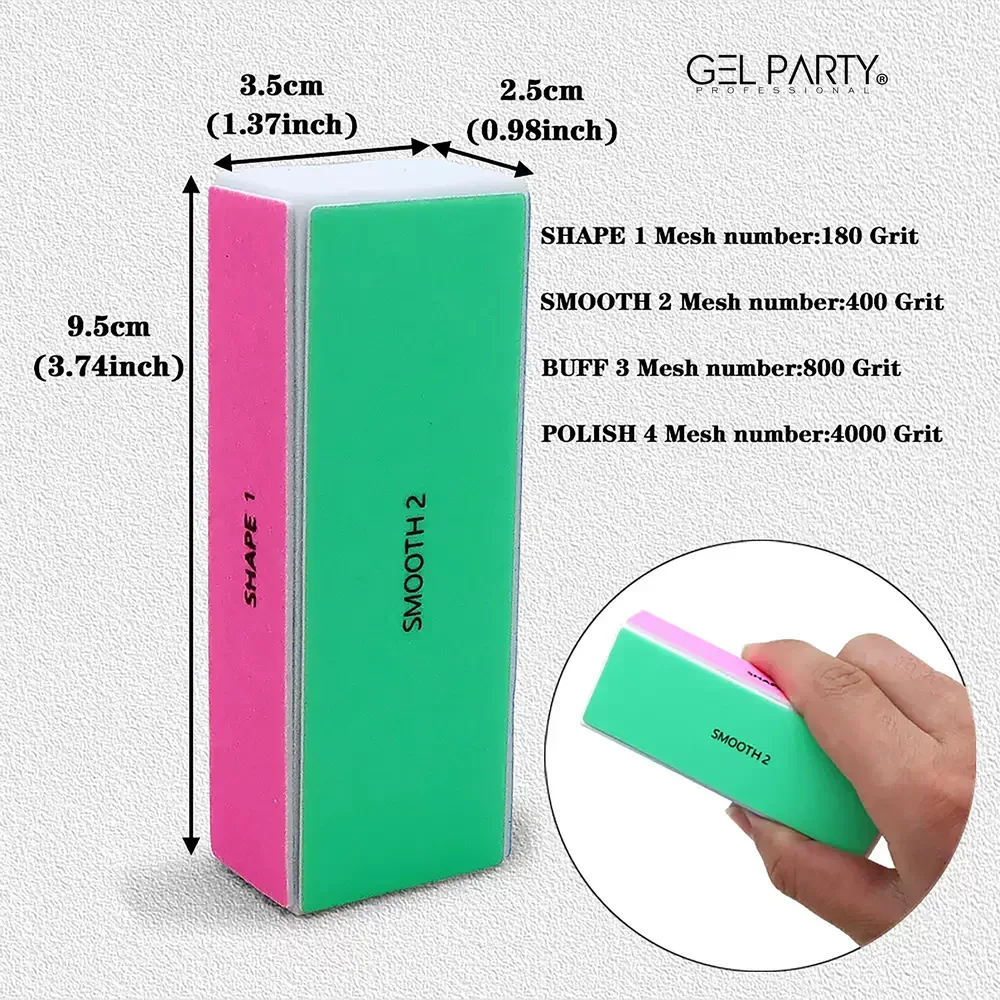
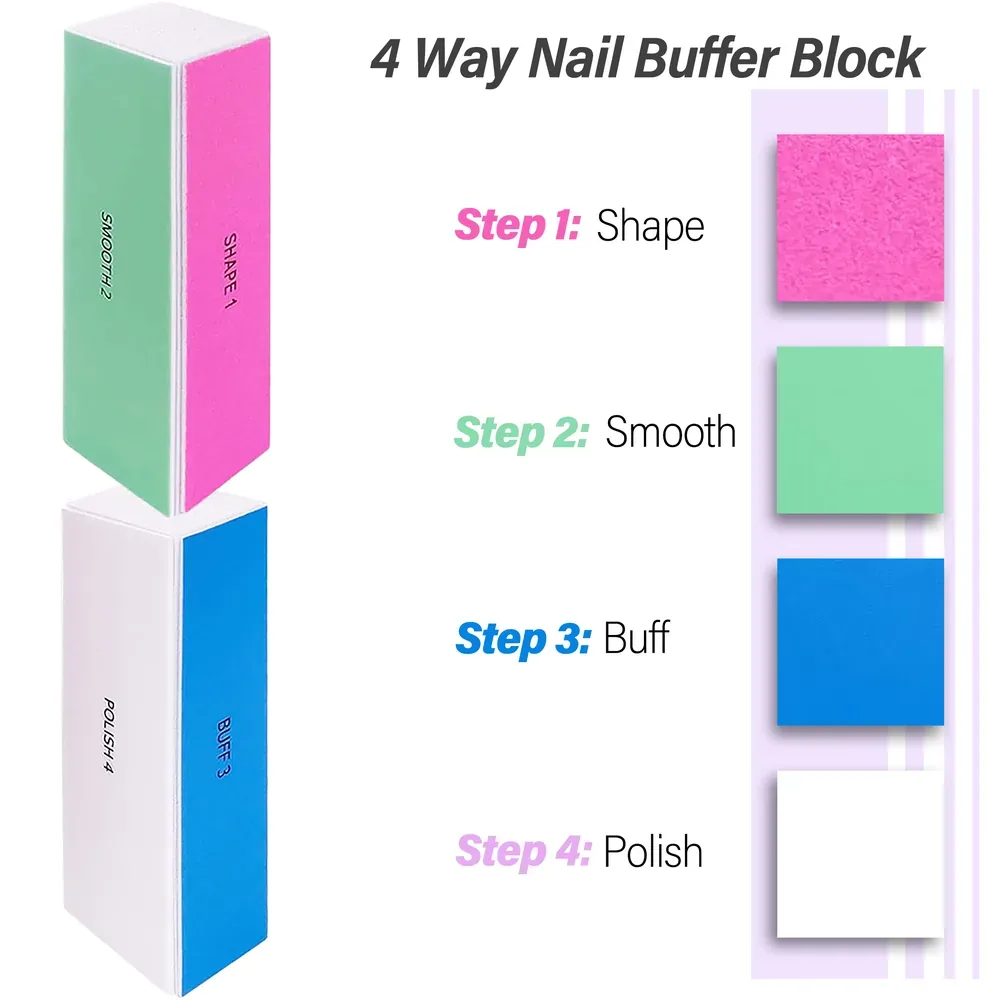
A quick word of caution: buffing feels nice, so it's easy to overdo. Buffing the nail surface removes a tiny layer each time. A few light passes every couple of weeks is plenty. If your nails start looking thin or feel sensitive, stop.
The grit chart at a glance
| Grit | Feel | Use it for | Safe on natural nails? |
|---|---|---|---|
| 80 | Very coarse | Removing bulk, shortening acrylic, hard gel and poly gel | No |
| 100 | Coarse | Shaping gel, acrylic and poly gel, sidewalls, length | No |
| 150 | Medium-coarse | Refining enhancements, blending | Rarely, very gently |
| 180 | Medium | Shaping natural nails, refining edges, soft gel tips | Yes |
| 240 | Fine | Thin, weak or splitting natural nails, finishing edges | Yes |
| 400–600 | Very fine | Smoothing ridges and file marks | Yes, lightly |
| 1000–4000 | Ultra fine | Polishing to a natural shine | Yes, lightly |
Which file should you use? Match the grit to the nail
The right grit depends less on the file and more on what's underneath it. Here's how I'd choose for the most common situations.
| What you're working on | Shape and length | Refine and finish |
|---|---|---|
| Healthy natural nails | 180 | 240, then buffer |
| Thin or splitting natural nails | 240 | Buffer very lightly |
| Gel polish (before removal) | 100 or 180, top coat only | n/a |
| Builder gel and builder in a bottle | 100 | 180 |
| Acrylic | 80 to remove bulk, 100 to shape | 180 |
| Poly gel | 100 | 180 |
| Soft gel tips | 100 for length | 180 for edges and blending |
| Toenails | 180 | 240 |
Straight, half-moon or banana: does the shape matter?
Grit gets most of the attention, but the shape of the file changes how it feels in your hand.
A straight file gives you clean, crisp sidewalls and makes square and squoval shapes easy, because the edge stays perfectly flat against the nail. A half-moon file follows the natural curve of the nail and the cuticle area, which makes it great for round, oval and almond shapes. Banana and boat-shaped files taper at the ends, so they slip into sidewalls and tight corners easily.
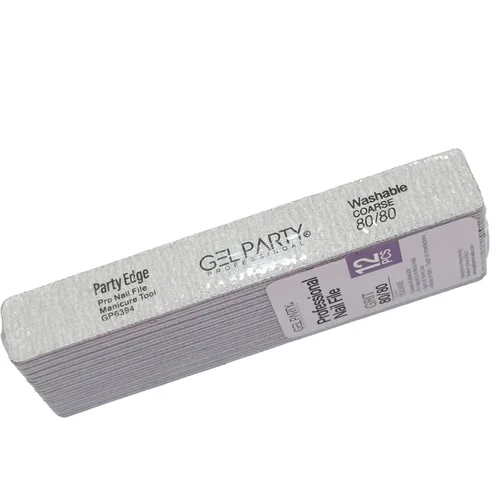
Our GEL PARTY professional nail files come in straight square and half-moon shapes, in 80/80, 100/100 and 100/180, and in packs of 12 or 25 for salon use.
Sponge buffers and wooden files
A sponge buffer file has a cushioned foam core, so it flexes with the nail. That makes it ideal for smoothing the surface of gel and natural nails without heat or harsh pressure. Wooden files are slim and light, a favorite for travel kits and quick touch-ups.
How to file your nails without damaging them
The grit is half the story. Technique is the other half. These habits make the biggest difference, and they're the same ones the American Academy of Dermatology recommends.
One direction, not back and forth
The nail plate is made of thin layers. Filing in one direction cuts them cleanly. Sawing back and forth roughs them up and lets them separate.
File in one direction. This is the big one. Go from the outside edge toward the center, lift the file, and repeat. Back-and-forth sawing creates friction and frays the layers at the free edge.
File dry nails. Wet nails are softer and more flexible, so they tear and fray more easily under a file. If you've just showered or done the dishes, wait.
Use light pressure. Hold the file loosely and let the grit do the work. If you're pushing hard, you probably need a coarser file for that job, not more force.
Round the corners slightly. Sharp corners snag on clothes and catch on things. A gentle curve keeps them from breaking.
Don't file the surface of natural nails with a file. Use a fine buffer for that, and only lightly. Filing across the top of the nail thins it fast.
Brush the dust away. Before you apply base coat, gel or top coat, brush off every bit of filing dust. Dust trapped under product is a common cause of lifting.
Looking after your files and buffers
Files wear out, and a worn file is a bad file. Once the grit feels smooth and stops gripping, it starts polishing and heating the nail instead of shaping it. Replace it.
Our GEL PARTY professional files are washable, so in a salon you can clean and disinfect them between clients, following your local hygiene rules. Buffer blocks can be rinsed and left to air dry. Store everything dry and separate, so coarse files don't scratch the finer surfaces of your buffers.
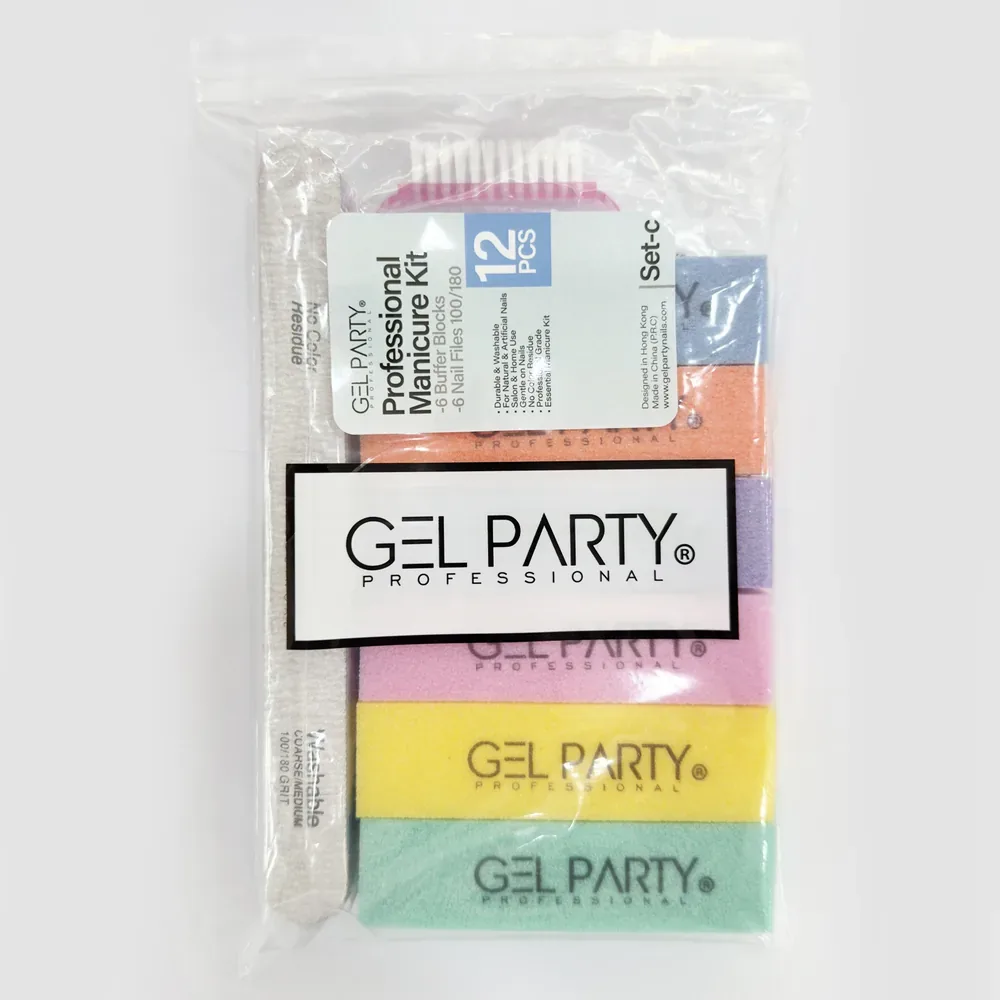
If you want everything in one place, the Professional Manicure Kit pairs six 100/180 files with six buffer blocks, which covers shaping, refining and smoothing for both natural nails and enhancements.
Common nail filing mistakes (and the fix)
| Mistake | What happens | The fix |
|---|---|---|
| Using 80 or 100 grit on natural nails | Peeling, splitting, thin nails | Use 180, or 240 for delicate nails |
| Sawing back and forth | Frayed, weak edges | File in one direction |
| Filing wet nails | Tearing and soft edges | Wait until nails are fully dry |
| Pressing too hard | Heat, uneven shape, sore nails | Light pressure, let the grit work |
| Over-buffing the surface | Thin, sensitive nails | Buff lightly, every few weeks at most |
| Using a worn-out file | Heat and poor shaping | Replace files when they feel smooth |
| Leaving dust under product | Lifting gel and acrylic | Brush and cleanse before applying |
Frequently asked questions
What grit nail file is best for natural nails?
180 grit is the best all-round choice for shaping healthy natural nails. If your nails are thin, soft or splitting, use 240 grit instead. Avoid 80 and 100 grit on natural nails completely.
What grit should I use on acrylic nails?
Use 80 grit to remove bulk or shorten acrylic quickly, 100 grit to shape it, and 180 grit to refine the edges and finish. Always use light pressure.
What grit file should I use for gel nails and builder gel?
Shape builder gel, builder in a bottle and hard gel with a 100 grit file, then refine with 180. To break the top coat seal before removing gel polish, file the shine off gently with a 100 or 180 grit file, staying on the product only.
Is a higher grit nail file better?
Not better, just finer. A higher number means smaller particles and a gentler file. The best grit is the one that matches the job: coarse for removing hard product, fine for natural nails and finishing.
What does 100/180 mean on a nail file?
It means the file has two sides with two different grits: a 100 grit side for shaping enhancements and a 180 grit side for natural nails and refining. It's the most versatile file to own.
What is a buffer block used for?
A buffer block smooths ridges, removes file marks and polishes the nail surface. A 4-way block takes you through shape, smooth, buff and shine in four steps. It isn't meant for shortening nails.
How often should I replace my nail file?
Replace a file when the grit feels smooth or stops gripping. In a salon, use washable files that can be disinfected between clients, or give each client their own.
Should you file nails in one direction?
Yes. Filing in one direction cuts the layers of the nail cleanly. Sawing back and forth creates friction and frays the edge, which leads to peeling and splitting.
The bottom line
If you remember nothing else, remember this: low numbers are for hard product, high numbers are for your own nails. Keep 80 and 100 grit for gel, acrylic and poly gel. Use 180 on healthy natural nails and 240 when they need extra care. Finish with a buffer, file in one direction, and replace files once they stop gripping.
Get those few things right and your nails, natural or enhanced, will look better and last longer. For more step-by-step help, browse our how-to guides, read about builder gel vs poly gel vs acrylic, or learn how to apply soft gel tips at home.
Sources
- American Academy of Dermatology, via GlobeNewswire / Santé Log. How to trim your nails (file in one direction, round the corners slightly). 12 February 2019.
- HealthDay News, citing the American Academy of Dermatology. Health tip: keep your nails healthier (smooth edges with an emery board, don't use nails as tools).
- HowStuffWorks. How does the sandpaper numbering system work? (grit numbers, CAMI and FEPA scales, higher number = finer).
- Silcare. 80, 100, 180 or 240: which grit size to choose so you don't damage your nails (grit uses and warnings for natural nails).
- GEL PARTY product information: Professional Nail Files, 4-Way Buffer Block, Professional Manicure Kit, Nail Files & Buffers (grits, shapes, pack sizes, care).