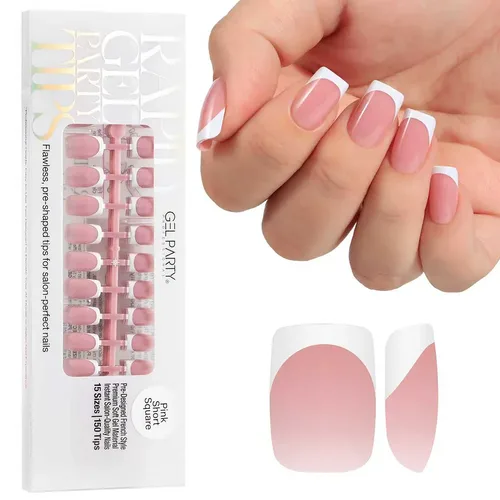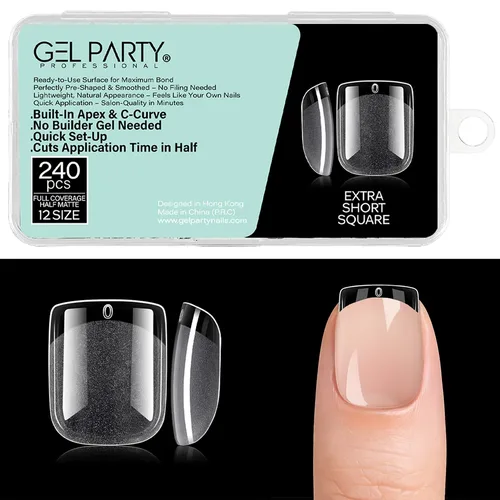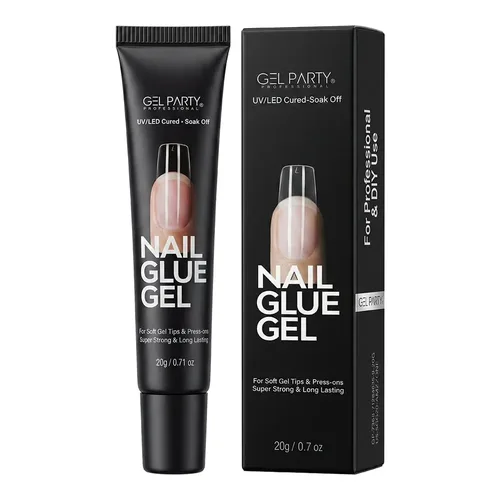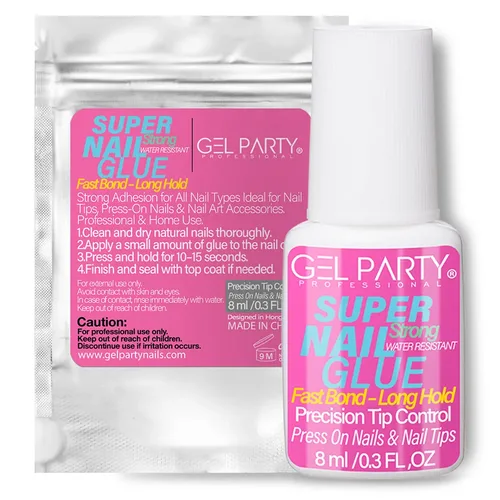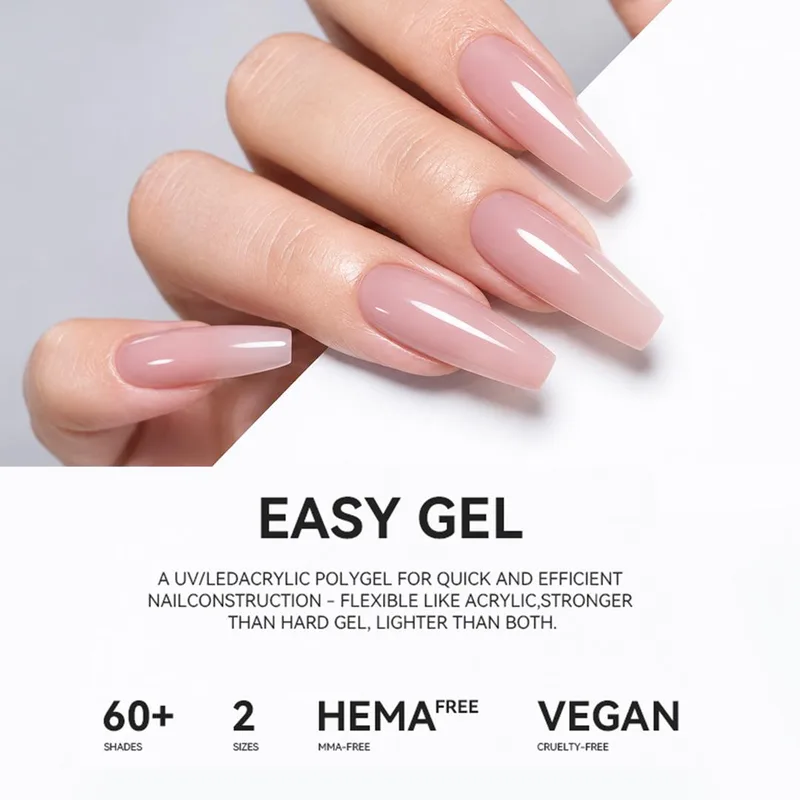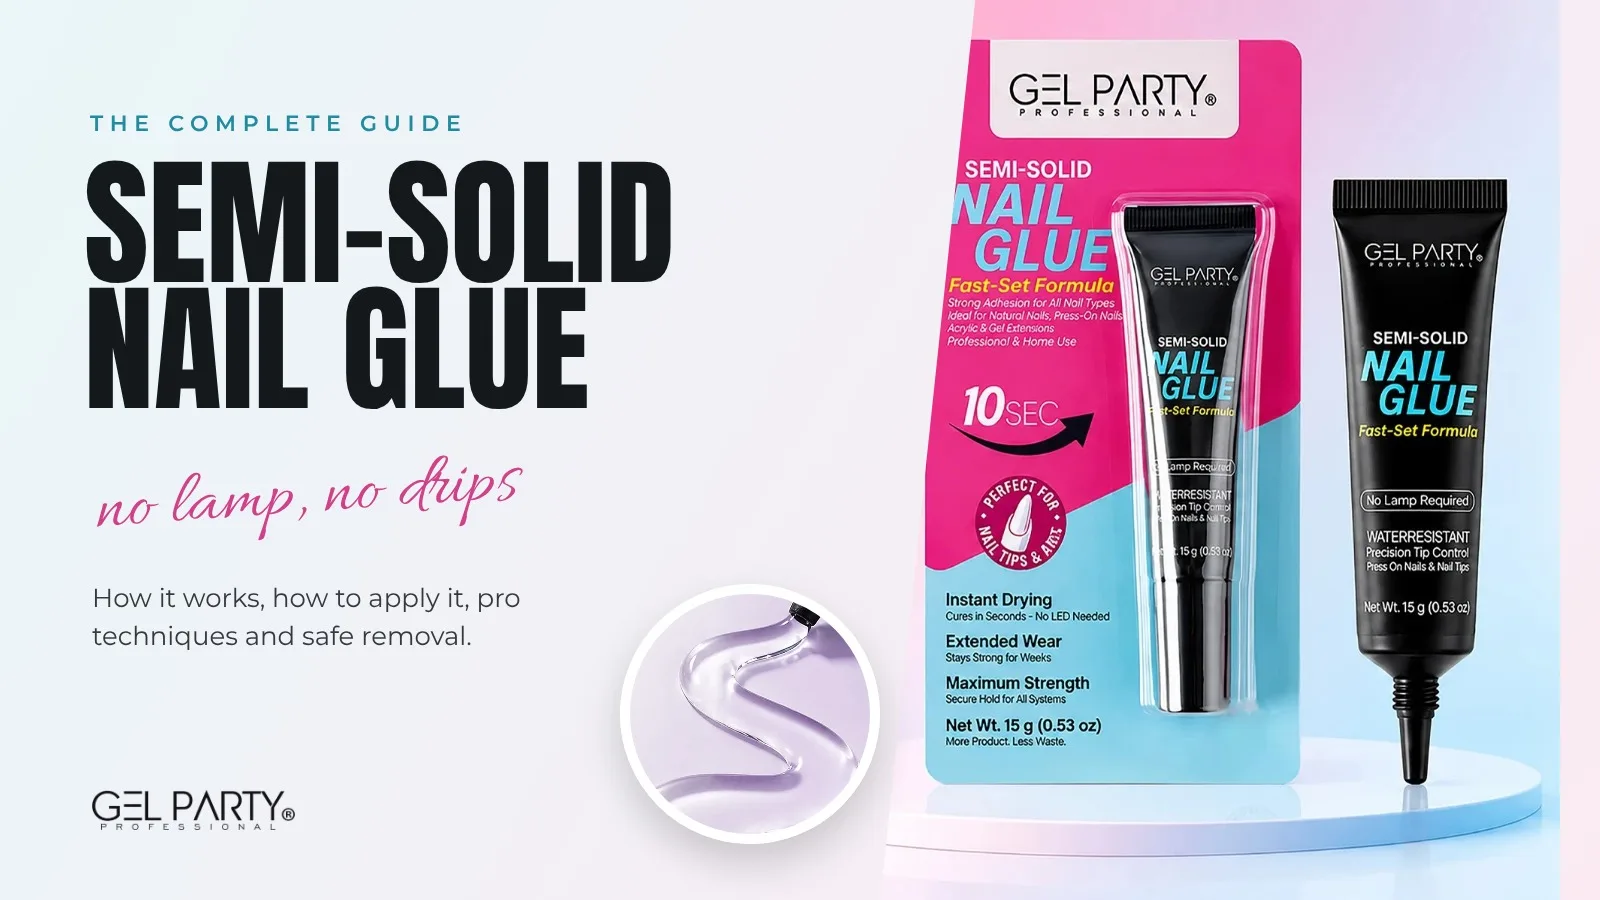
Ask anyone who does press-on nails what goes wrong most often and you'll hear the same two stories. Either the glue ran into the cuticle and set on the skin, or the nail popped off two days later. Semi-solid nail glue was made for exactly those two problems. It's thick enough to stay where you put it, it sets in the air without a lamp, and it gives you a few seconds to line the nail up before it grabs.
This guide covers everything you need to know about it, whether you're a nail tech adding press-on services, a salon owner choosing what to stock, or someone doing their own nails at the kitchen table. You'll find what semi-solid glue actually is, when to use it (and when not to), the application method step by step, techniques that make it last, and how to take it off without damaging the natural nail.
What semi-solid nail glue is
Nail glue comes in two families. Glue gels are light-cured: they stay soft until a UV/LED lamp hardens them. Classic nail glues are air-set: they harden on their own within seconds, triggered by the tiny amount of moisture that's always present on the nail, the tip and in the air. Our nail glue guide explains the chemistry of both families in detail.
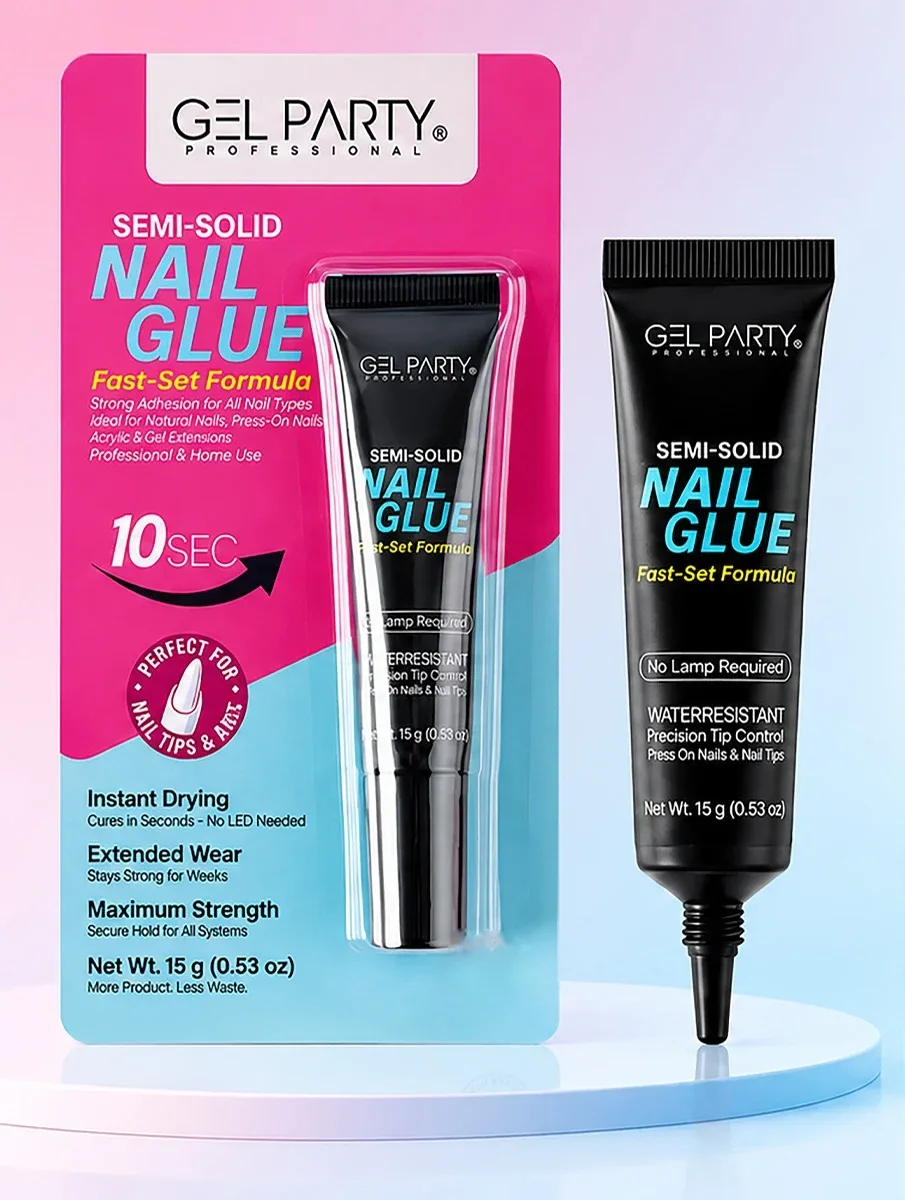
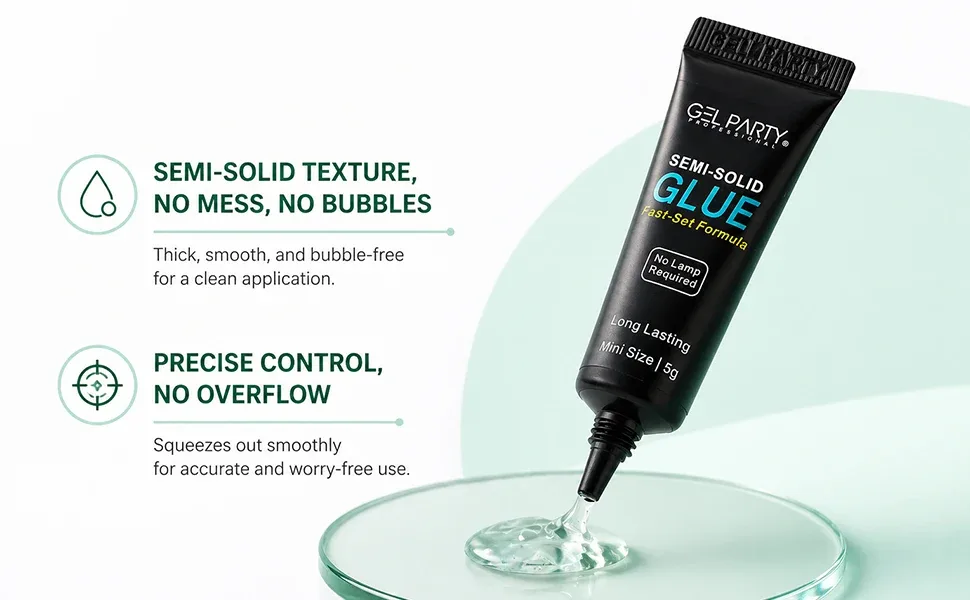
Semi-solid nail glue belongs to the air-set family, with one important difference: the texture. Brush-on glue is thin and watery, so it runs and spreads the moment it touches the nail. Semi-solid glue is thickened into a clear gel that holds its shape. You can squeeze out a line, a dot or a curve and it stays exactly there.
A glue that holds its line
GEL PARTY Semi-Solid Nail Glue, 20 g tube. Even squeezed into a long line, the glue keeps its shape instead of spreading.
That one property changes how it behaves in practice:
- Control. Because it doesn't run, the glue stays inside the press-on instead of flooding the skin.
- Coverage. A small bead spreads into an even layer when you press the nail down, filling the gap between the tip and the natural nail. Thin glue often leaves dry spots or air pockets.
- A little working time. Thick glue grabs slightly slower than a watery glue, which gives you a moment to straighten a crooked nail.
- No lamp. It sets in the air. That's the big difference from glue gel and solid glue gel, which need a UV/LED lamp.
Semi-solid glue vs other nail glues
Semi-solid vs thin glue
A real bead of GEL PARTY Semi-Solid Nail Glue keeps its dome (white outline). The dashed ring shows, for comparison, how far a thin, watery glue would run on the same surface.
| Semi-solid nail glue | Brush-on nail glue | Nail glue gel (UV/LED) | Solid glue gel (UV/LED) | |
|---|---|---|---|---|
| Texture | Thick, clear gel | Thin liquid | Thick, clear gel | Firm, putty-like |
| How it sets | Air (seconds) | Air (seconds) | UV/LED lamp | UV/LED lamp |
| Lamp needed | No | No | Yes | Yes |
| Runs onto skin | Rarely | Easily | Rarely | No |
| Best for | Press-ons, quick sets, travel fixes, small gems | Quick repairs, small surfaces | Soft gel tip extensions | Soft gel tips, longer wear |
| Removal | Glue remover, lift gently | Glue remover or acetone | Acetone soak | Acetone soak |
The simple rule: if the client wants the nails on for a short stretch, with no lamp and an easy removal, semi-solid glue is the right tool. If she wants a soft gel tip extension that lasts until her next fill, use a glue gel and cure it.
Who uses it, and what for
At home. Press-on nails at the kitchen table, with no lamp and no learning curve. This is where semi-solid glue shines, and why it's one of the best-selling glues for press-ons.
In the salon. Press-on fittings for clients who want a one-off look for a wedding, a holiday or a photoshoot. It's also a quick, lamp-free way to reattach a press-on that a client knocked off, or to try tip sizes on a client before committing to a soft gel set.
On the go. A mini tube in a handbag fixes a lost nail in a minute. That's what our 6 × 5 g pack is for: one tube at home, one at work, one in the travel bag.
Small decorations. It also holds small rhinestones, studs and charms on top of a finished nail. For big 3D charms or heavy crystals, a light-cured rhinestone glue gel holds better.
How to apply semi-solid nail glue, step by step
Nine times out of ten, a press-on that pops off early is a prep problem, not a glue problem. Glue can only grip a nail plate that's clean, matte and completely dry.
- Size first. Lay out a press-on for every finger before you open the glue. Each tip should cover the nail from sidewall to sidewall without touching the skin. If you're between sizes, pick the larger one and file the sides.
- Push back the cuticles and remove non-living tissue from the nail plate. Glue on cuticle skin lifts as soon as the skin grows.
- Buff off the shine with a 180 grit file, lightly, then brush away all the dust. Our nail file grit guide explains which grit to use where.
- Dehydrate. Wipe each nail with alcohol or a nail dehydrator on a lint-free pad. From here on, don't touch the nail plate. Skin oil is enough to break the bond.
- Apply the glue. Squeeze a small amount into the cuticle half of the press-on, or onto the natural nail. A pea-sized bead is too much for one nail. Think rice grain.
- Press on at 45°. Place the cuticle edge of the tip first, just in front of the cuticle, then roll the tip down toward the free edge. This pushes air out in front of the glue.
- Hold for 20 to 30 seconds with firm, even pressure. The glue sets in the air. No lamp needed.
- Clean up any glue on the skin straight away, before it sets, with a cuticle pusher or a lint-free wipe.
- Wait before water. Avoid hot water and heavy use for about an hour so the bond reaches full strength.
Where the glue goes
On a real nail: glue on the cuticle half, then the press-on rolls down over it. Too much glue spreads past the edges and onto the skin.
The timing that matters
GEL PARTY Semi-Solid Nail Glue, 5 g mini tube. Timing based on our application instructions.
Pro techniques that make press-ons last
Glue on the nail or on the tip? Both work. Glue in the tip is faster and keeps the cuticle cleaner. Glue on the natural nail is easier to control on very curved nails. Many techs put a thin film on the nail and a small bead in the tip for maximum contact, then press.
Match the curve. A flat tip on a very curved nail leaves gaps at the sidewalls, and gaps are where water gets in. Choose tips that follow the client's C-curve. Thick semi-solid glue fills small gaps, but it can't fix a tip that doesn't fit.
Thin, matte inner surface. Press-ons with a buffed matte inner surface bond better than glossy ones. Our French tip press-ons and soft gel tips already have it. If a tip is shiny inside, buff it lightly.
Fix the bubble right away. If you see a white spot under a clear or sheer tip, that's trapped air. Lift the tip within the first few seconds, before it sets, add a little more glue and press again with the 45° roll.
Don't stack glue. If a nail pops off, don't add new glue over old glue. Remove the old glue from both the nail and the tip, re-prep and dehydrate, then glue again.
Longer wear: seal the edges. For clients who want more wear from a press-on, a thin no-wipe top coat around the free edge helps keep water out. Our milky French nails guide shows how sealing with builder gel and top coat makes French tip press-ons last much longer.
Keep the nozzle clean. Wipe the tip of the tube before you close it, and put the cap back on straight away. Air-set glue thickens and sets when it meets air and moisture, so a dirty nozzle seals itself shut.
Sizes: which tube to choose
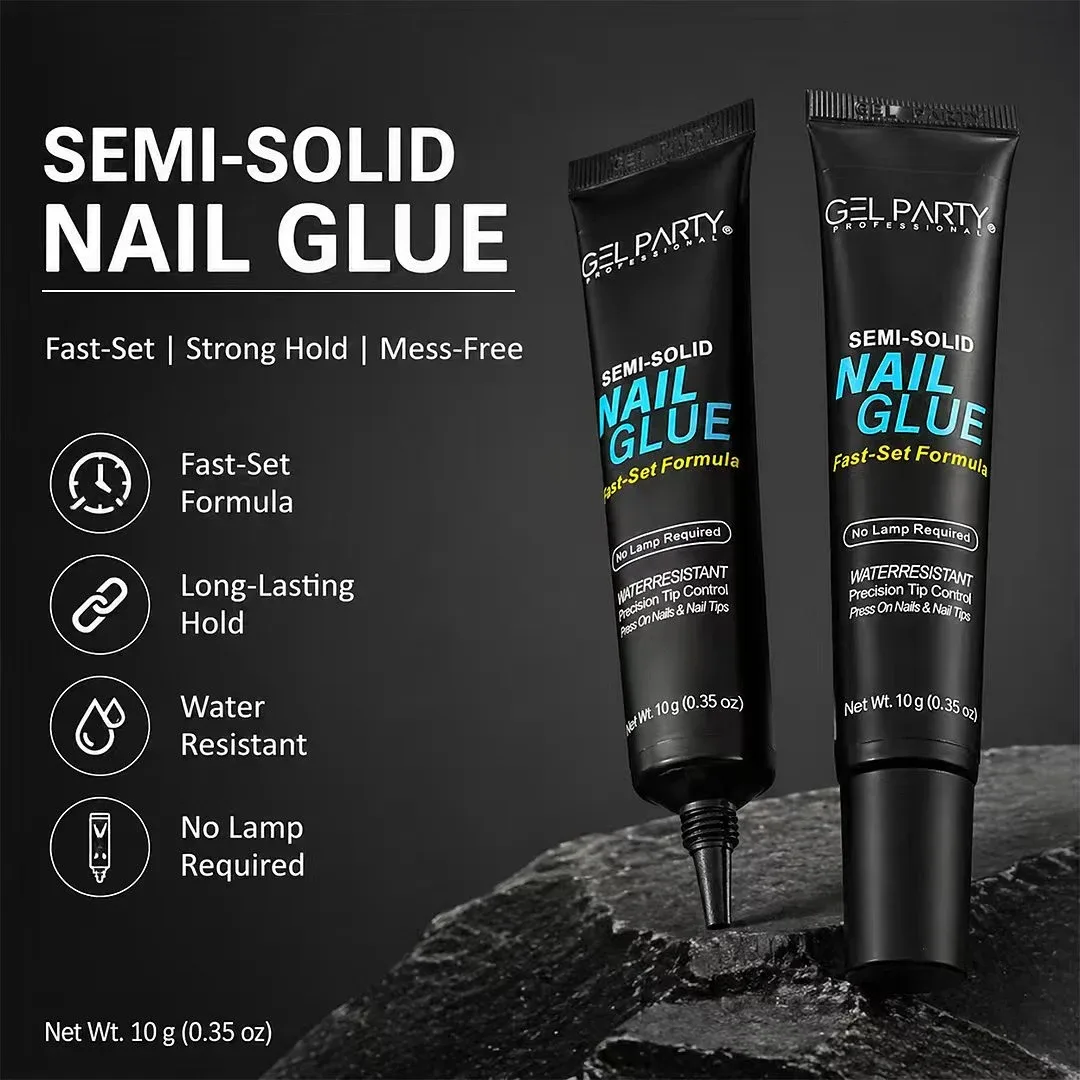
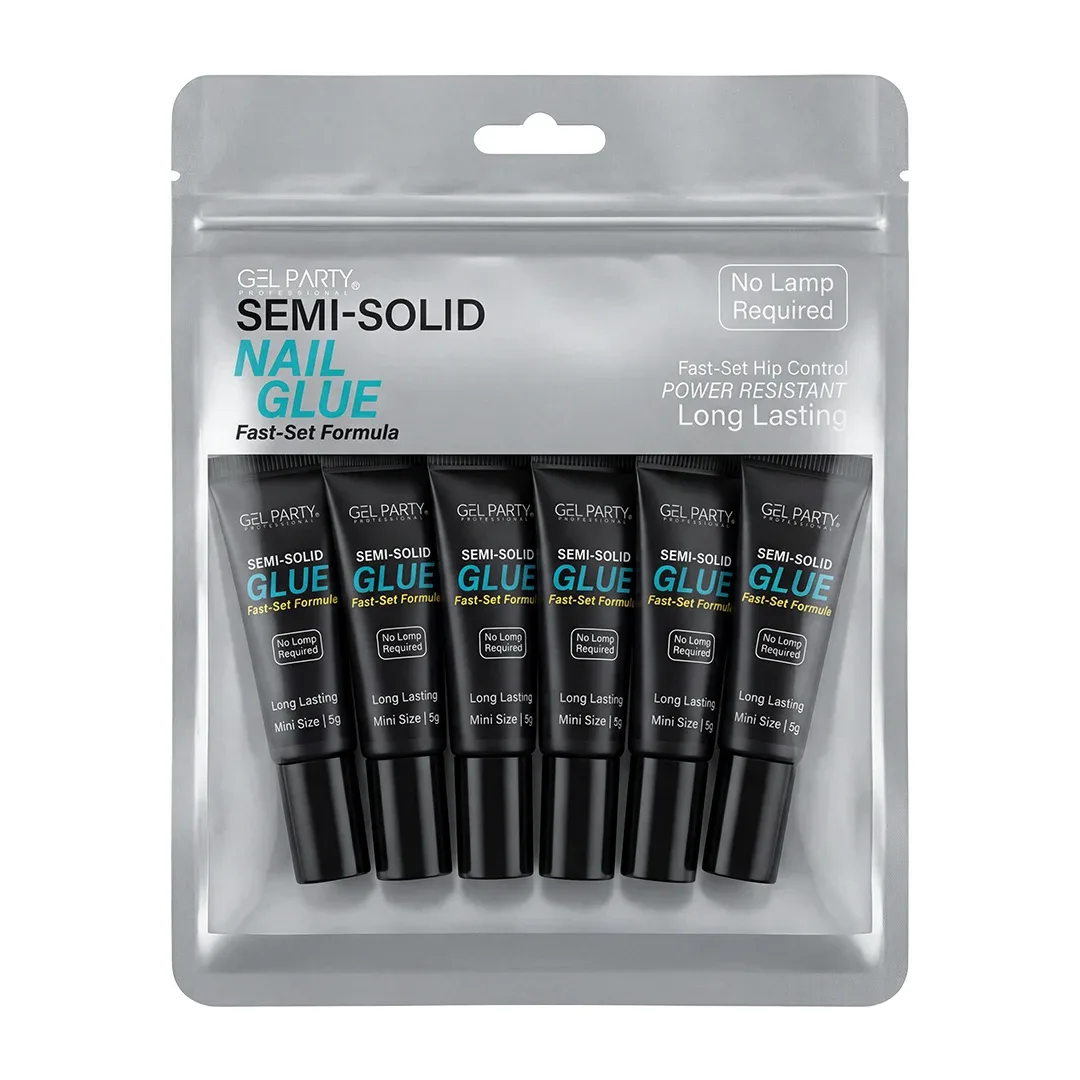
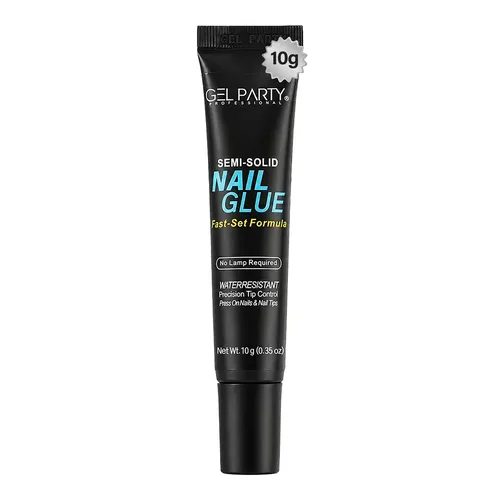
Our Semi-Solid Nail Glue comes in a 10 g, 15 g or 20 g tube, a 2 × 10 g twin pack, and a 6 × 5 g pack of minis. It's the same glue in every size, so choose the pack that suits how you work.
| Size | Best for |
|---|---|
| 10 g tube | Trying it out, or occasional press-on sets at home |
| 15 g / 20 g tube | Regular use, salons and press-on sellers |
| 2 × 10 g | Keeping one open tube and one spare sealed |
| 6 × 5 g minis | Travel, handbag fixes, or always opening a fresh tube |
Small tubes have one big advantage: once a tube is opened, the glue slowly thickens over time. A pack of minis means you're always using fresh glue.
How to remove semi-solid nail glue
The one rule: soften the glue, never pry the nail. Forcing a press-on off tears layers of the natural nail plate away with it, and that's what leaves nails thin, white and peeling.
- Apply glue remover along the cuticle edge and both sidewalls of each press-on, and under the free edge.
- Wait a few minutes so the remover can work its way under the tip and soften the glue. Warm water beforehand can help it work faster.
- Lift gently from the side with a cuticle pusher or orange stick. If the nail resists, don't push harder. Add more remover and wait longer.
- Clean the nail. Buff away leftover glue gently, then wash your hands.
- Rehydrate with cuticle oil. Glue and remover both dry out the nail and skin.
Remove it the gentle way
Remover goes along the cuticle, the sidewalls and under the free edge. After a few minutes the tip lifts from the side with almost no force.
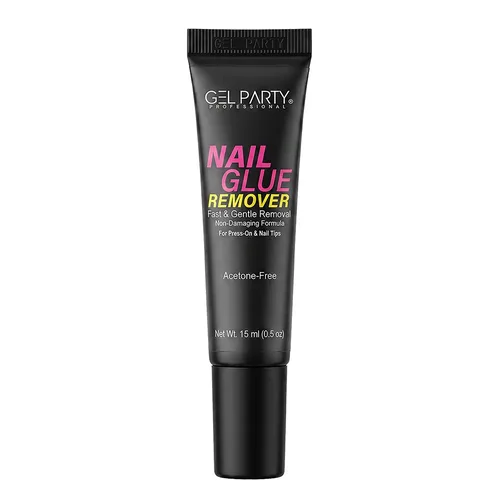
Our Nail Glue Remover is acetone-free and has a precise applicator, so it goes only where it's needed and leaves the press-on intact if you want to reuse it. Acetone also dissolves air-set glue, but it dries the nails and skin and can damage the finish of many press-ons.
Reusing press-ons: after removal, scrape or buff the old glue out of the inside of the tip, wash and dry it, and store it with the rest of the set. Before you reapply, buff the inside lightly so the new glue has something to grip.
Troubleshooting
| Problem | Likely cause | Fix |
|---|---|---|
| Nail pops off within a day | Shiny or oily nail plate, skipped dehydrator, water too soon | Buff, dehydrate, don't touch the plate, wait an hour before water |
| Glue on the skin | Too much glue | Use rice-grain beads; wipe excess before it sets |
| White spot under the tip | Trapped air | Use the 45° press-and-roll; lift and re-press in the first seconds |
| Lifting at the sidewalls | Tip too flat or too narrow for the nail | Choose a tip that follows the nail's curve, sidewall to sidewall |
| White haze around the nail | Glue vapor settling on the surface | Use less glue and work with good ventilation; buff the haze off |
| Glue thick or hard in the tube | Tube left open, nozzle not wiped | Wipe and cap straight away; use minis for occasional use |
| Fingers stuck together | Glue on the skin | Don't pull. Soak in warm soapy water and roll the skin apart slowly |
Safety and storage
- Keep it off the skin and out of the eyes. If fingers stick, soak them in warm soapy water and work them apart gently; don't pull. If glue gets in the eye, don't force the eyelids open, rinse with water and get medical help. This follows the advice of the US Poison Control center.
- Use small amounts. Air-set glue releases a little heat as it sets. A thin layer barely warms; a big blob can get uncomfortably hot.
- Watch for reactions. Some people react to nail glues. If you notice itching, redness or swelling around the nails, remove the nails and stop using the product. See a doctor if it doesn't settle.
- Take nails off when they lift. Water trapped under a lifted press-on is a breeding ground for infection. Remove and re-apply instead of leaving it.
- Store it cool and capped, upright, away from heat and sunlight, and out of reach of children.
Frequently asked questions
What is semi-solid nail glue?
It's an air-set nail glue with a thick, gel-like texture. It holds its shape instead of running, sets without a lamp, and is used mainly for press-on nails, soft gel tips and small decorations.
Do I need a UV or LED lamp for semi-solid nail glue?
No. Semi-solid glue sets in the air. Press the nail on and hold for 20 to 30 seconds. Glue gels and solid glue gels are different products that need a UV/LED lamp.
How long does semi-solid nail glue last?
With good prep, press-ons can hold for weeks. Hot water, harsh cleaning products and knocks shorten wear, and every nail is different. Remove and reapply any nail that starts to lift.
Is semi-solid nail glue waterproof?
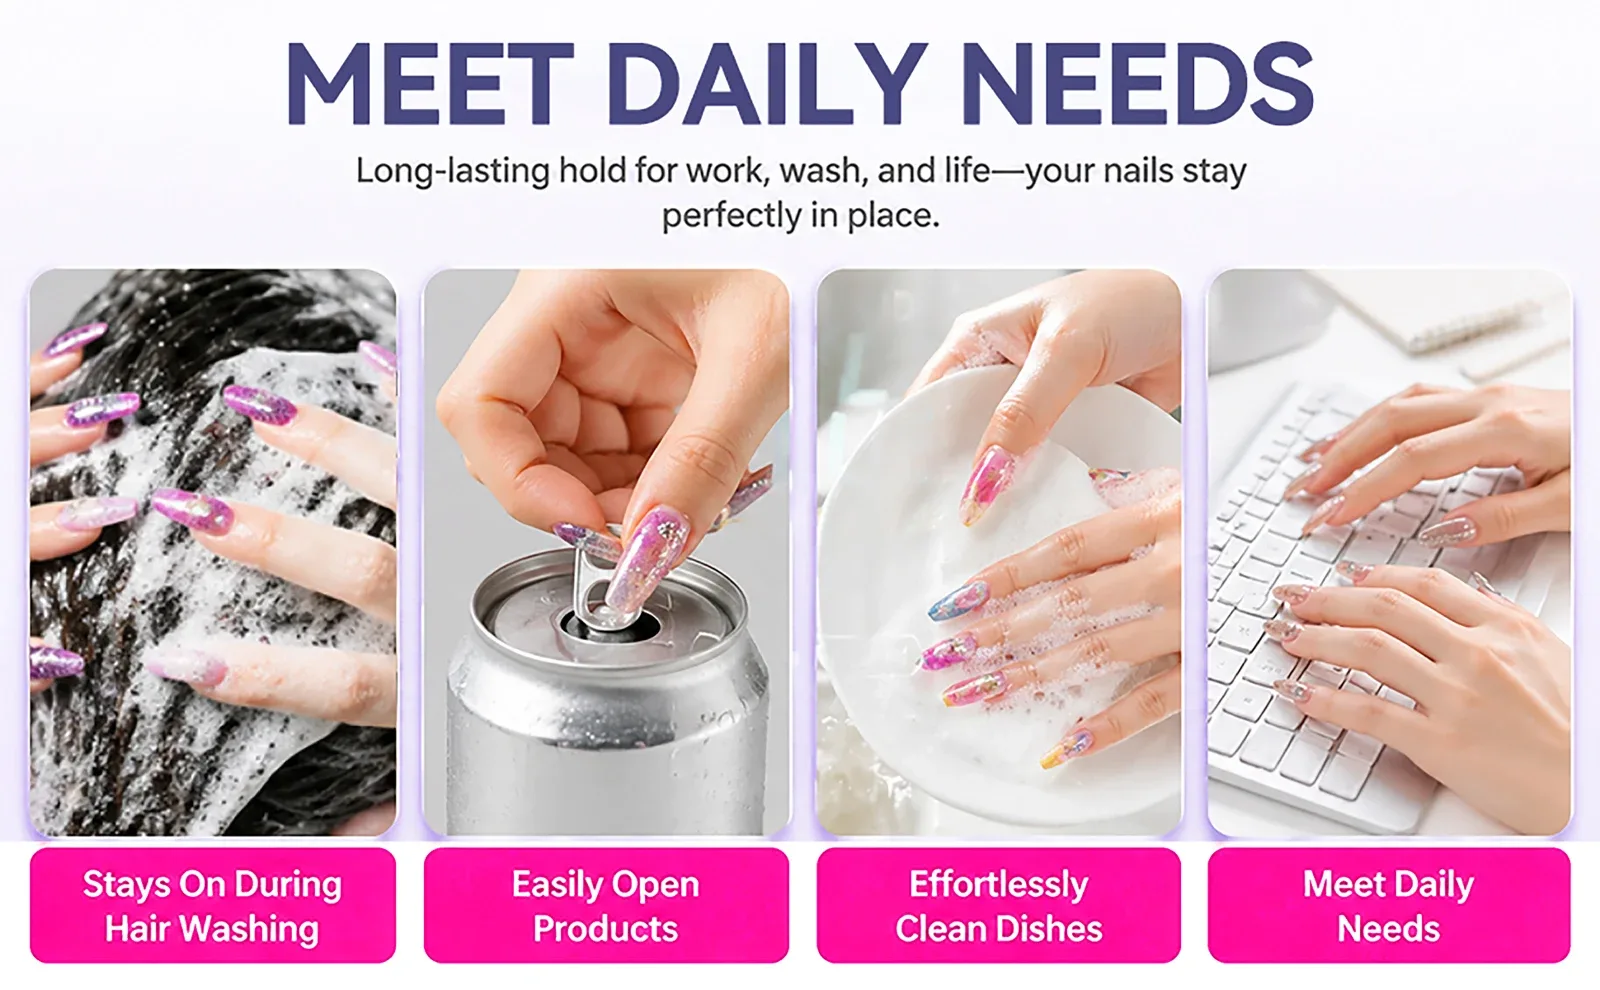
It's water resistant once fully set, so handwashing, showering and everyday chores are fine. Give it about an hour before water after application. Long soaks in hot water weaken any nail glue over time.
Is semi-solid glue better than brush-on nail glue?
For press-ons, usually yes. The thick texture is easier to control, doesn't run onto the skin and fills the gap under the tip more evenly. Brush-on glue is handy for small repairs and quick touch-ups.
How do I remove semi-solid nail glue without damaging my nails?
Apply a glue remover around the edges and under the free edge, wait a few minutes, then lift gently from the side. If it resists, add more remover and wait. Never pry or peel the nail off.
Can I use semi-solid glue for rhinestones?
Yes, for small rhinestones, studs and flat charms. For large 3D charms or heavy crystals, a light-cured rhinestone glue gel holds better.
Can I use semi-solid glue on soft gel tips?
Yes, for a lamp-free set. For the longest wear on soft gel tip extensions, a UV/LED glue gel is the stronger choice.
Quick recap
Semi-solid nail glue is the easiest way to put on press-on nails: thick enough not to drip, clear, and set in seconds with no lamp. Prep and dehydrate, use rice-grain beads on the cuticle half, press on at 45° and hold for 20 to 30 seconds, then keep it dry for an hour. When it's time to take the nails off, use a glue remover and patience, never force.
Sources
- Duffy C, Zetterlund PB, Aldabbagh F. Radical polymerization of alkyl 2-cyanoacrylates. Molecules. 2018;23(2):465. doi:10.3390/molecules23020465 (moisture-triggered setting of air-set glues, water sensitivity).
- Poison Control (National Capital Poison Center). Super glue: skin, eye and mouth exposures (unsticking skin, heat release, eye first aid).
- Ochsner Health. Are press-on nails safe? 12 June 2024 (wear time, infection risk from lifted nails).
- GEL PARTY product information: Semi-Solid Nail Glue, Nail Glue Remover, Nail Glue Gel (application steps, hold time, sizes, removal).