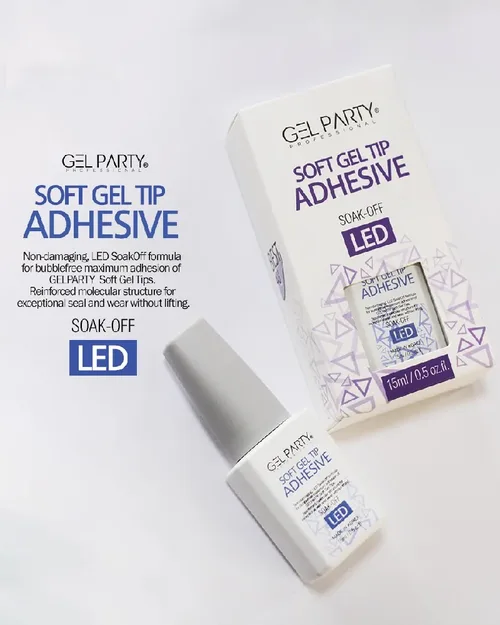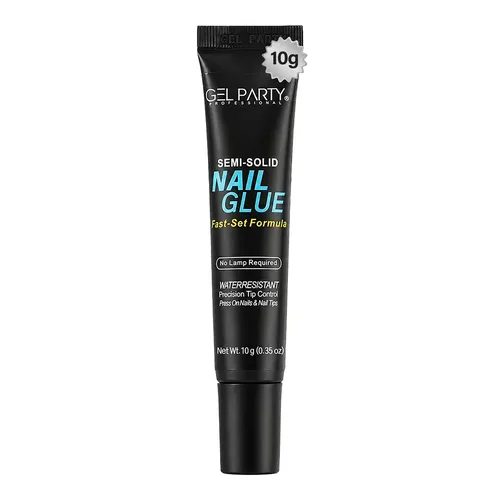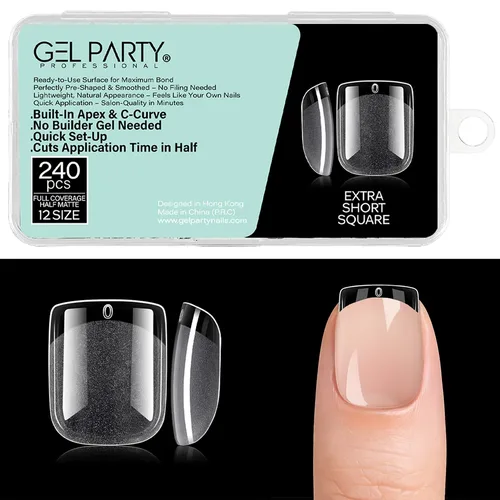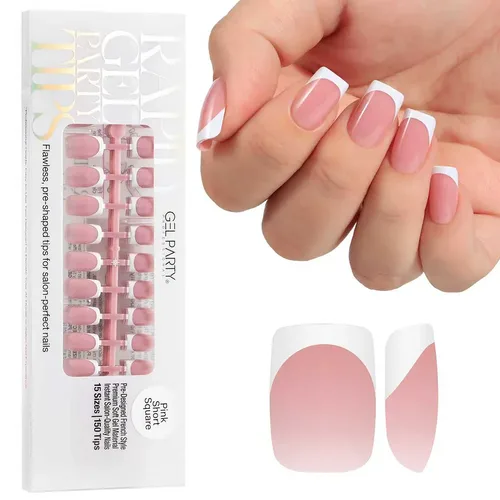
A nail glue that waits for you is a strange little luxury. Classic nail glue starts setting the moment the tip touches the nail, so you get one try. A UV/LED glue gel stays soft and clear until you put your hand in the lamp. You can slide the tip, check the fit, wipe a stray bead off the cuticle and only then lock it in.
That one difference is why glue gels have become the standard for soft gel tips, French tips and rhinestone work. It also explains most of the questions people ask us: which format to buy, how long to cure, why a tip lifts after two weeks, and how to take it all off without damaging the nail. This guide answers them, using our own GEL PARTY formats as the examples and published research for the chemistry and safety.
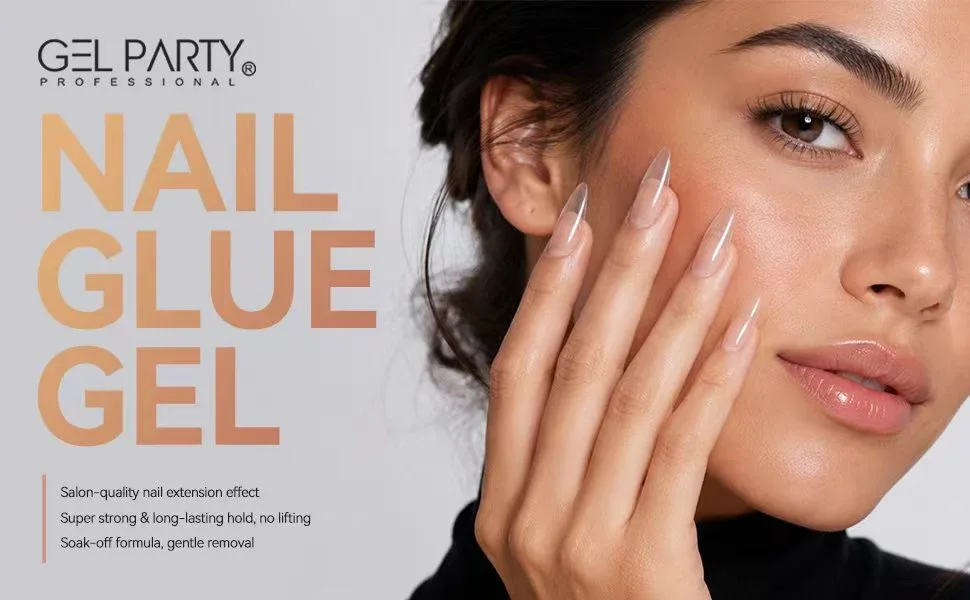
What a UV nail glue gel actually is
A glue gel is a clear, thick gel adhesive built from (meth)acrylate monomers and oligomers plus a photoinitiator. Under UV or LED light the photoinitiator releases reactive radicals and the liquid links into a solid, cross-linked film. That is the same family of chemistry as gel polish and builder gel, and it is why glue gel soaks off like gel instead of dissolving in glue remover. The chemistry review by Mieriņa and colleagues describes UV-curable nail coatings as acrylate systems that harden by radical polymerization when exposed to light.
Compare that with the other family, the cyanoacrylate "super glue" types. Those set from moisture in seconds, with no lamp. We cover them in our full nail glue guide and in the guides to brush-on and semi-solid glue. In short:
| Air-set glue (brush-on, semi-solid) | UV/LED glue gel | |
|---|---|---|
| Needs a lamp | No | Yes |
| Working time | Seconds | As long as you like, until you cure |
| Bond | Rigid, strong against pulling | Tough and slightly flexible, bonds with soft gel tips |
| Typical wear | Days, up to about a week | Weeks |
| Removal | Glue remover, warm soapy water | File the shine, soak in acetone |
| Best for | Press-ons, quick repairs | Soft gel tips, French tips, extensions, rhinestones |
The five GEL PARTY glue gel formats
All of our glue gels share the same basic behavior: clear, thick, non-runny, cured under a UV or LED lamp, soak-off. What changes is the container, and the container changes how you work. The tip, jar or bottle you choose matters more than most people expect.
Pick the format that suits your hands
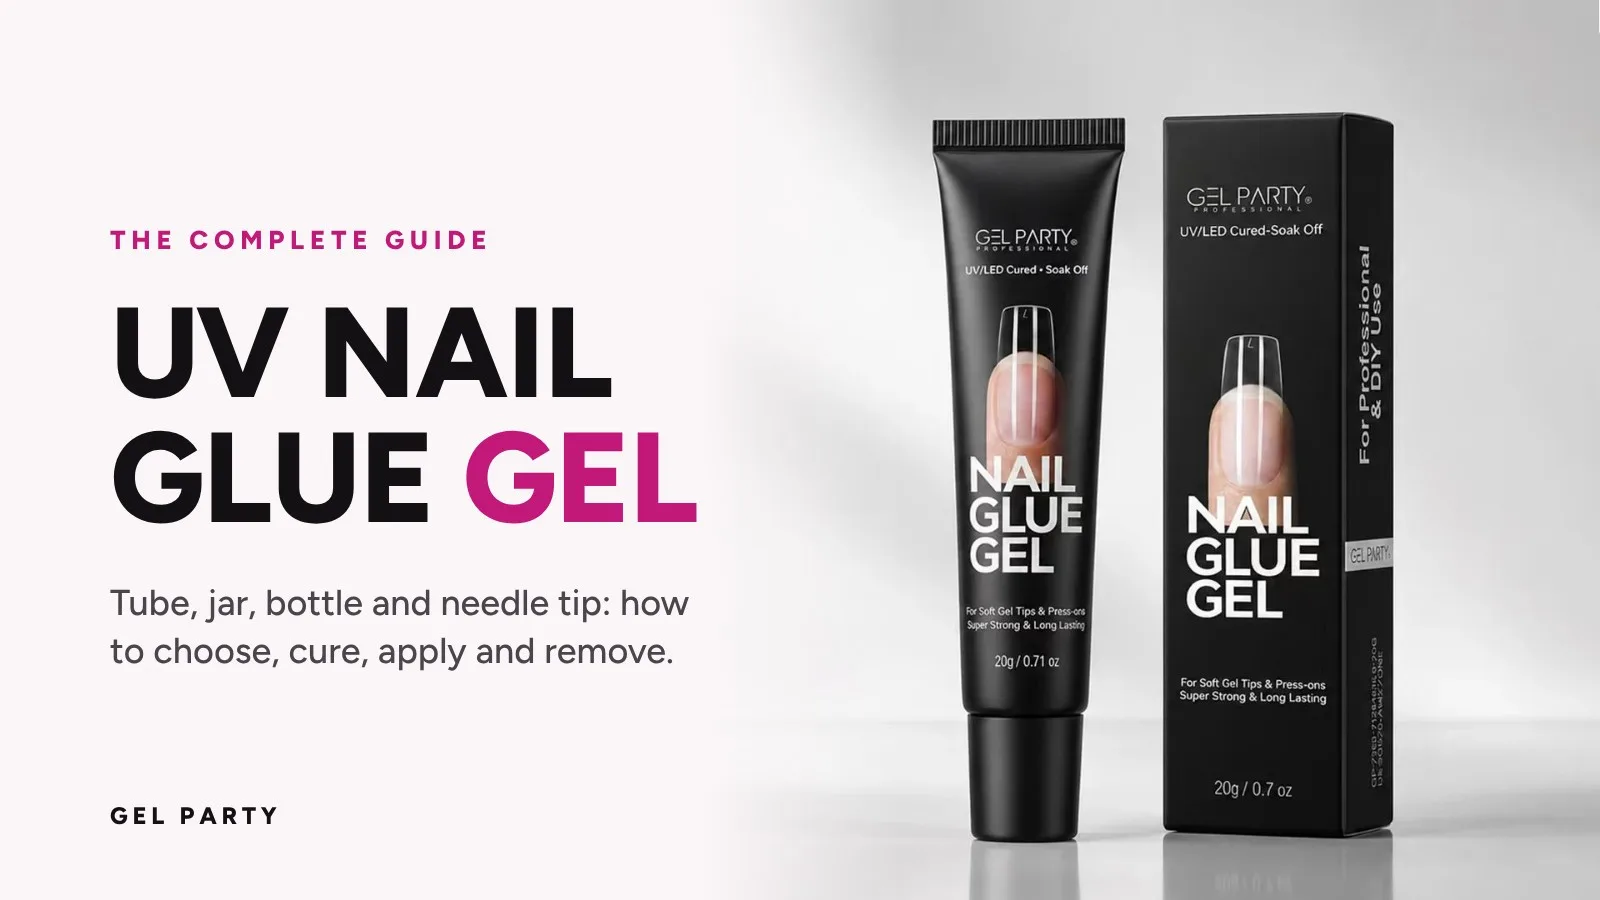
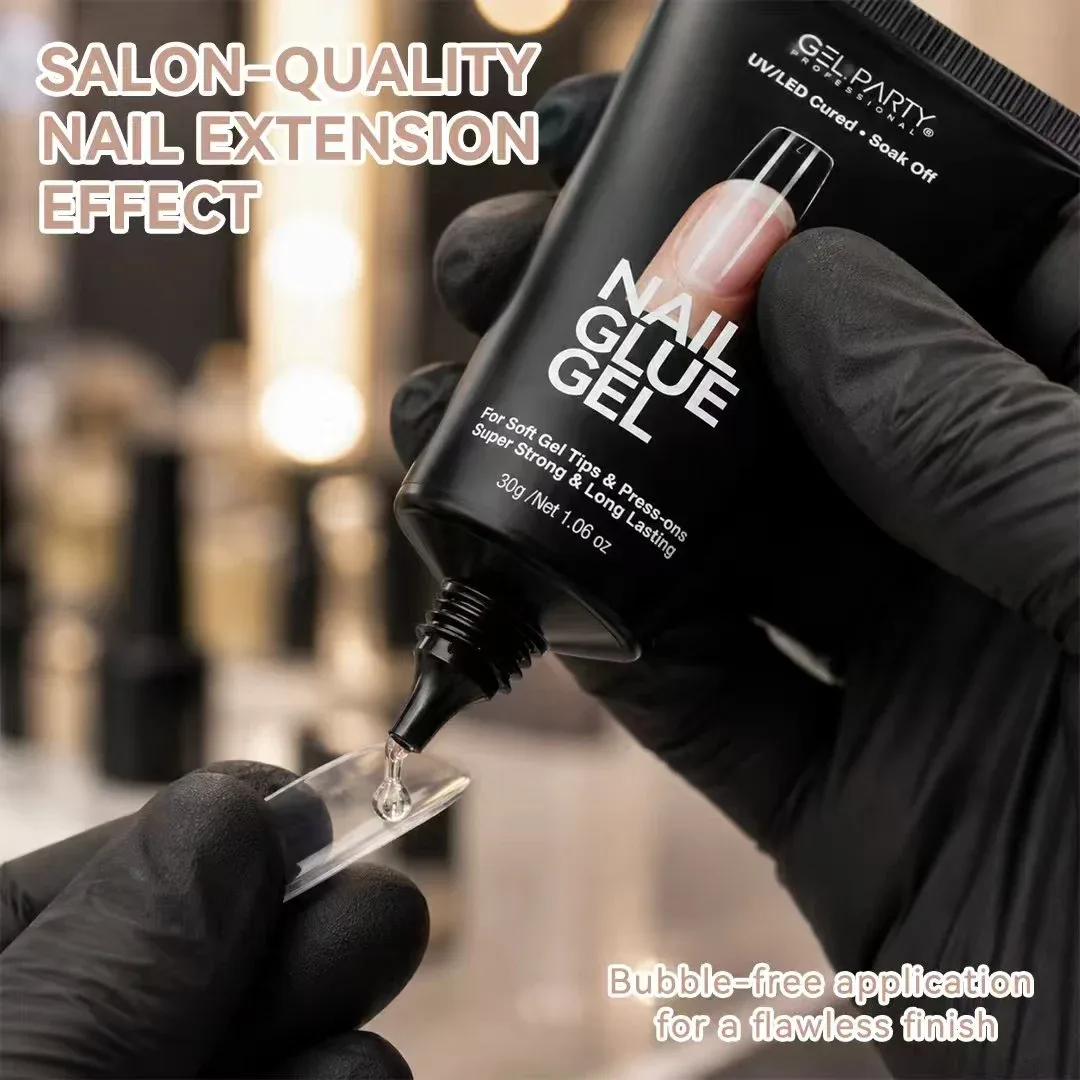
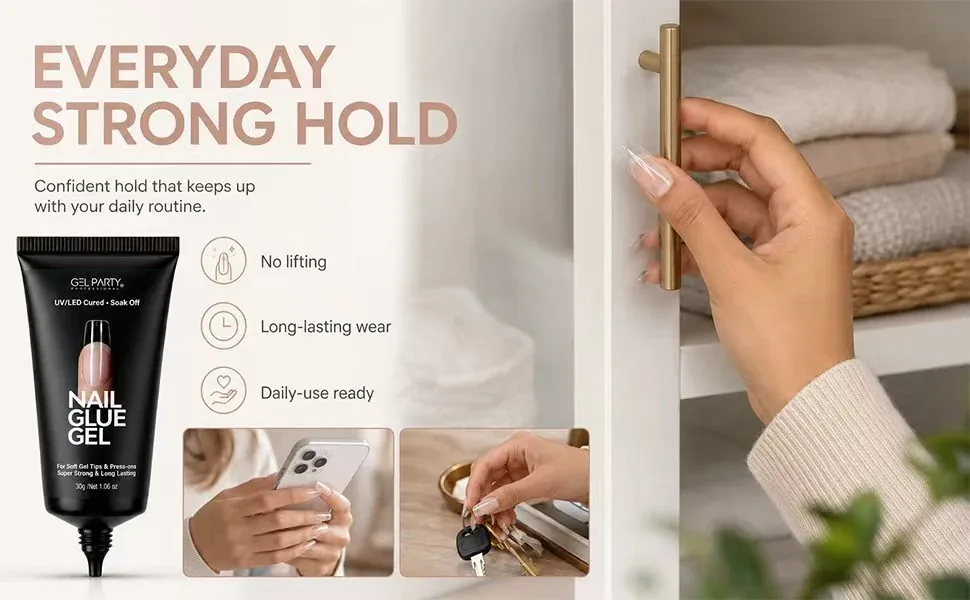
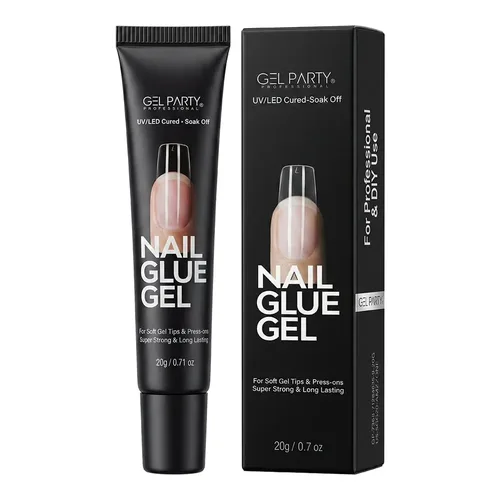
Nail Glue Gel, 20 g or 30 g
A squeeze tube with a precise nozzle. Fast to apply and easy to dose, a common choice for soft gel tips at home.
Solid Glue Gel, 15 g or 30 g
The thickest texture. It holds its shape on the tip and will not flow toward the cuticle. Picked up with a tool, so it suits slower, more controlled work.
9-in-1 Glue Gel, 2 × 15 mL
A brush bottle for thin, even layers. Besides gluing tips, it works as a thin base and for small repairs.
Rhinestone Glue, 2 × 15 mL
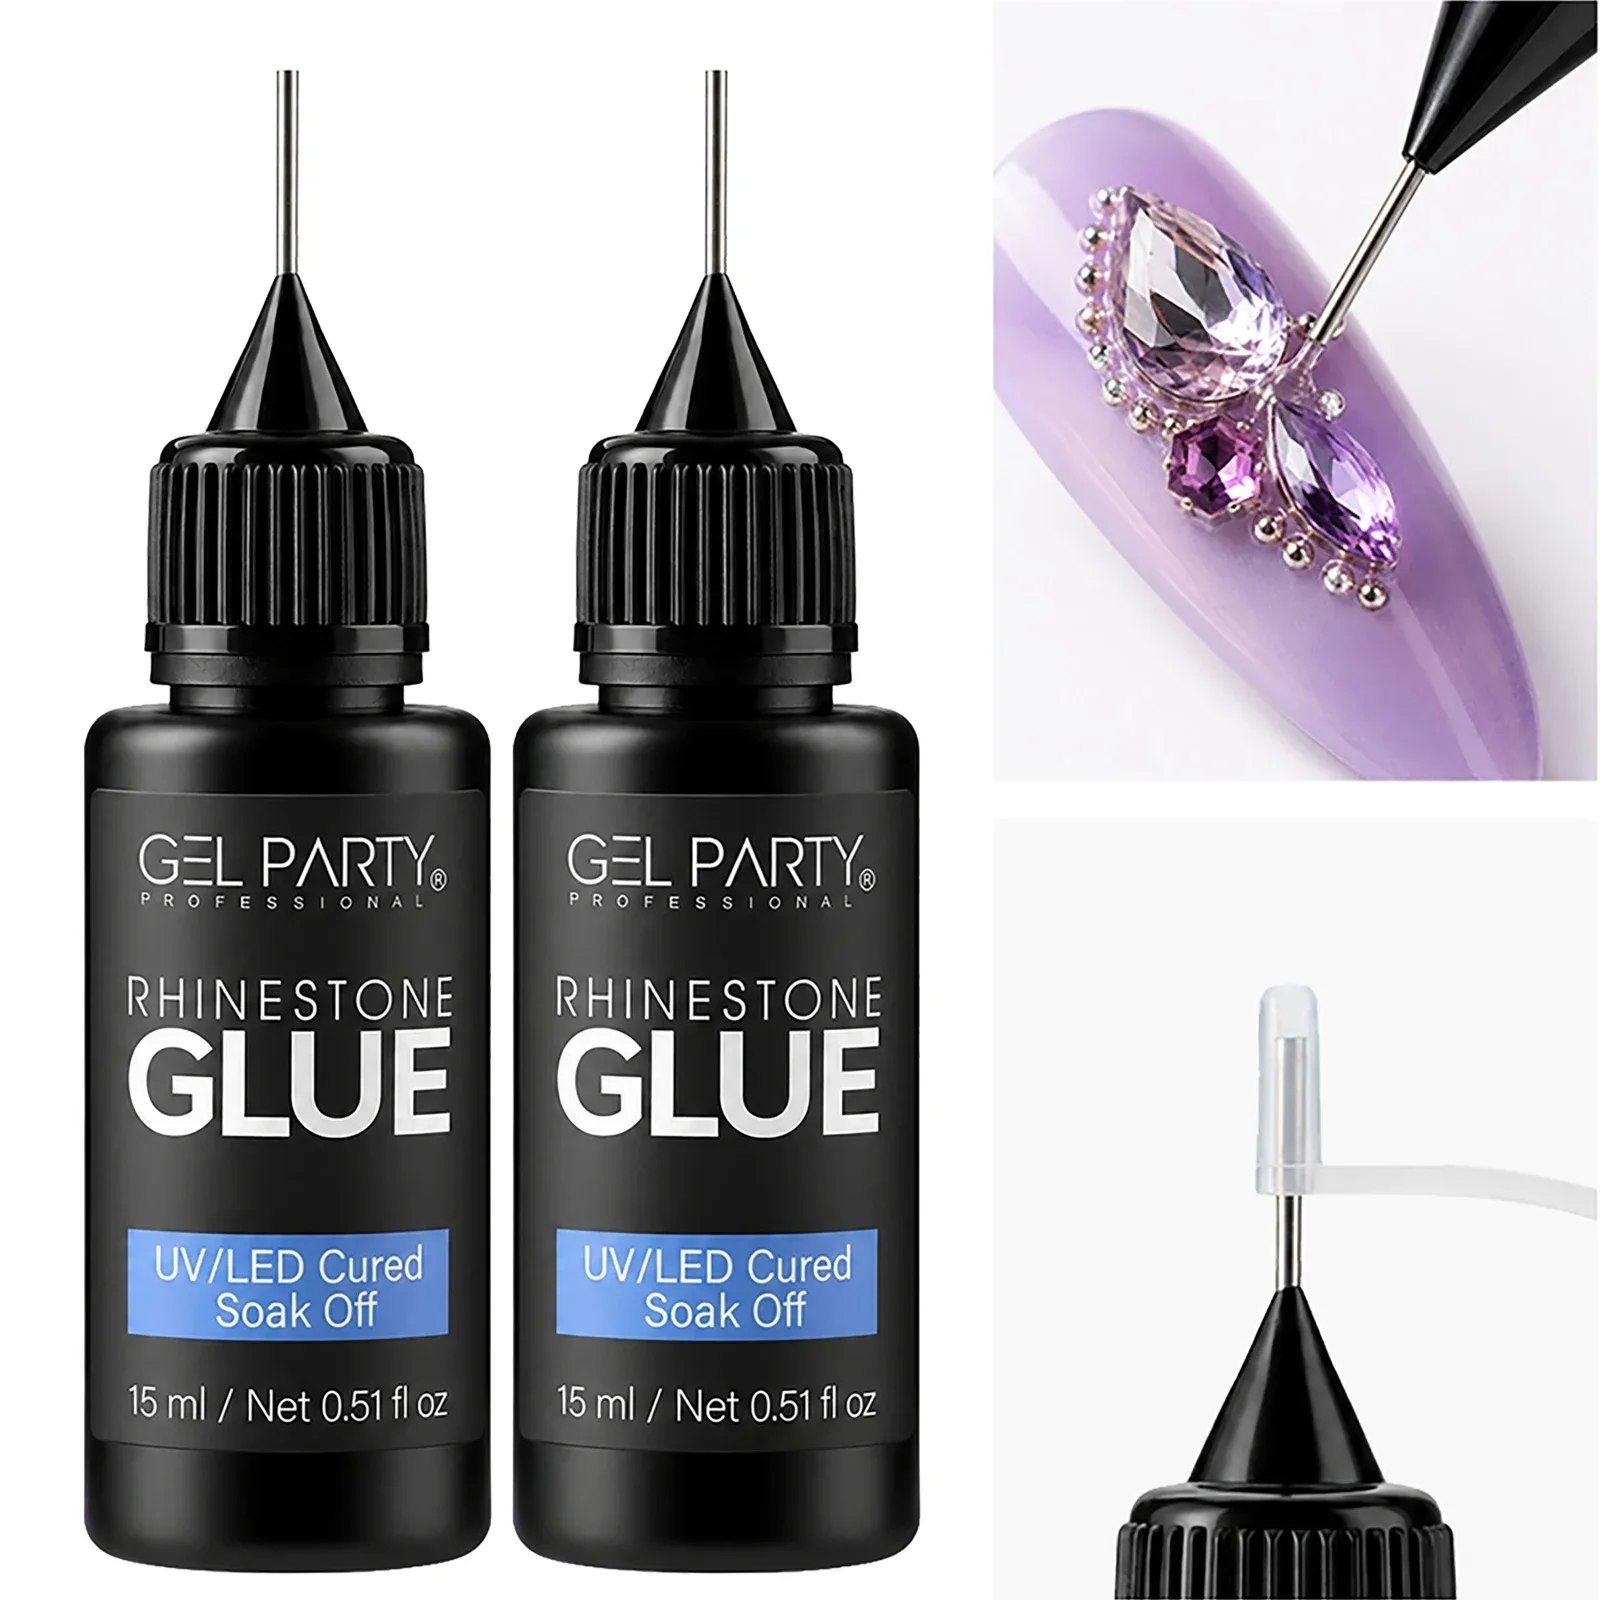
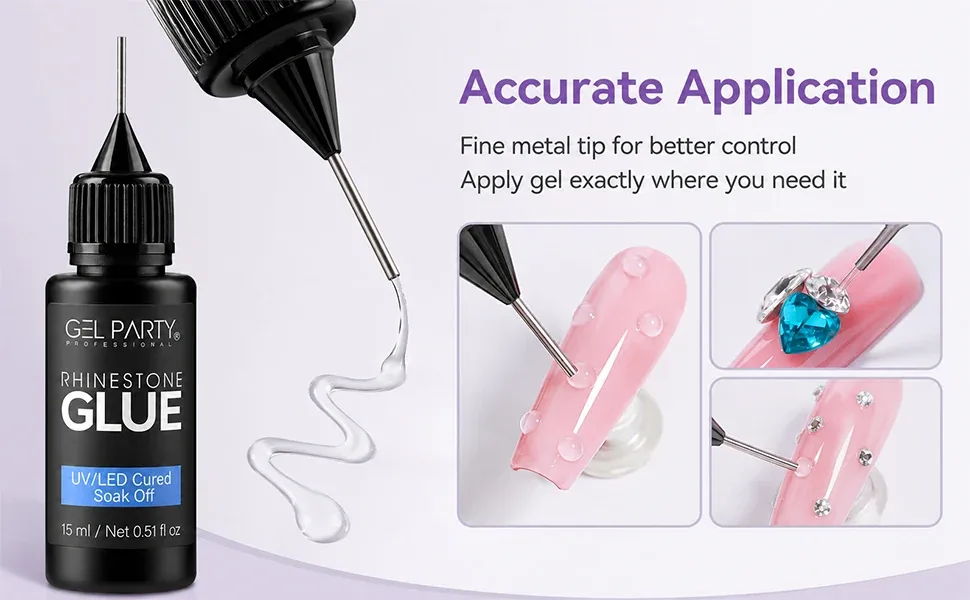
A fine metal needle that places a tiny dot of gel exactly where a gem goes.
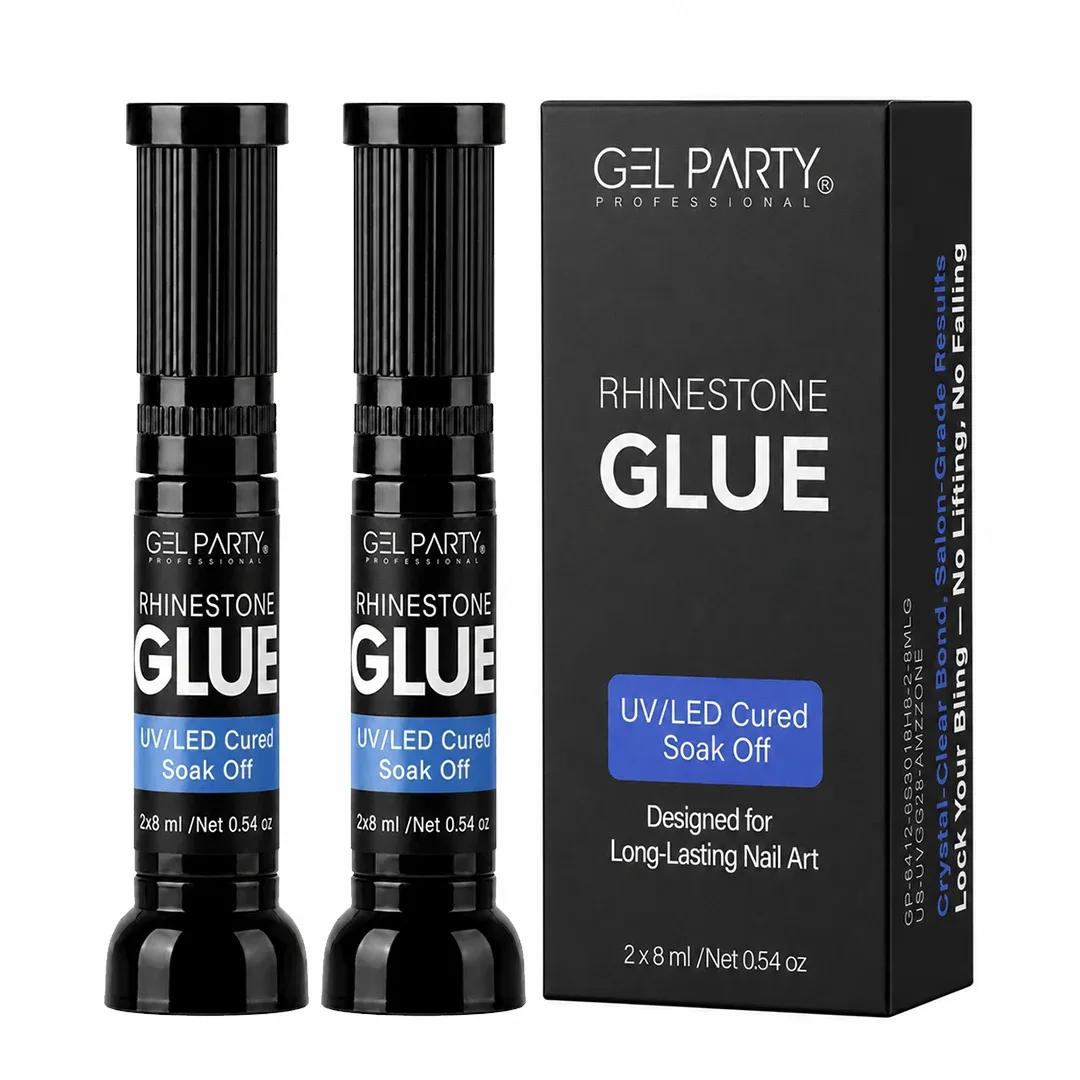
Rhinestone Glue, 2 × 8 mL
A slim bottle with a multifunction cap for gems, gap filling and detail work.
Nail Glue Gel in a tube
The tube is the easiest format to learn. You squeeze a controlled bead into the cuticle half of the tip, press it on, and cure. The 20 g size suits a few sets, and the 30 g size suits anyone doing sets regularly.
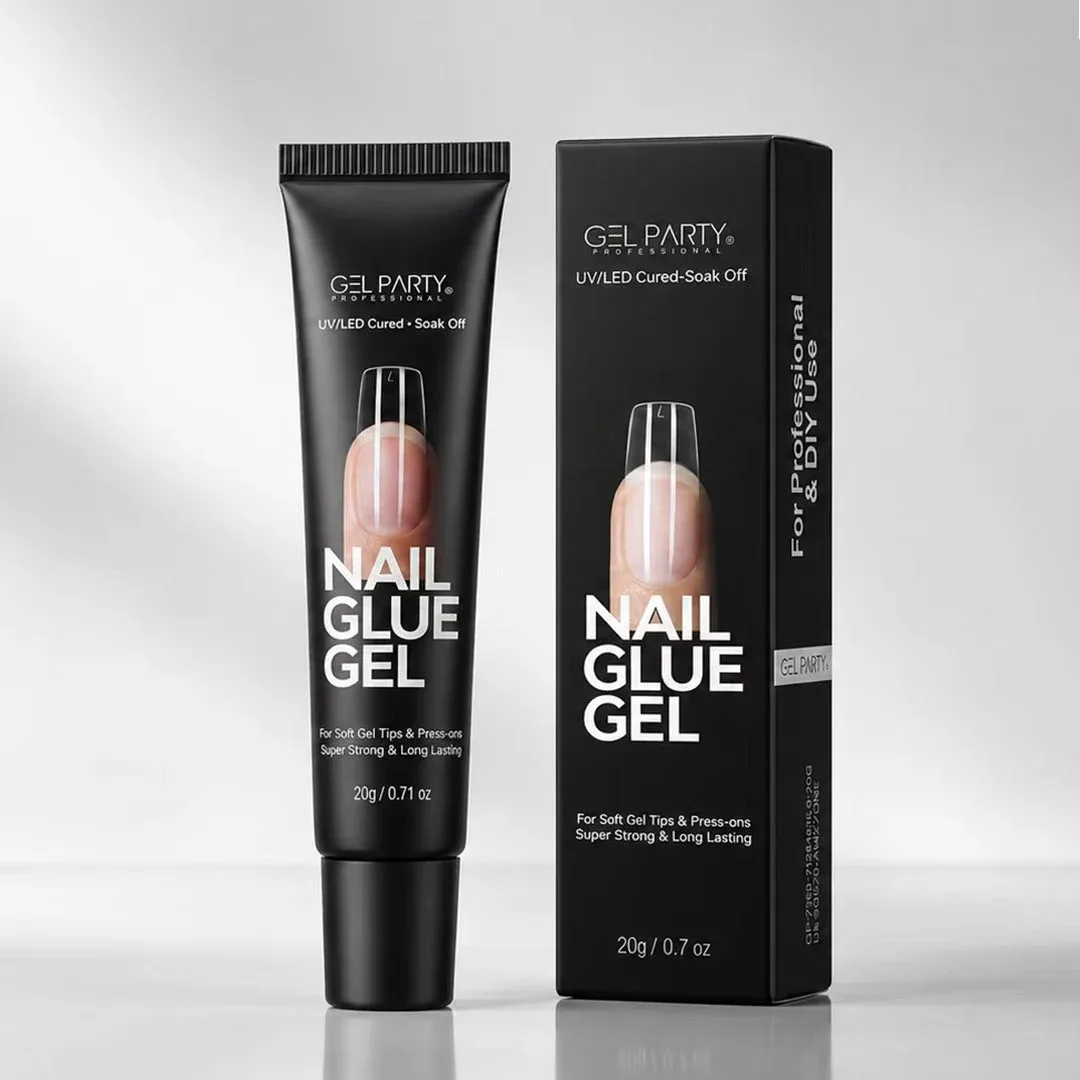
The nozzle puts the gel where you want it, which keeps product off the skin. Gel on skin is the single biggest cause of irritation with any UV product, so a tidy dispenser is a safety feature, not just a convenience.
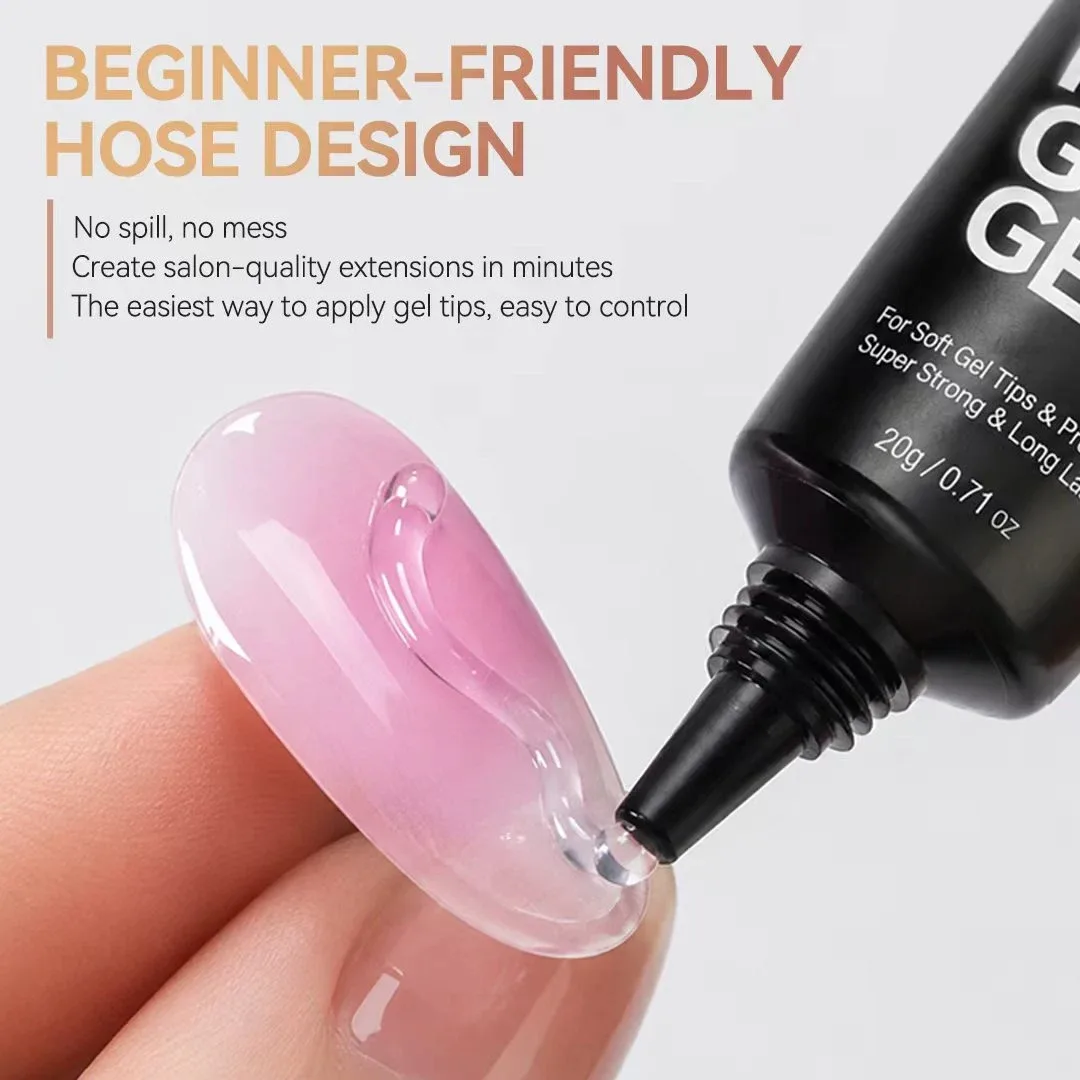
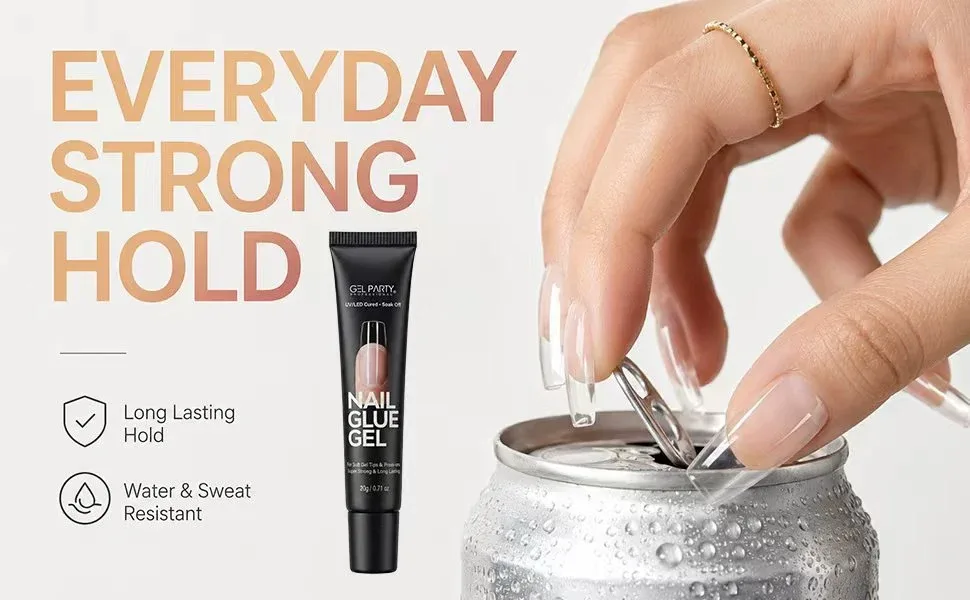
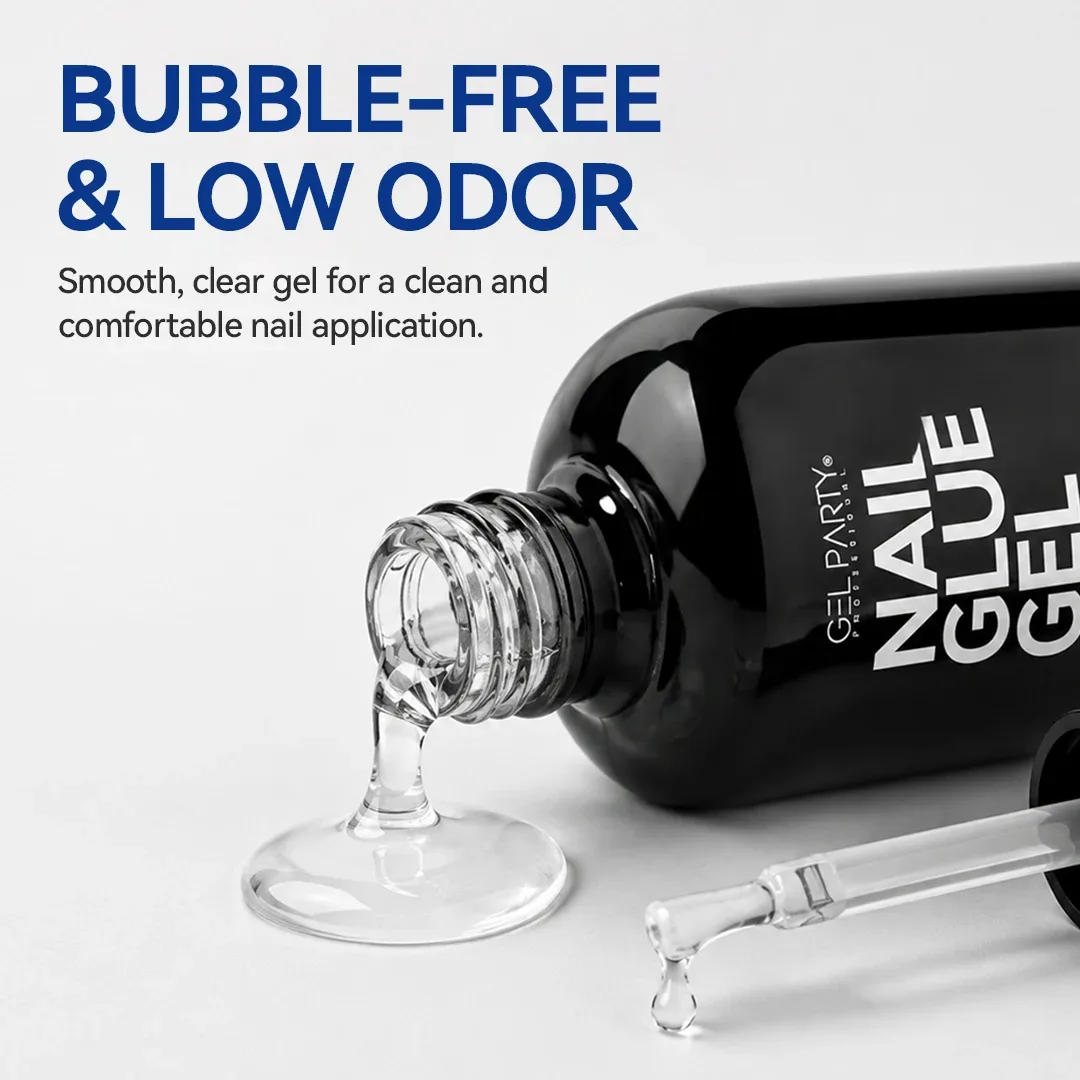
The 30 g tube is the same formula in a bigger size. Its packaging shows salon-style extension work, with bubble-free application as the goal.
Solid Glue Gel in a jar
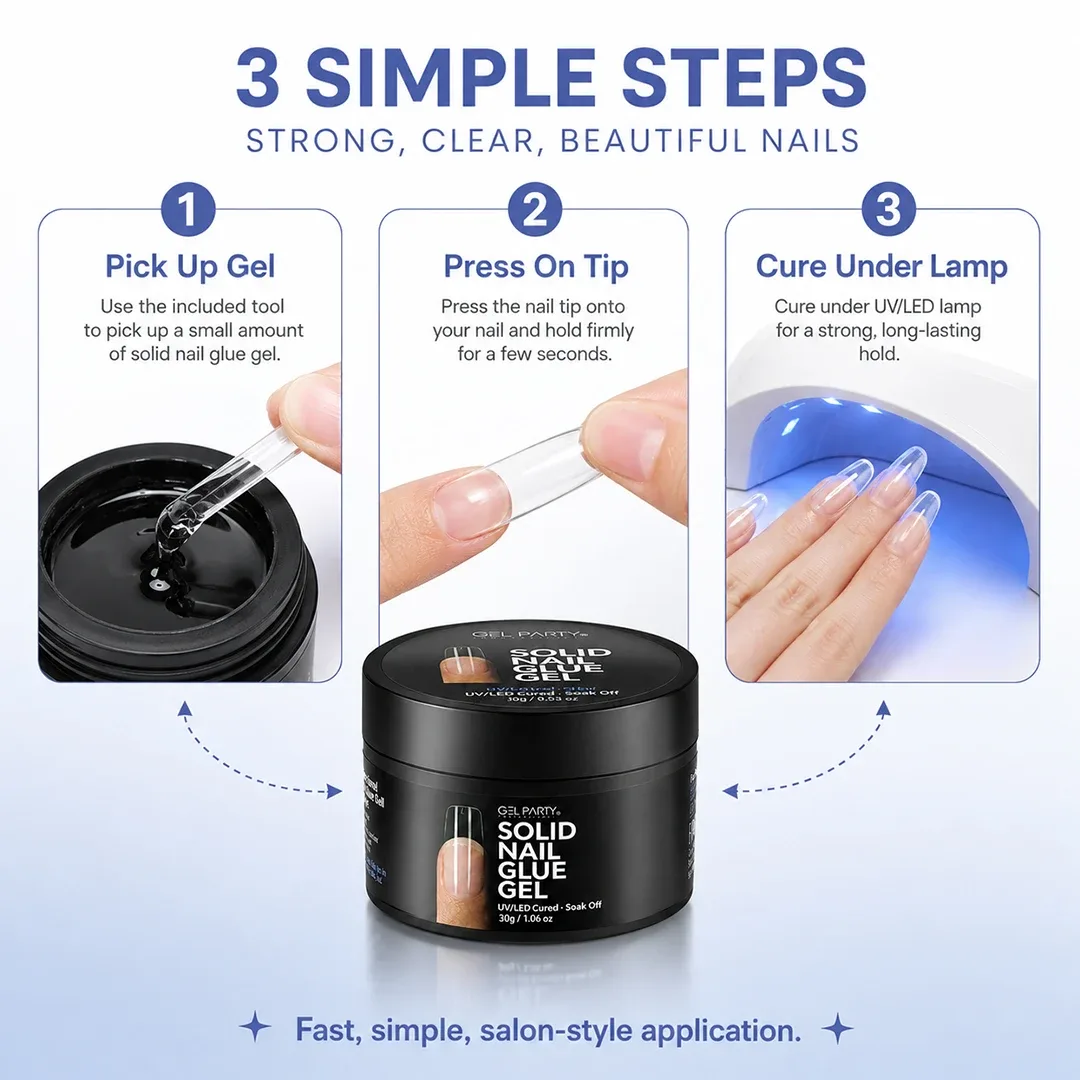
A solid glue gel is thick enough to hold a shape. You lift a small amount out with the tool that comes with the jar, set it on the tip, press, and cure. Because it does not run, there is very little chance of it flooding the cuticle, which is why we point first-timers toward it.
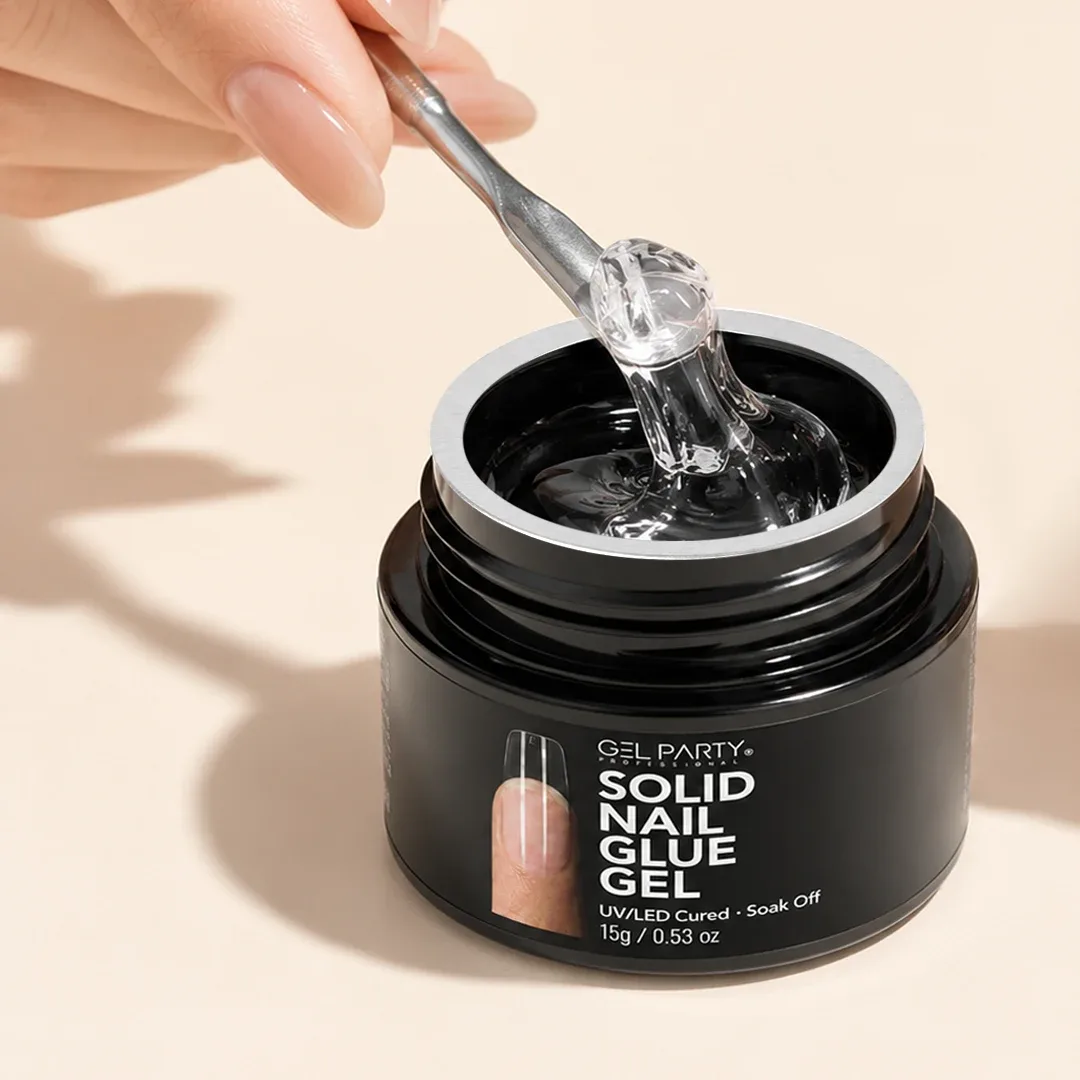
Under the lamp it behaves like any other glue gel, so the cure steps are the same. The advantage is entirely in handling. The gel stays where you set it, which gives you time to check the tip position.
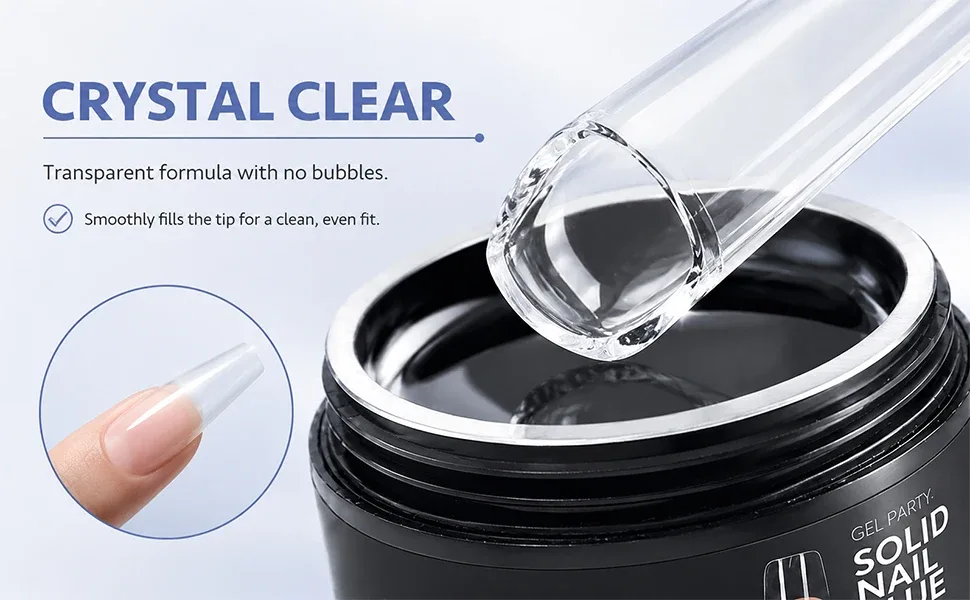
Our packaging for the jar lays the method out in three moves: pick up the gel, press on the tip and hold for a few seconds, then cure under the lamp.
The 9-in-1 bottle
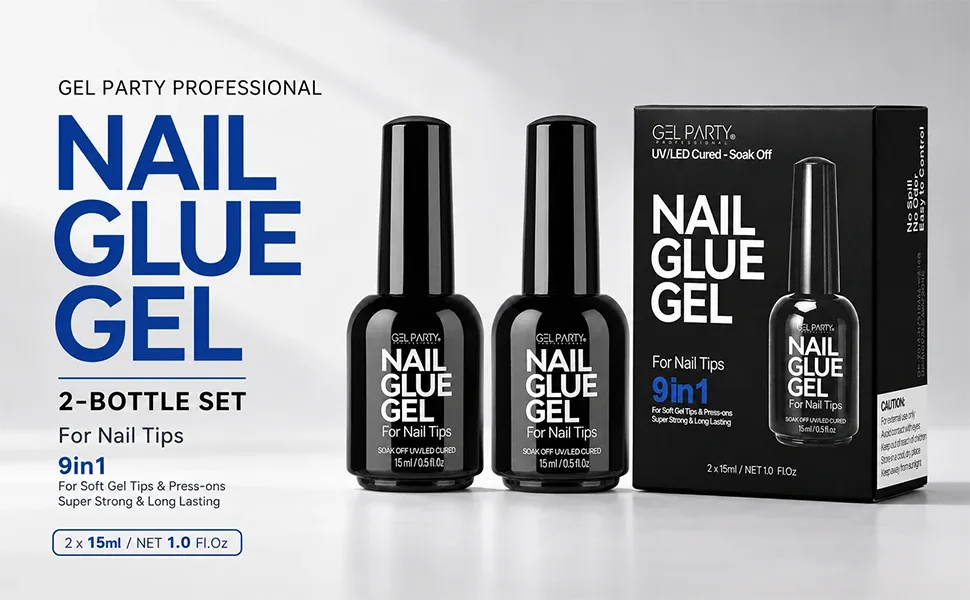
The 9-in-1 is a brush bottle of clear glue gel, sold as a two-bottle set of 15 mL. The brush lets you spread the gel in thin, even layers instead of dotting it, which suits gluing a full-coverage tip, laying a thin base and quick repairs.
GEL PARTY lists nine jobs for this bottle. The table below shows them in the order on the packaging, with the technique we would use for each.
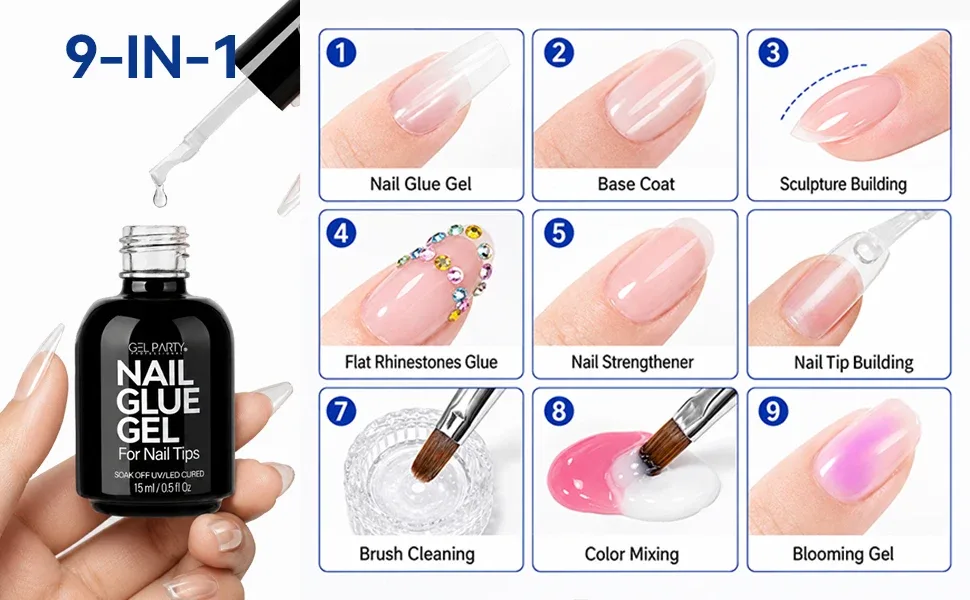
| # | Use | What it means |
|---|---|---|
| 1 | Nail glue gel | Thin layer inside the tip, press, flash-cure, full cure |
| 2 | Base coat | A thin, even layer on the natural nail before color |
| 3 | Sculpture building | Small, thin builds, cured in stages |
| 4 | Flat rhinestone glue | A dot of gel under a flat-back stone, then cure |
| 5 | Nail strengthener | A thin protective layer over the natural nail |
| 6 | Nail tip building | Reinforce the join where a tip meets the nail |
| 7 | Brush cleaning | Clear gel worked into the brush between colors |
| 8 | Color mixing | Mixed with pigment to adjust a color |
| 9 | Blooming gel | A clear base for blooming-gel flower effects |
The rule for the 9-in-1 is the same as for any gel: thin layers cure fully, and thick layers can stay soft underneath.
Rhinestone glue: needle tip and brush cap
Rhinestone glue is a thicker gel that holds gems, pearls and 3D charms. It is made to sit as a dot or a thin ring and not spread, so the gel needs a precise dispenser. We make two.
The needle-tip version has a fine metal tip, like a tiny syringe, and puts one controlled dot of gel exactly where a stone should sit. It is the better choice for small stones, rows of crystals and detailed placement.
The brush-cap version is a slim 8 mL bottle sold as a pair, with a multifunction cap built for several small jobs.
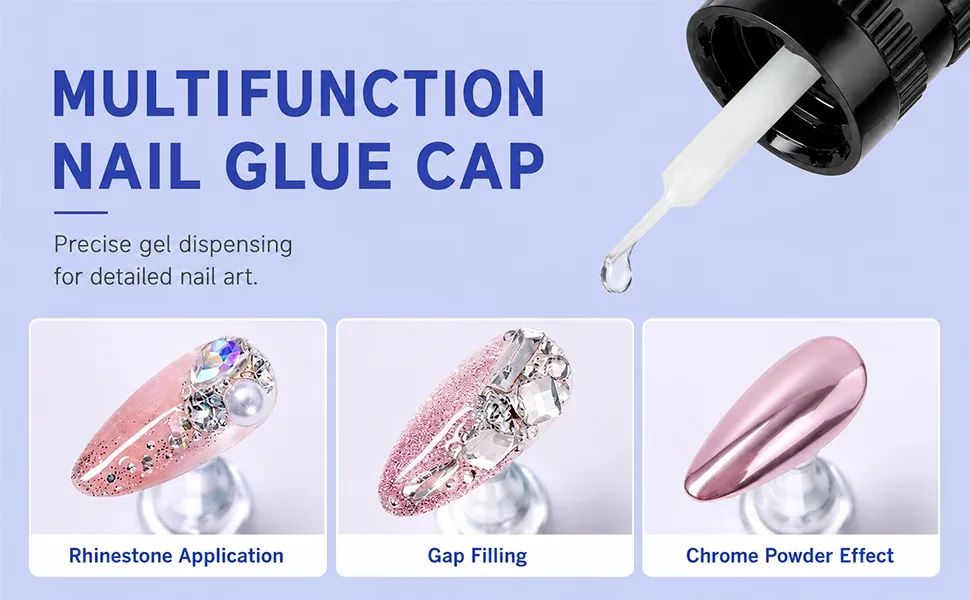
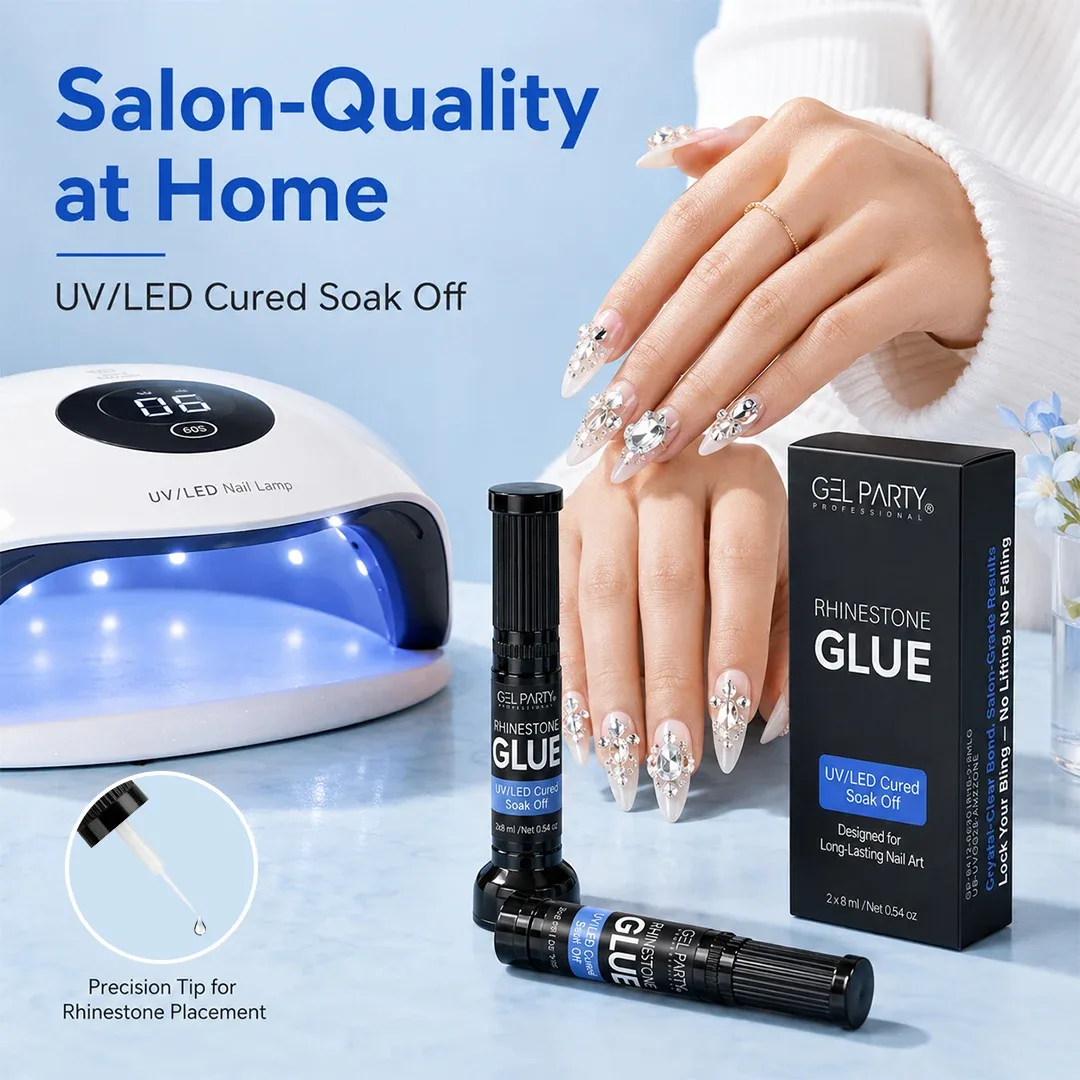
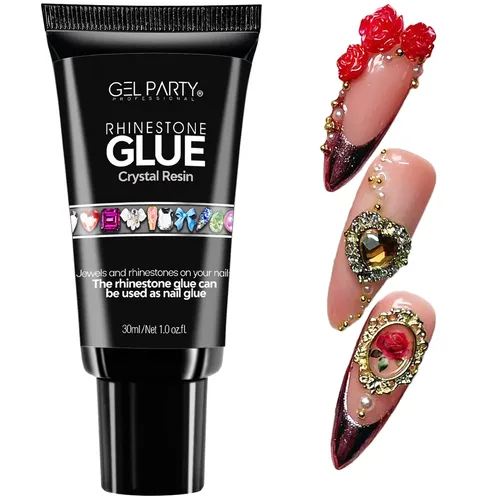
If you want a bigger tube, we also make a 30 mL Rhinestone Glue Gel with a squeeze nozzle.
Format comparison
| Tube | Solid jar | 9-in-1 bottle | Needle tip | Brush cap | |
|---|---|---|---|---|---|
| Sizes | 20 g, 30 g | 15 g, 30 g | 2 × 15 mL | 2 × 15 mL | 2 × 8 mL |
| Applied with | Nozzle | Tool | Brush | Metal needle | Cap applicator |
| Texture | Thick, controlled | Thickest, holds shape | Thin to medium | Thick, dot-like | Thick, dot-like |
| Best for | Soft gel tips, French tips | First sets, tight control | Thin layers, repairs | Small gems and details | Gems, gaps, detail work |
| Lamp needed | UV/LED | UV/LED | UV/LED | UV/LED | UV/LED |
How UV glue gel cures
Curing is a two-stage idea, and most of the practical advice follows from it.
- Flash cure (5 to 10 seconds). While you are still holding the tip in place, a few seconds under a lamp, ideally a small handheld one, freezes the position. The gel is gelled, not fully hard.
- Full cure (about 60 seconds under LED). Once the tip can no longer shift, the hand goes in the lamp for the full time.
Recommended cure times (seconds)
Upper end of the recommended time on each product page. Cure time depends on lamp wattage and glue thickness, so follow your lamp's guide and add time for large charms.
Why thin layers matter. Light has to reach all of the gel. A thick bead can skin over on top and stay soft underneath, and a soft core is exactly how a tip loosens later. Curing releases heat, and thick product releases more, so if the hand feels a hot spike, pull it out for a few seconds and put it back.
The sticky surface is normal. Free-radical acrylate cures are slowed by oxygen at the surface, so a freshly cured gel can feel slightly tacky on an exposed face even when the layer underneath is hard. This is called the oxygen inhibition layer. It is not a sign of a failed cure and is the reason you finish with a top coat or color. Tacky glue that has been squeezed between a tip and a nail is a different matter. If gel is still liquid there, it was undercured.
Match the lamp to the gel. If you are unsure whether your lamp is up to the job, our guide to UV/LED lamps for builder gel explains wattage, wavelength and the signs of undercure.
How to apply soft gel tips with glue gel, step by step
This is the method on our product page, with the reasons behind each step.
Seven steps, one nail at a time
A few details decide whether a set lasts two weeks or four.
- Oil is the enemy. Most lifting is skin oil on the nail plate. Dehydrate, then do not touch.
- Hold still during the flash cure. If the tip creeps by a fraction of a millimeter, it leaves a tiny gap that becomes a lifting point.
- Don't flood the cuticle. Excess glue squeezes out, cures on the skin and lifts as the nail grows. Wipe any overflow away before the lamp.
- Size to the sidewalls. A tip that is too narrow pulls at the edges and pops off.
New to tips? Our guide to applying soft gel tips at home goes through the whole manicure, and soft gel tips vs press-on nails explains when each is the better call.
How to set rhinestones and charms
- Finish and cure your gel manicure first, including top coat.
- Place a small dot of rhinestone glue where the stone goes. Use more for a heavy charm.
- Set the stone with a wax pick-up pencil and press gently into the gel.
- Draw a thin line of glue around the base, without covering the top of the stone.
- Cure about 60 seconds under LED, or about 120 seconds under UV. For big charms, cure from several angles.
Keep the gel off the faces of crystals, because it dulls their sparkle, and don't bury the decoration in a thick top coat for the same reason. If you like sculpted designs, see our 3D solid gel nail art guide.
How to remove UV glue gel
Because glue gel is a gel, you treat it like one. It dissolves in acetone and does not respond to glue remover or warm water.
- File off the shine of the tip, and some of the bulk, so acetone can reach the glue.
- Soak or wrap in acetone for about 10 to 15 minutes. This matches the standard soak-off time for gel manicures described in the dermatology literature.
- Slide the softened tip off gently with a cuticle pusher. If it resists, put it back in acetone.
- Buff lightly, wash and oil. Acetone dries the skin, so massage in cuticle oil.
Do not pull tips off dry. That is how layers of the natural nail come away with the glue.
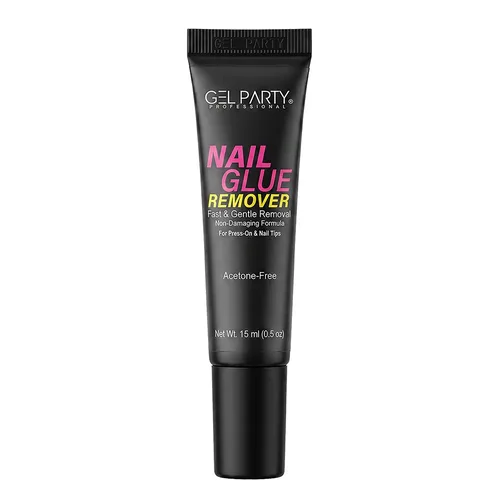
If a client or customer only used air-set glue, our Nail Glue Remover is the right tool for that, not an acetone soak.
Troubleshooting
| Problem | Likely cause | Fix |
|---|---|---|
| Tip lifts at the cuticle within a week | Oil on the nail plate, or the tip moved during the flash cure | Re-dehydrate, hold still, flash-cure while pressing |
| Tip pops off at the sides | Tip too narrow for the nail | Use a larger size and file the sides to fit |
| White spot under the tip | Trapped air | Place at 45° and roll down from the cuticle |
| Gel still soft or wet after the lamp | Layer too thick, or lamp too weak or wrong type | Use thinner layers, cure longer, check the lamp |
| Hot, stinging feeling under the lamp | Thick gel curing quickly | Pull the hand out for a few seconds, then return. Use thinner layers next time |
| Glue on the skin or cuticle | Too much product | Wipe before curing. Switch to the solid jar for tighter control |
| Rhinestone falls off | Too little glue, or glue not cured long enough | Use a thin ring around the base and cure fully, from more than one side |
| Skin itching or redness near the nails | Uncured gel on the skin, or sensitivity to acrylates | Stop use and see the safety section below |
Safety
UV glue gels belong to the (meth)acrylate family, and that matters for two reasons.
Uncured gel should never sit on skin. A review of at-home nail cosmetics found that allergic contact dermatitis is the most common adverse event, mostly linked to (meth)acrylates in nail glue, gel polish and acrylic nails. Allergy builds up through repeated skin contact (sensitization), and once someone is sensitized, later exposure can trigger a reaction. Keep product off the skin, cure every layer fully and wipe overflow away before the lamp.
Cure fully, and cure the right way. Researchers note that incomplete curing can leave residual monomer in contact with the skin, which raises the risk of sensitization. A lamp that does not suit the gel, a thick layer or too short a cure can all cause it.
Do a patch test before first use and stop if irritation occurs. Our product pages say the same: avoid contact with skin and eyes and keep the glue out of reach of children.
Ingredients. Not every gel is HEMA-free. If you are sensitive to a specific ingredient, ask for the Safety Data Sheet and the ingredient list at support@gelpartynails.com before you buy. Our guide to HEMA-free and TPO-free gel nails explains what those labels do and do not mean. HEMA-free does not mean allergy-proof.
The lamp. UV lamps carry some potential for photosensitivity, and one chemistry review concludes that when curing is done properly the risk is acceptably low. If you are concerned, use an LED lamp, keep the cure times short and wear fingerless UV gloves or sunscreen.
Storage. Keep bottles, jars and tubes closed, away from heat and direct sunlight, and out of reach of children.
Which glue gel should you choose?
| If you want to... | Choose | Why |
|---|---|---|
| Apply your first set of soft gel tips | Solid Glue Gel (jar) | The thickest texture, very little flooding |
| Do regular sets quickly | Nail Glue Gel (tube) | Precise nozzle, easy dosing |
| Glue tips and also lay thin base layers and fix small breaks | 9-in-1 Glue Gel (bottle) | Brush gives thin, even layers |
| Place small gems in neat rows | Rhinestone Glue (needle tip) | One precise dot at a time |
| Do gems, gap filling and detail work | Rhinestone Glue (brush cap) | Multifunction cap |
| Apply press-ons for a weekend with easy removal | Semi-Solid Nail Glue (no lamp) | Sets in the air and comes off with glue remover |
Frequently asked questions
What is UV nail glue gel?
UV nail glue gel is a clear, thick adhesive gel that stays soft until you cure it under a UV or LED lamp. It bonds soft gel tips, press-on nails, French tips and nail decorations to the natural nail and soaks off like gel.
Do I need a lamp for glue gel?
Yes. Glue gel only hardens under a UV or LED lamp. If you do not have a lamp, use a no-lamp glue such as a semi-solid nail glue.
How long should I cure glue gel?
For tips, flash-cure for 5 to 10 seconds while you hold the tip, then cure fully for about 60 seconds under an LED lamp. For rhinestone glue, cure for about 60 seconds under LED or about 120 seconds under UV. Lamp wattage and layer thickness change the time, so follow your lamp's guide.
How long does a set last with glue gel?
Glue gel is designed for a hold that lasts for weeks. The exact time depends on prep, nail growth, how you use your hands and how well you cure. Press-ons applied with air-set glue usually last about a week.
Can I use glue gel for press-on nails?
Yes. Glue gel works with press-ons, and the cured bond is strong. Removal takes longer than with air-set glue, because you file and soak in acetone, so for a weekend event a no-lamp glue is usually easier.
What is the difference between the tube and the solid jar?
They use the same type of glue gel in different formats. The tube has a nozzle and is quick to dose. The solid jar is thicker and is picked up with a tool, which gives the most control and the lowest chance of flooding the cuticle.
How do I remove glue gel?
File off the shine and some of the bulk, soak or wrap in acetone for about 10 to 15 minutes, then slide the softened tip off gently. Finish with a light buff and cuticle oil.
Is glue gel safe for my nails?
Used as directed, a glue gel is a widely used cosmetic product. The main risk is allergic contact dermatitis from uncured (meth)acrylates on the skin, so keep the gel off your skin, cure fully, patch test first and stop if you notice irritation.
The bottom line
Choose the glue gel by how you like to work. The tube is quick, the solid jar is forgiving, the 9-in-1 bottle is flexible and the rhinestone glues are made for tiny, exact placement. After that, the result depends on the habits that apply to every gel: a clean, dry nail, thin layers, a flash cure while you hold the tip, a full cure and no product on the skin. Do those and a set should stay put for weeks, then soak off cleanly when you are ready.
This article is for general information. If you have a skin reaction, swelling or pain around the nails, stop using the product and see a doctor or dermatologist.
Sources
- Mieriņa I, Grigale-Sorocina Z, Birks I. The chemistry behind the UV-curable nail polishes. Polymers. 2025;17(9):1166. mdpi.com/2073-4360/17/9/1166 (acrylate chemistry, radical polymerization, acrylate health concerns, UV exposure risk when curing is done properly).
- Adverse effects of at-home nail cosmetics (review). Skin Appendage Disorders. 2024;10(3):180. karger.com (allergic contact dermatitis to (meth)acrylates in nail glue, gel polish and acrylic nails; UV lamp photosensitivity).
- Cosmetically induced disorders of the nail with update on contemporary nail manicures. Journal of Clinical and Aesthetic Dermatology. jcadonline.com (photobonded acrylic gels, LED vs UV lamps, acetone soak-off of 10 to 15 minutes).
- Toxicological profiles and prevalence of (meth)acrylate sensitizers in UV-curable nail coatings. Materials Science (Medžiagotyra). doi:10.5755/j02.ms.41884 (incomplete curing, residual monomers, sensitization risk).
- Incure Labs. What is oxygen inhibition in UV curing and how to fix it (tacky surface layer on cured acrylate adhesives).
- Rodriguez I, George SE, Yu J, Adler BL. Tackling acrylate allergy: the sticky truth. Cutis. 2023;112(6):282–286. MDedge (uncured monomers and acrylate sensitization).
- GEL PARTY product instructions: Nail Glue Gel for Soft Gel Tips and Rhinestone Glue Gel (flash cure, full cure and removal steps, formats and sizes).