The first 3D flower almost everyone makes is a flat blob. The petals slump, the center disappears, and the whole thing slides toward the cuticle while you reach for the lamp. The fix is rarely more skill. It is usually a firmer gel, a thinner amount, and a cure at the right moment.
This guide explains how 3D nail art works with a solid, non-stick builder gel: what to put on the nail first, how to place and shape a petal, when to cure, and what to do when a design cracks or lifts. If you are new to the gel itself, read our guide to non-sticky builder gel first. For the wider system, see the complete builder gel guide.
Why solid gel suits 3D work
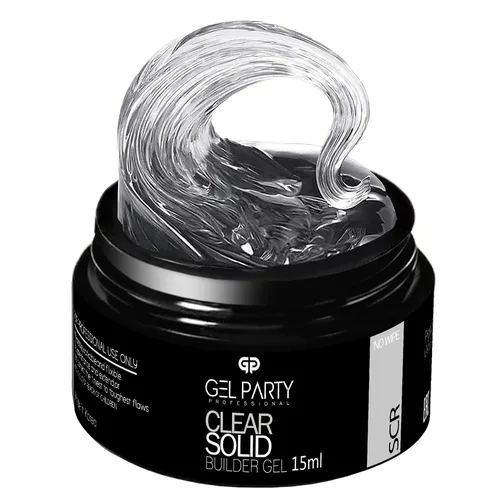
A runny gel wants to level out, and that is the opposite of what a petal needs. A firm, putty-like gel stays where you put it. That is the whole reason solid builder gels are popular for flowers, bows, ribbons and charms.
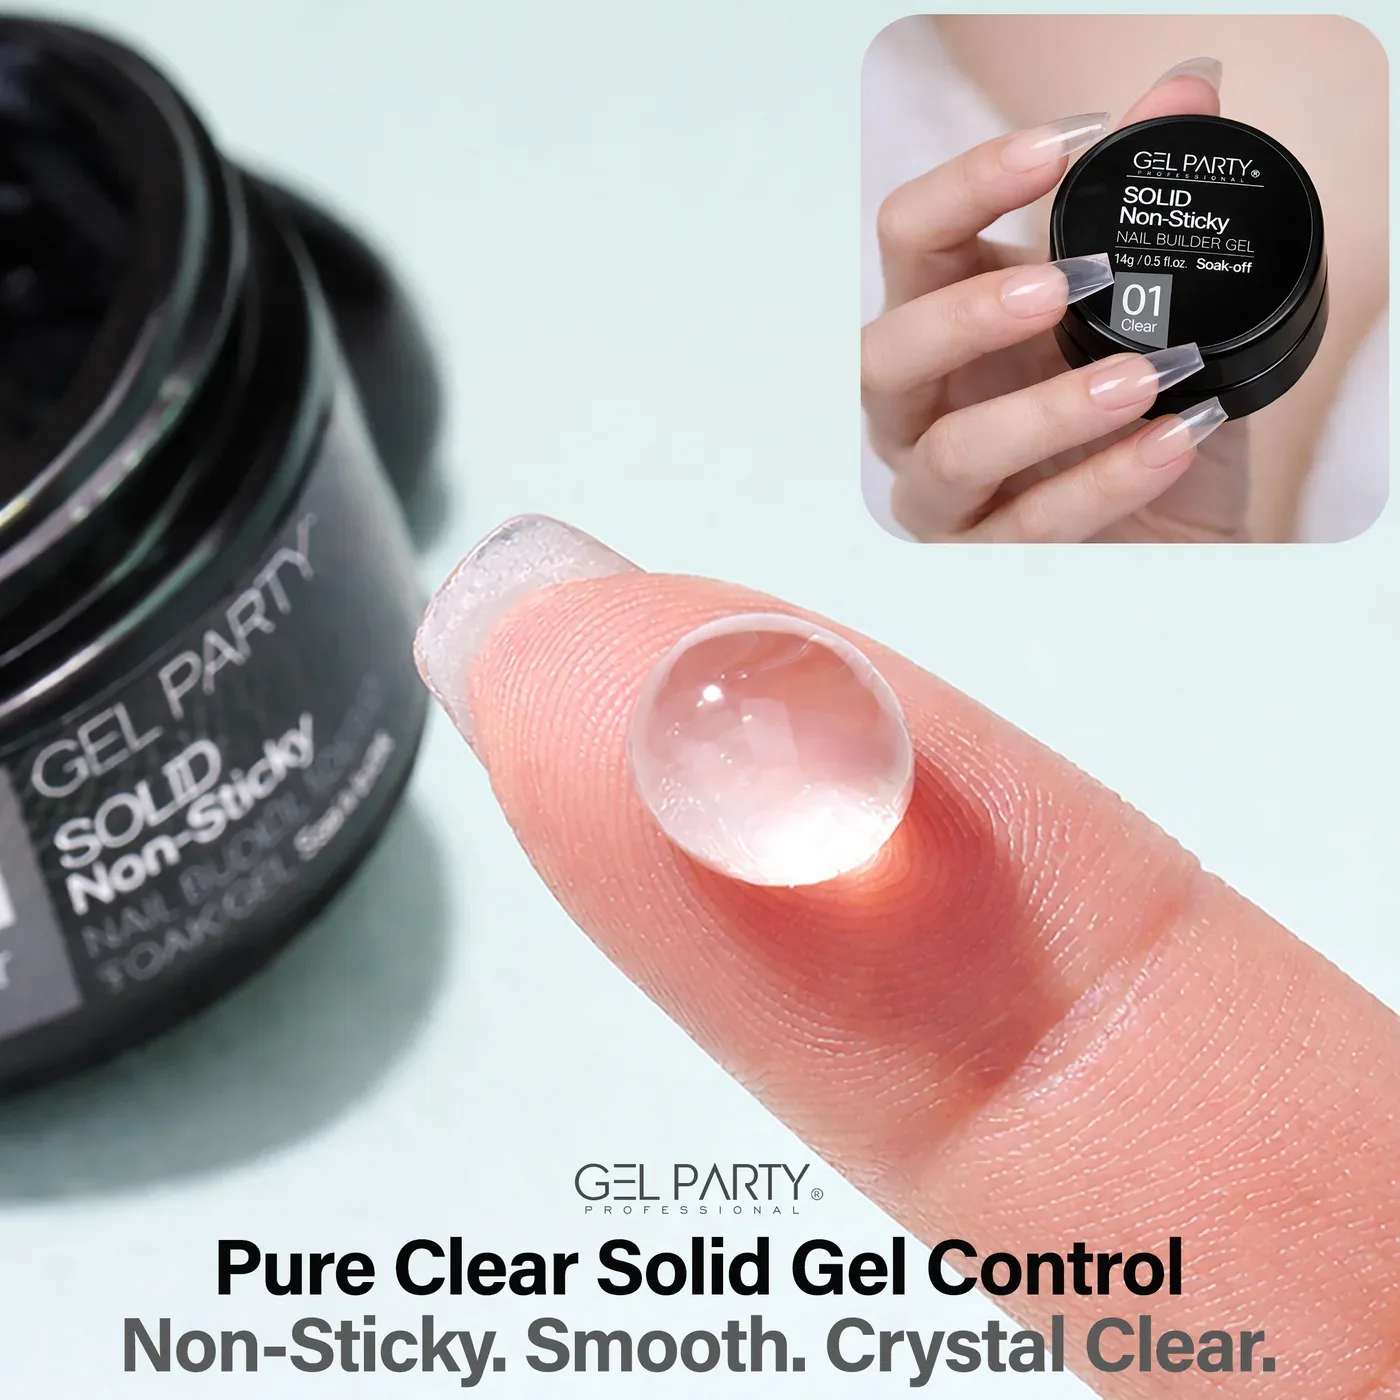
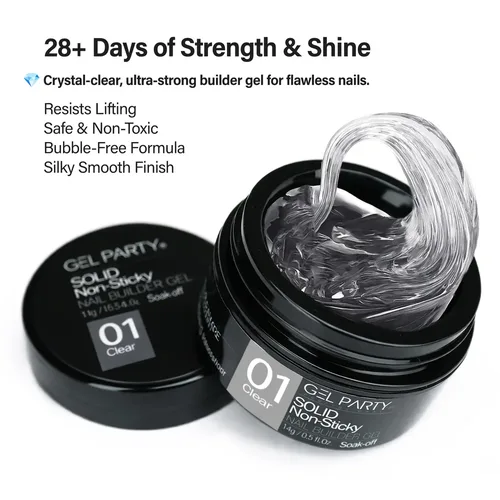
Our 3D Solid Builder Gel is made for this: a firm texture you scoop with a tool and shape with your fingers or a brush. The Non-Stick Solid Builder Gel works the same way in jar form. Both are soak-off gels, so the design comes off with the rest of the set.
What you need for a first 3D design
Solid builder gel
Firm enough to hold a petal. Clear for tinting, or a ready shade such as white or pink.
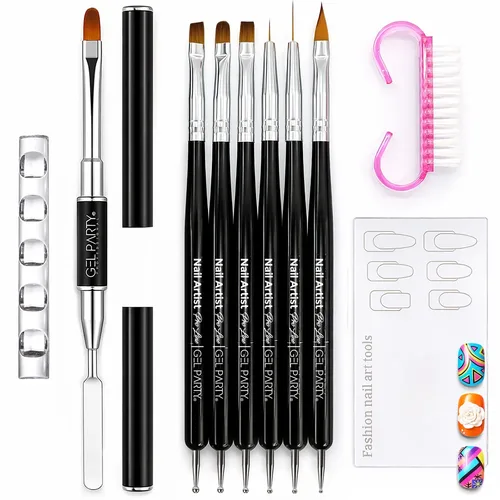
Silicone tip or detail brush
A small silicone tool or a flat detail brush moves firm gel without dragging it.
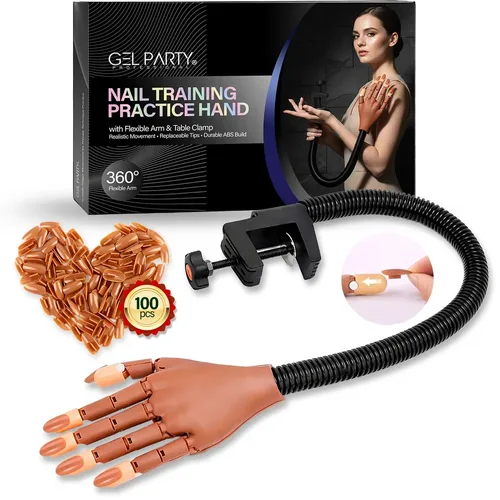
Training hand
Try each flower on a practice tip first. Mistakes cost a minute, not a manicure.
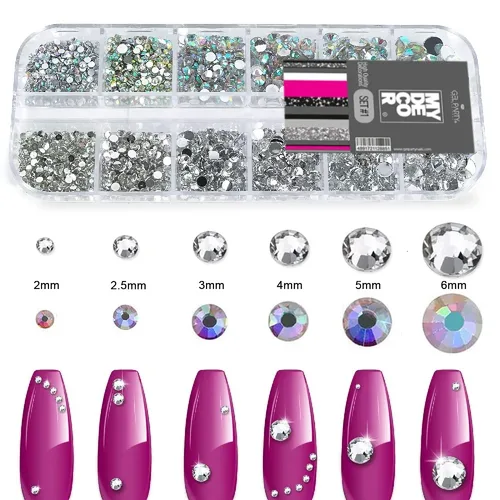
Top coat and charms
Gel top coat over the base nail, plus pearls or crystals for the centers.
Our nail art brush sets and the nail practice hand cover the last two rows of the list.
Prepare the nail and the base
3D art sits on top of a finished nail, so the foundation matters. A flower on a lifting base will lift with it.
- Prep the nail as you would for any gel service: push back the cuticle, remove only the shine from the plate, and dehydrate.
- Apply a thin base coat and cure it.
- Apply your color or a thin layer of builder gel and cure it fully.
- If your solid gel has a sticky layer, wipe it. If it is labeled no-wipe, leave it. Our no-wipe gel guide explains the difference.
Keep every layer thin. Kevin Nicholls of NailKnowledge explains that thick layers can stay soft underneath, and Doug Schoon notes that thicker gel releases more heat as it cures. A sculpted piece is thick by nature, so build it in small pieces rather than one large lump.
How to build a simple 3D flower
This is the beginner routine we recommend on a practice tip first.
A five-petal flower in six moves
Follow the cure times on your jar. Our solid gel instructions give 60 seconds under an LED lamp, and your lamp's guide comes first.
Tint your own colors
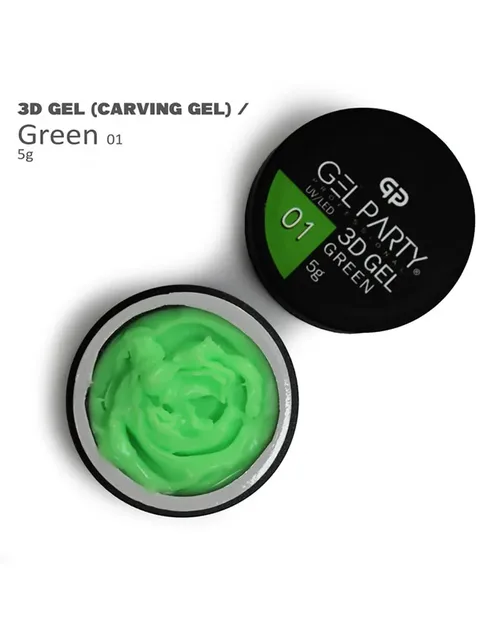
Clear solid gel can be tinted with a small amount of gel color, which gives you matching petals and leaves from one jar. Mix a tiny amount on a palette, keep the ratio consistent and cure in thin stages. For a ready shade, the 14 g range includes Snow Bound White and Blush Pink, and our 3D Sculpting Carving Gel line comes in 12 colors for details.
Bows, swirls and ribbons
The same method works for other shapes:
- Bows: two teardrop loops and a small center knot, each cured before the next.
- Swirls and ribbons: roll a thin rope of gel, lay it on the nail and shape it with the tool.
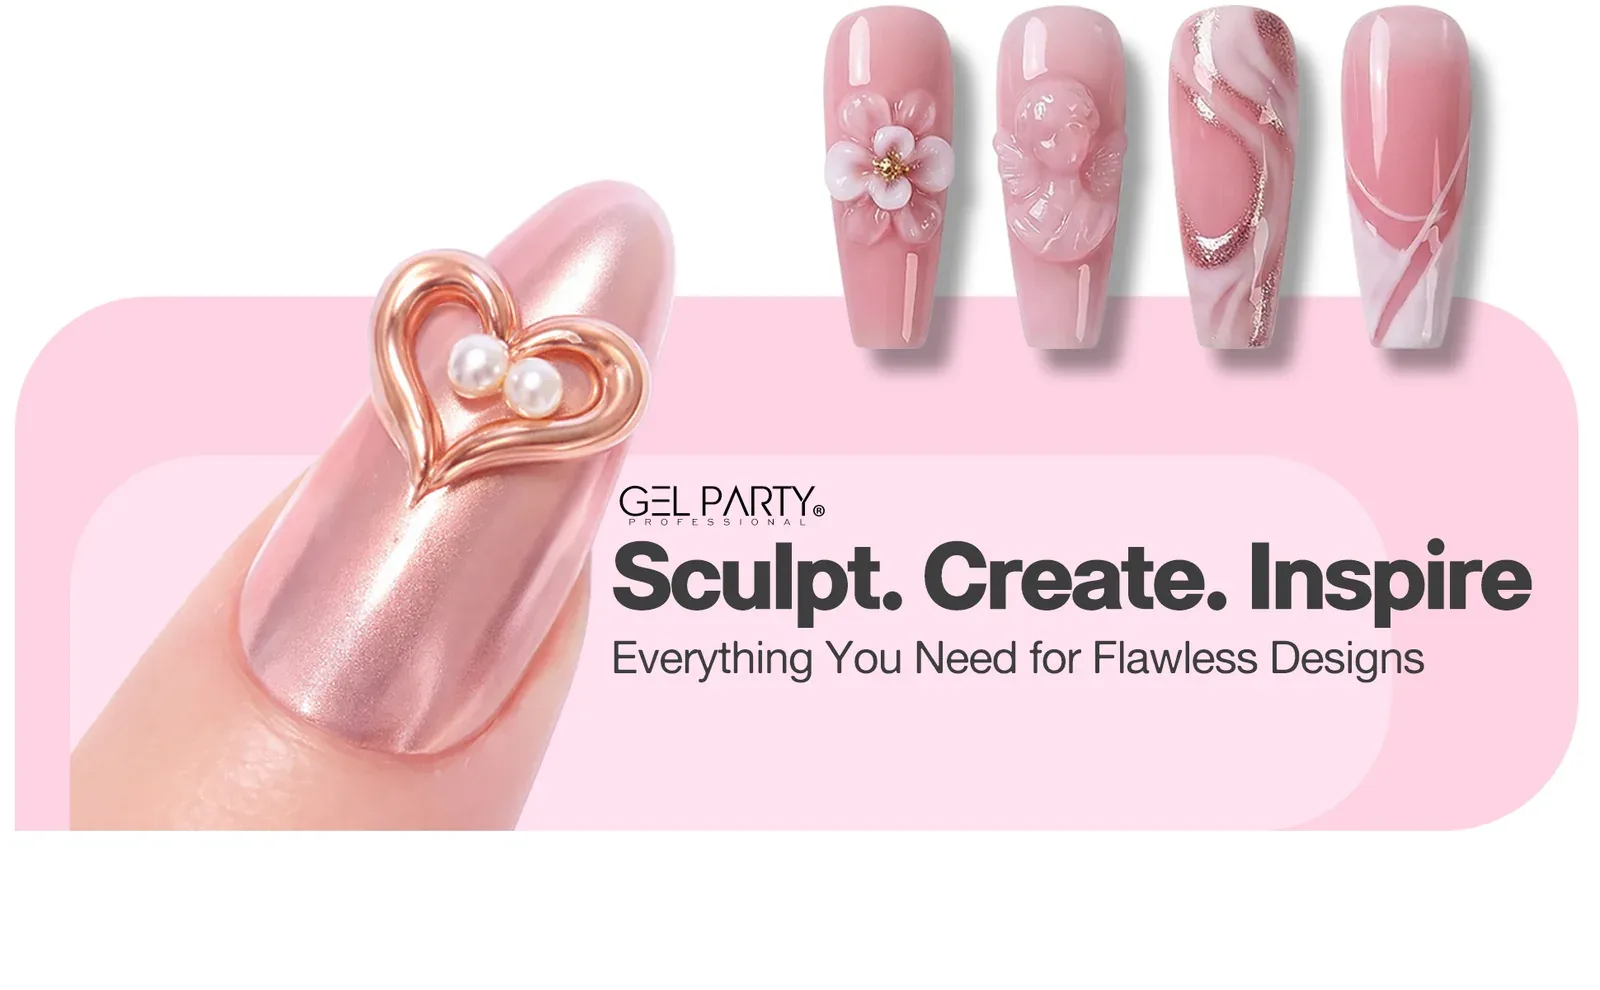
- Hearts and charms: shape the outline, cure, then set a charm into a small amount of fresh gel and cure again.
Common problems and how to fix them
| Problem | Likely cause | Fix |
|---|---|---|
| Petals flatten out | Gel too soft or too much of it | Use a smaller piece and shape it quickly, then cure |
| Design slides toward the cuticle | Too much gel, nail tilted before curing | Keep the nail level, cure sooner |
| Gel sticks to the tool | Warm gel or a dry tool | Wipe the tool clean between pieces, and keep the gel out of a warm spot |
| Cracks at the edge | Thick lump cured in one go | Rebuild in small pieces |
| Design lifts from the nail | Weak base or oily surface | Redo the prep and a thin base layer |
| Hot spot while curing | Thick layer releasing heat | Stop, let the nail cool and build in thinner stages |
| Cloudy look | Tint too strong, or under-cured layer | Use less color, and cure fully |
For lifting in general, Doug Schoon points out that it is more often tied to preparation, application, curing or removal than to the product itself. For that reason, check the base before blaming the gel.
Protect your nails and skin
Sculpted designs are thicker than a normal gel layer, so a few habits matter more:
- Keep gel off the skin and cuticle, and clean up any stray bits before you cure.
- Use the lamp your gel maker recommends. The British Association of Dermatologists warns about uncured product touching skin and about undercuring.
- Remove the design as part of the soak-off set. File the top layer lightly, soak in acetone and push the softened gel off gently, rather than prying it.
Product picks for 3D nails
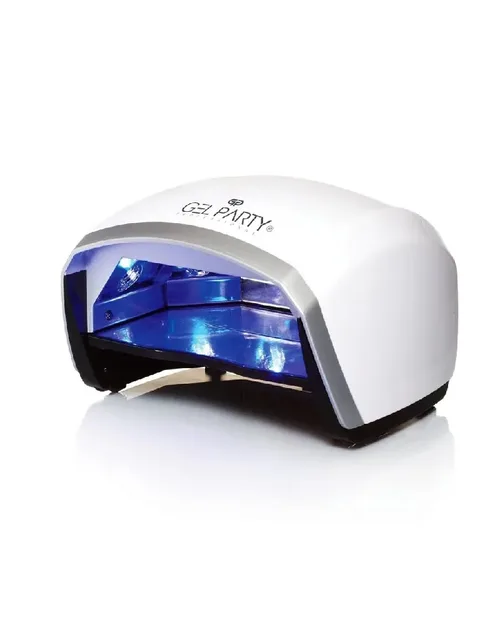
Start with a firm solid gel, a small tool set and a practice hand. Our 3D Solid Builder Gel and Non-Stick Solid Builder Gel cover most designs, while 3D Sculpting Carving Gel gives you ready colors for details. A nail art brush set, a practice hand and a nail art decoration set round it out. Cure everything under a lamp that suits your gel, such as the EARTH MOON 48W LED Lamp.
Frequently asked questions
What gel is best for 3D nail art?
A firm, solid gel is best, because it holds its shape while you place and cure each piece. Runny builder gels and gel polish tend to level out and lose the petal shape.
Can I use gel polish for 3D flowers?
Standard gel polish is too thin to hold a raised shape. Use a thick sculpting gel or a solid builder gel, and use gel polish only for the background color.
How long do I cure a 3D design?
Follow the cure time on your gel and the guide for your lamp. Our solid gel instructions give 60 seconds under an LED lamp, with a short cure between pieces so each one is set before the next. Thick pieces are best built in stages.
Why does my 3D design crack?
It usually means a thick lump was cured in one go. Rebuild in smaller pieces and cure each one. Also check that the base layer underneath is fully cured and not too thick.
Do I need to wipe solid gel before adding charms?
If the gel leaves a sticky layer, wipe it with cleanser before you add more gel. Gels labeled no-wipe don't need it. Always check the label on your jar, and see our guide to non-sticky gel for how to test.
Can beginners do 3D nail art at home?
Yes, with practice. Start on a practice hand with one flower, then move to your own nails. Keep gel off the skin, use a suitable lamp and don't rush the curing.
How do I remove 3D gel art?
File the surface lightly, soak with acetone and push the softened gel off gently. Don't pry or peel, because that can take layers of the natural nail with it. Our guide to removing builder gel covers it step by step.
The bottom line
3D nail art is mostly gel control. A firm solid gel, small pieces, thin layers and a cure after each piece will do more for your flowers than any fancy tool. Practice on a tip first, keep the skin clean, and use a lamp that matches your gel.
Next, learn the gel itself in our non-sticky builder gel guide, then check the builder gel guide for overlays, extensions and removal.
Sources
- Kevin Nicholls, NailKnowledge. UV curing: why thin layers matter for perfect nails (thick layers stay soft underneath; use the recommended lamp). 17 August 2025.
- Doug Schoon, NailKnowledge. Heat spikes during UV gel nail coatings (curing releases heat; thicker layers release more). 18 March 2022.
- Doug Schoon, NailKnowledge. Oily nail plates and proper nail coating application (lifting comes more often from preparation, application, curing or removal). 7 August 2024.
- Doug Schoon, NailKnowledge. The inhibition layer (the sticky layer after curing and why it forms). 17 June 2022.
- British Association of Dermatologists. Dermatologists reiterate artificial nails warning and risk of at-home kits (uncured product on skin, undercuring, nitrile gloves). 14 April 2023.
- GEL PARTY product information: 3D Solid Builder Gel, Non-Stick Solid Builder Gel, 3D Sculpting Carving Gel, solid gel instructions (cure 60 seconds under LED, lamp dependent).