Three weeks after a builder gel set, the nail looks almost the same from above. A little new growth at the cuticle, maybe a slightly longer free edge. From the side, it's a different nail. The apex you built so carefully has ridden forward with the growth, the cuticle area is thin or bare, and the free edge is carrying more leverage than it was designed for.
That's what an infill fixes. Done well, it's quicker than a new set and kinder to the natural nail. Done badly, it piles new gel on old gel until the nails look thick and the structure sits in the wrong place. Below is the full routine, from deciding whether a set should be filled at all to the final coat of oil.
What an infill actually does
As the natural nail grows, everything on it moves forward: the product, the apex and the free edge. Kevin Nicholls explains on NailKnowledge that this unbalances the structure, which is why the thick apex is thinned and rebuilt in the right place at each maintenance appointment. The word "rebalance" comes from exactly that.
So an infill has three jobs:
- Close the gap at the cuticle with a clean, well-adhered layer over the new growth.
- Move the apex back to the stress area, the point just behind where the nail leaves the finger.
- Restore the length and shape so the free edge isn't working as a long lever.
Scratch magazine's builder gel guide separates two levels of service. A standard infill fills the cuticle area and puts the apex back where it started. A full maintenance files down all the existing product so the apex can be replaced, the product repositioned and the free edge reshaped. Most clients need the first; a set that has broken down needs the second.
If you want a refresher on why the apex position matters so much, our guide to builder gel apex placement covers it in detail. It's also the anchor of our complete builder gel guide, which this article is part of.
When is a builder gel infill due?
Fingernails grow slowly but steadily. In a study of healthy young adults in the US, published in the Journal of the European Academy of Dermatology and Venereology, fingernails grew an average of 3.47 mm per month, with little fingers growing a little slower than the rest. That's an average; some clients grow faster, some slower.
How much new growth to expect
Calculated from the average fingernail growth rate of 3.47 mm per month (Yaemsiri et al., 2010). Individual clients vary; book by how the nail looks, not only by the calendar.
In practice, that gives you a window rather than a date:
- Scratch notes that infills are typically needed about two weeks after the first service, and that a set can lose its balance two to three weeks in as the apex moves forward.
- In Professional Beauty's builder gel guide, salon owner Grace Ricketts says her salon infills every two to three weeks.
- Our Builder Gel in a Bottle instructions use three to four weeks.
A useful rule from the chair: if a client breaks the same nail at the stress area a few days before every appointment, the apex is drifting too far forward between visits. Book her sooner, or keep the length shorter.
Infill, full maintenance or removal?
Not every set should be filled. The decision depends on what you can see, what you can't see, and how long it's been.
| What you find | Best option | Why |
|---|---|---|
| Clear or sheer set, no lifting, 2 to 4 weeks | Infill | The nail is visible through the product, and the structure only needs moving back |
| Small lift at the cuticle or sidewall | Infill, after filing the lift away completely | Lifted product is a pocket for moisture and debris; it must go, not be sealed over |
| Opaque or cover set, several cycles in | Full removal now and then | You can't see the nail plate; Nicholls suggests removing opaque coatings around three weeks to check nail health |
| Apex far over the free edge, cracks, or several lifts | Full maintenance | The old structure is in the wrong place; rebuild rather than patch |
| Client hasn't been in for a long time | Full removal and a nail check | Ricketts' salon does exactly this before starting fresh |
| Thin, sore or red nail plate | Remove and let it recover | Don't add product over a damaged plate |
Some salons build a full removal into the cycle on purpose. Ricketts, for example, does a full removal after the second infill and starts again with a new overlay. There's no single right rhythm; what matters is that you check the natural nail often enough to catch problems.
Tools you need
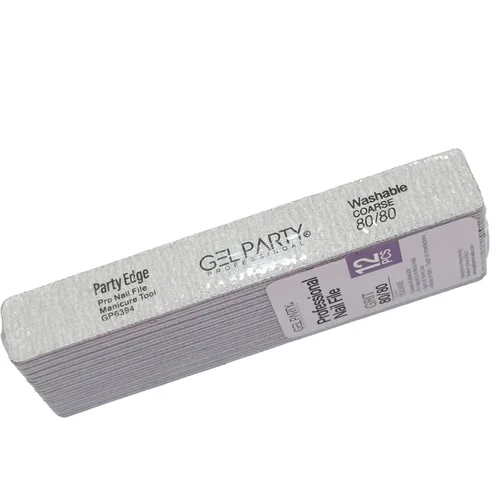
A 100/180 file for the old product and a 180 or finer grit for the natural nail (our Professional Nail Files come in 100/100 and 100/180), an e-file with a medium bit if you use one, a dust brush, lint-free wipes, dehydrator and bonder (our Nail Prep Kit pairs both), the same builder gel system you used for the set, the lamp specified for it, and cuticle oil.
Builder gel infill, step by step
The steps below work for jar builders and brush-on builders. Always check your gel's own instructions, especially cure times.
1. Look at every nail from the side
Before you touch a file, check each nail from the side and down the barrel. Where is the apex now? Is the free edge longer than you want? Any lifting at the cuticle or sidewalls? Any cracks? This tells you how much product has to come off and whether any nail needs more than a standard fill.
2. Shorten and reshape first
Take the length back before you debulk, so you're not thinning product you're about to file off anyway.
3. Remove the color and top coat
File off any color and top coat so you can see the builder underneath.
4. Debulk to a thin, even foundation
This is the step that makes or breaks the infill. File the old builder down until it's a thin, even layer over the whole nail, and take most of the old apex away. Scratch is direct about why: if you keep refilling on top of old product, the nails become thick and chunky.
Work on the product, not the natural nail. Stop when the remaining layer is thin and even. Don't chase every trace of gel at the cuticle edge with a coarse grit; that's how the natural nail gets thinned.
The rebalance in three profiles
Simplified cross-sections, not to scale. The pulsing dot marks the highest point of the nail.
5. Blend the edge of the old product
Where the old builder meets the new growth, there's usually a small ledge. Blend it smooth with a 180 grit so there's no step for the new gel to sit on. Run a finger over it: you shouldn't feel an edge.
6. Prep the new growth like a new nail
The strip of new growth at the cuticle is bare natural nail, so it needs the full prep: push back the cuticle, remove any non-living tissue from the plate, and take the shine off lightly. Doug Schoon recommends removing only the surface shine on natural nails, and using 180 grit with a very light touch or a finer 240 grit. Then dust off thoroughly.
Don't touch the nail plate after this point. Skin oil on freshly prepped nail is one of the classic causes of lifting at the cuticle, which we cover in depth in why builder gel lifts.
7. Dehydrate and bond the new growth
Dehydrate the new growth and the filed surface, then apply bonder or a thin base to the bare nail only, keeping it off the skin. Cure as your system directs. Our bonder gel, for example, cures in about 60 seconds in an LED lamp or 120 seconds in a UV lamp.
8. A thin slip layer over the whole nail
Scrub a very thin layer of builder (or base) over the entire nail, including the filed product, and cure it. This is the anchor that ties the new and old layers together.
9. Rebuild the apex where the nail is now
Pick up a bead of builder sized for the nail and place it in the stress area of the nail as it is today, not where it was three weeks ago. Float the gel toward the cuticle (stopping about 1 mm short), the sidewalls and the free edge. Turn the hand over for a few seconds so self-leveling gel settles into a smooth curve, check the side profile, flash cure, then full cure. Our Builder Gel instructions suggest 5 to 10 seconds upside down and a 10-second flash cure before the full cure.
For extensions or weak nails, build in two thinner layers rather than one heavy bead. Thick layers can stay soft underneath and produce more heat in the lamp.
10. Refine, finish and oil
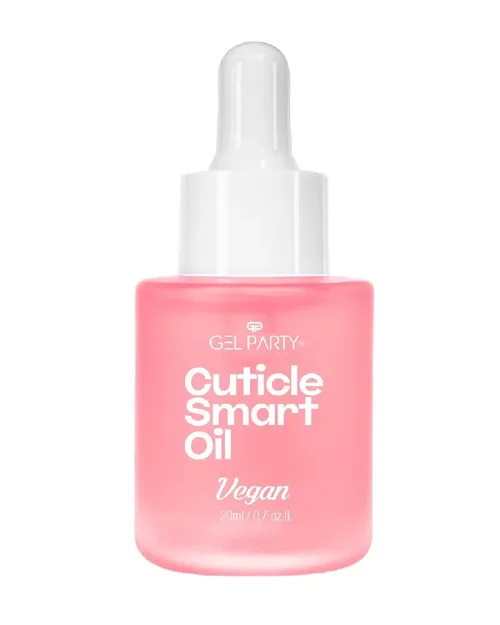
Wipe any sticky layer, refine the shape and surface with a 180, check the side profile once more, then add color if the client wants it and seal with top coat. Finish with cuticle oil and send her home with a bottle.
Hand file or e-file for the debulk?
Both work. The e-file is faster; the hand file is more forgiving. What matters is that you only remove product.
E-file near the cuticle: slow down
Bit angles and pass advice from Kristie Jauvais, NailKnowledge. Photo: stock photo via Pexels.
| Hand file | E-file | |
|---|---|---|
| Speed | Slower, especially on thick sets | Fast once you have control |
| Learning curve | Low | Higher: angle, speed and pressure all matter |
| Main risk | Over-filing the natural nail with a coarse grit | Heat, grooves and "rings of fire" from pressure, dwell time or the wrong angle |
| Good for | Home users, short overlays, clear sets | Salon infills, thicker sets, color changes |
| Grit or bit | 100 on product, 180 for blending, 180 to 240 on the natural nail | Medium bit on product only; never a coarse bit on the natural nail |
Kristie Jauvais' NailKnowledge article on "rings of fire" (red, sore grooves on the nail plate) traces them mostly to over-filing: too much pressure, a poor-quality bit that needs force, the wrong speed, and too many passes. A shallow ring can be cured with the hand slightly outside the lamp first; a deep one means no product on that nail until it grows out.
If you're still building confidence with grits, our nail file grit guide explains which number belongs where.
Common infill mistakes and how to fix them
| Mistake | What you see | Fix |
|---|---|---|
| Filling on top of old product | Nails get thicker every visit, bulky cuticle area | Debulk to a thin, even foundation every time |
| Sealing over a lift | Lifting returns in days, dark spots under the gel | File the lifted product away completely until no ledge remains |
| Apex rebuilt in the old place | Nail looks top-heavy, breaks at the stress area | Find the stress area of the nail as it is now and build there |
| Ledge left at the new growth | A visible line, early lifting at the cuticle | Blend the old edge smooth with a 180 before applying gel |
| Coarse grit on the new growth | Thin, flexible, sensitive nails | Remove shine only; 180 with a light touch or finer |
| One thick layer to save time | Heat in the lamp, soft or wrinkled gel underneath | Slip layer, then a bead, cured in thin passes |
| Length left on | Apex too far back for the length, or a weak free edge | Shorten before you rebalance |
| Gel on the skin | Lifting at the cuticle, risk of sensitization | Keep a 1 mm gap; wipe any flooding before curing |
That last one deserves more than a table row. The British Association of Dermatologists warns that uncured gel touching the skin is the main way people become sensitized to nail acrylates, and that insufficient curing can raise that risk. Keep gel off the skin and cure with the lamp your gel was made for.
Color changes at infill
Clients often want a new color at every visit, which is one reason builder gel works so well as a base. A tip from NailKnowledge's Kevin Nicholls for clients whose skin doesn't like long acetone soaks: build the structure in a clear builder and wear the color over it. At the next visit you file off only the color and the top layer, then fill as usual, without soaking.
With a cover or tinted builder, remember the old shade stays underneath a fill: choose a new shade that covers it, or debulk more.
Builder gel infills with GEL PARTY products
Our builder gels are designed for exactly this kind of maintenance.
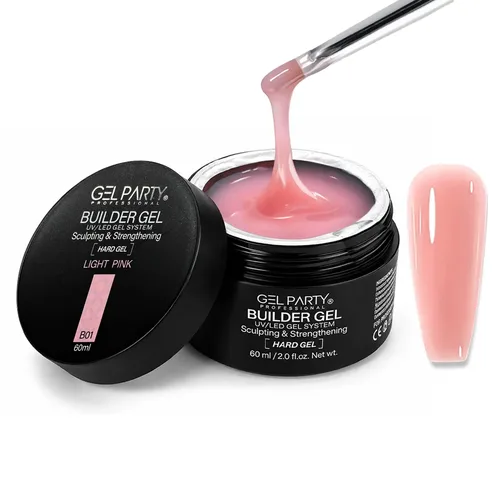
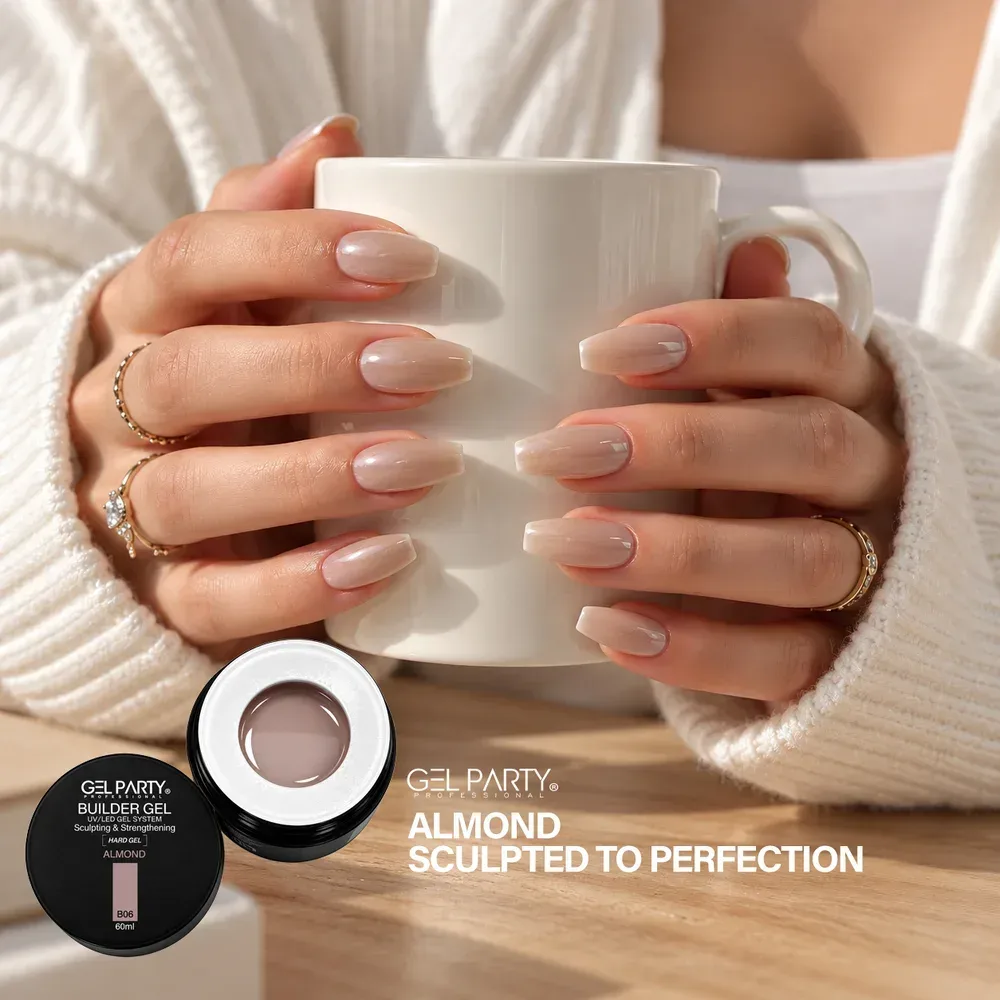
- Builder Gel, 60 mL, is a self-leveling hard gel in 15 shades. Its instructions describe filing the product down to a thin layer over the natural nail at removal or maintenance, then using what's left as the base for the next set.
- Builder Gel in a Bottle brings six sheer, milky and cover shades in brush-on bottles. The instructions recommend filing the old product down, leaving a thin layer, and rebuilding the apex every 3 to 4 weeks.
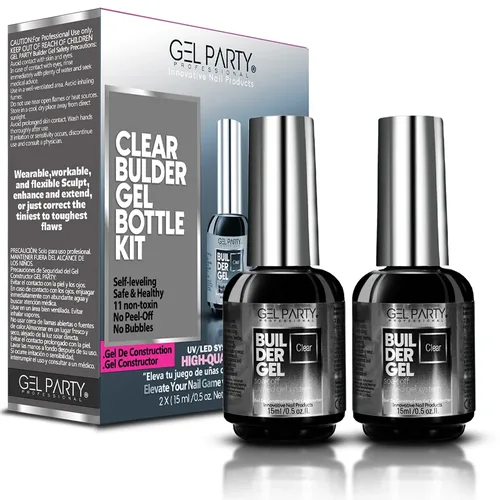
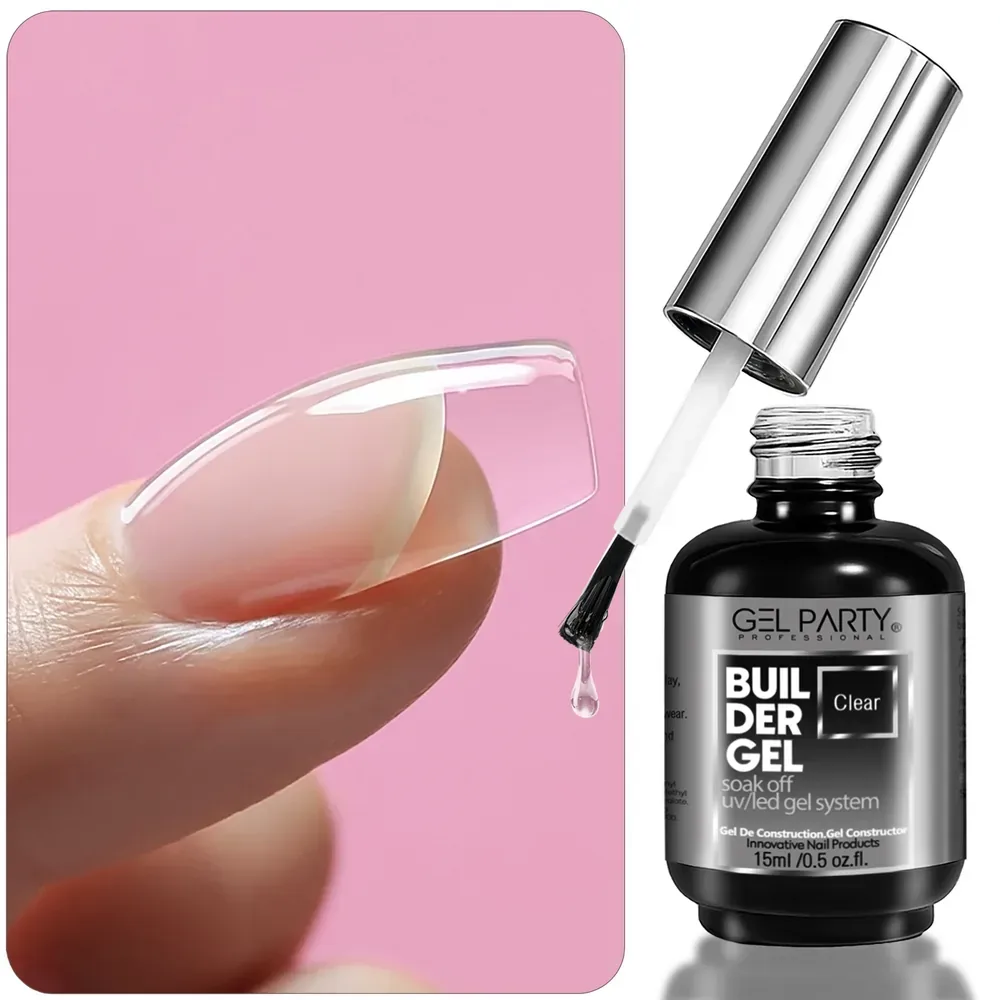
- Clear Builder Gel in a Bottle is a good choice for the clear-structure, color-on-top approach above.
- AXE-1 Cordless Nail Drill goes up to 35,000 RPM with a high-torque, ventilated handpiece.
- EARTH MOON 48W LED Lamp cures all five fingers at once and has 10, 20 and 30-second timers and a low-heat mode.
If you're choosing between builder textures for different clients, our comparison of rubber base vs builder gel vs hard gel helps match the product to the nail.
Frequently asked questions
How often should builder gel be filled?
Most clients are due every two to four weeks. Fingernails grow about 3.5 mm a month on average, and after two to three weeks the apex has moved far enough forward to unbalance the nail. Fast growers and long shapes need the shorter end of that window.
What's the difference between an infill and a rebalance?
In everyday salon language they mean the same service. "Rebalance" describes the goal: moving the apex back to the stress area. A full maintenance goes further and files down all the existing product before rebuilding.
Do I have to remove builder gel completely every time?
No. With a clear or sheer set and no problems, you can infill for several cycles. With opaque sets, a full removal every so often lets you check the natural nail. Remove completely whenever there's lifting under a large area, pain, or damage.
Can I infill builder gel at home?
Yes, if you're comfortable filing your own nails with control. Use a hand file rather than an e-file, file only the product, prep the new growth properly and keep gel off the skin. If you're unsure where the apex goes, read our apex guide first.
Why are my nails getting thicker after every infill?
Because new gel is going on top of old gel without enough debulking. File the old product down further before each fill, and rebuild only the apex you need.
The bottom line
An infill is a rebuild in miniature. Take the length back, remove anything lifted, file the old builder down to a thin foundation, prep the new growth like a fresh nail, and put the apex back where the nail needs it today. Keep the file on the product and off the natural nail, and keep the gel off the skin. Do that every two to four weeks and a builder gel set stays slim, balanced and strong for as long as the client wants to wear it.
Sources
- Kevin Nicholls, NailKnowledge. The structure of overlays and enhancements (the apex moves forward with growth; thinning and rebuilding it at maintenance). 14 November 2021.
- Rebecca Hitchon, Scratch. Brush-on builder gel: how to nail application & infill (infill timing, loss of balance at two to three weeks, debulking, infill vs full maintenance, filing only the product). 27 August 2024.
- S. Yaemsiri, N. Hou, M. M. Slining, K. He, Journal of the European Academy of Dermatology and Venereology. Growth rate of human fingernails and toenails in healthy American young adults (fingernails 3.47 mm per month). 2010.
- Josie Jackson, Professional Beauty. The ultimate guide to builder gel nail services (infills every two to three weeks, full removal after the second infill, nail health check after long gaps). 21 January 2026, updated 16 October 2026.
- Kevin Nicholls, NailKnowledge. To infill or to soak off? (remove opaque coatings around three weeks to check the nail; clear coatings can be infilled; clear builder under color to avoid soaking). 18 January 2022.
- Doug Schoon, NailKnowledge. Nail plate overfiling is an avoidable, yet common problem (remove only surface shine; 180 grit with a light touch, 240 preferred). 13 November 2020.
- Kristie Jauvais, NailKnowledge. How to prevent rings of fire on the nail plate (over-filing, bit angles, bit quality, speed, number of passes). 6 April 2024.
- British Association of Dermatologists. Dermatologists reiterate artificial nails warning and risk of at-home kits (uncured product on skin, undercuring, recommended lamps). 14 April 2023.
- GEL PARTY product information: Builder Gel, Builder Gel in a Bottle, Nail Prep Kit, AXE-1 Cordless Nail Drill, EARTH MOON 48W LED Lamp (application, infill and removal steps, cure times, e-file speed advice).