"Gel extensions" sounds like one service, but it's really a family. Someone booking gel extensions might get full cover soft gel tips glued on and cured in twenty minutes. Someone else might get a ballerina set sculpted from builder gel on a form. A third client gets poly gel pressed into a dual form. All three leave the salon with longer, gel-based nails. They don't wear the same, take the same skill or come off the same way.
This guide explains each method, compares them, helps you choose and covers the habits that keep any gel extension strong: structure, thin layers, the right lamp, regular infills and safe removal.
What counts as a gel extension?
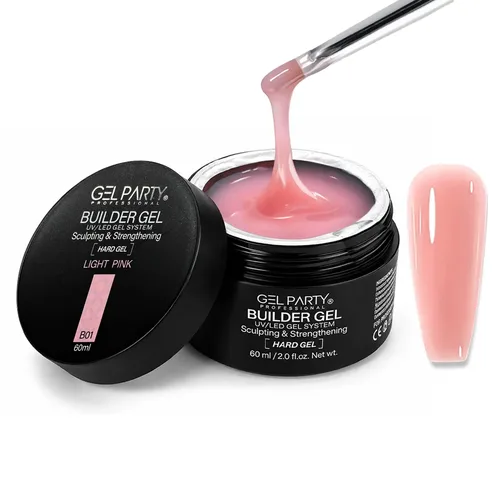
A gel extension is any nail extension whose length and structure come from UV/LED-cured gel. Gels fall into two groups that matter for extensions. NAILS Magazine explains the difference: traditional hard gels have a tight molecular structure that acetone can't penetrate, so they must be filed off, while soft gels have a more open structure that lets solvents in, so they soak off. Many modern builder gels, including our Builder Gel, are formulated as soak-off, so always read the label of the gel in your hand.
Allure's guide to nail extensions describes gel extensions as pre-made soft gel tips adhered with gel adhesive. In everyday use, though, the term also covers extensions built with builder gel or poly gel on a form. That's how we use it here.
The three methods at a glance
Three ways to make gel extensions
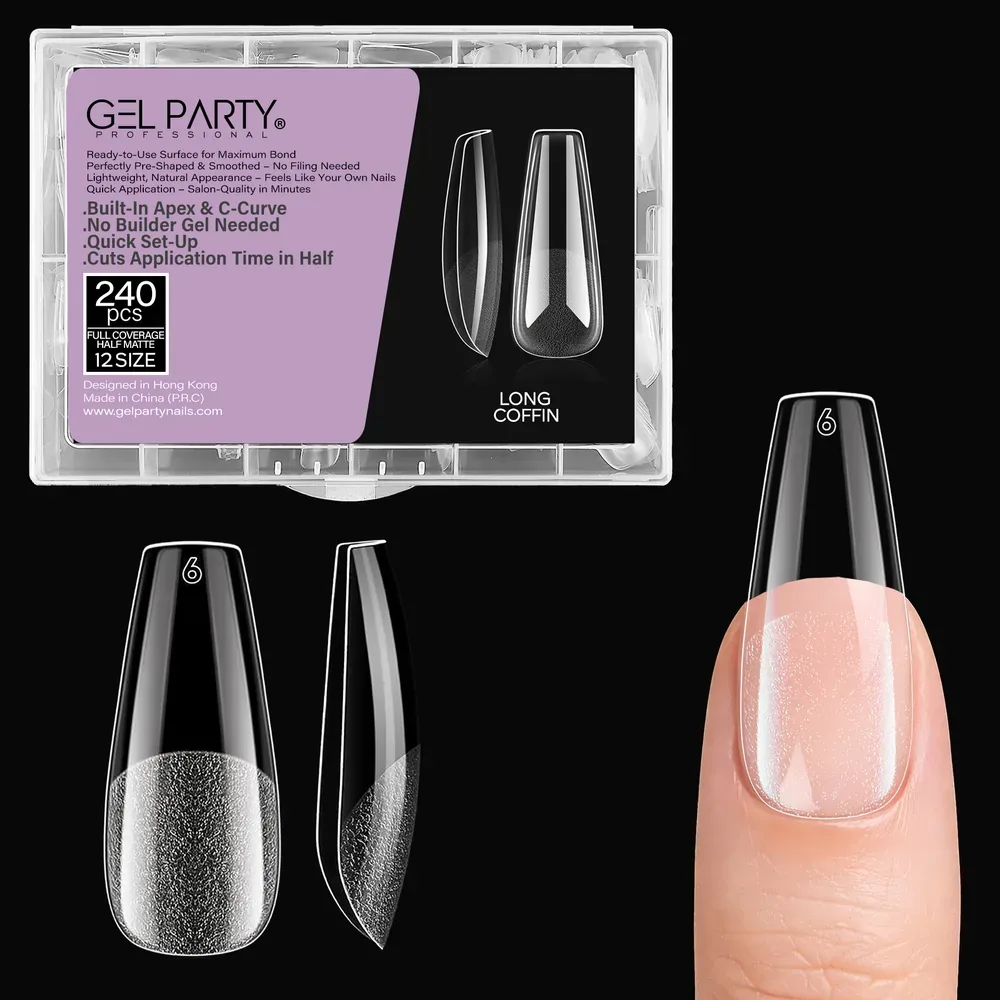
Soft gel tips
Pre-shaped full cover tips, bonded with tip adhesive and cured. Shape, color, done.
Builder gel on forms
Self-leveling or solid builder gel on a dual form or tip. You decide the apex, curve and length.
Poly gel on dual forms
Acrylic-gel hybrid pressed into a form with slip solution. Holds its shape until cured.
All three cure under a UV/LED lamp and can be shaped, colored and finished the same way.
| Soft gel tips | Builder gel (forms or tips) | Poly gel (dual forms) | |
|---|---|---|---|
| Speed | Fastest | Medium | Fast to medium |
| Skill needed | Low to medium | Medium to high | Medium |
| Control over shape | Limited to the tip shapes | Highest | High, set by the form |
| Length | Short to long | Short to long | Short to long |
| Texture | Pre-made flexible tip | Self-leveling or firm solid gel | Dense putty |
| Typical removal | File the shine, soak off | File down; soak off the rest if soak-off | File down; soak off the rest |
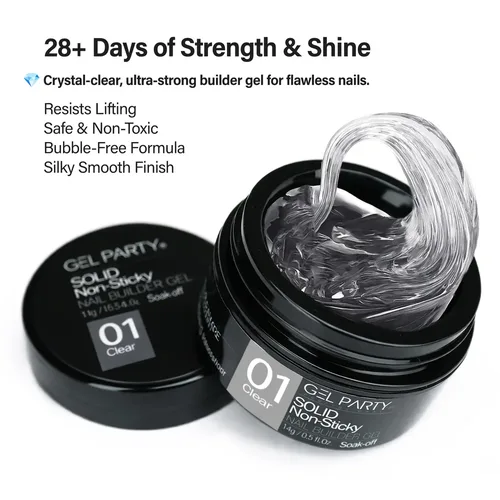
| GEL PARTY products | Soft Gel Nail Tips, Nail Glue Gel | Builder Gel, 3D Solid Builder Gel | PolyGel AcrylGel, Slip Solution, Dual Nail Forms |
Method 1: Soft gel tips
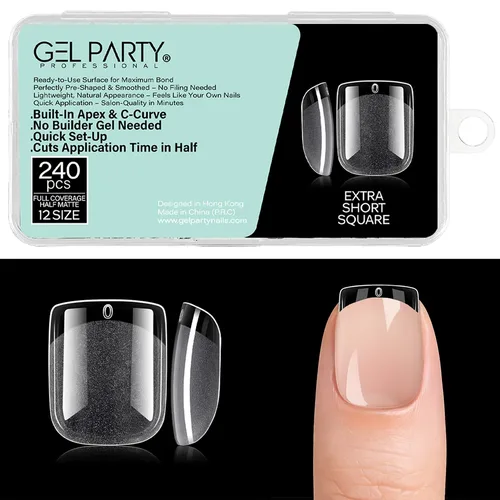
Soft gel tips are pre-shaped, full cover extensions made from flexible gel. The tip's curve and thin cuticle edge are built in, so you skip sculpting. You prep the nail, size the tip sidewall to sidewall, apply tip adhesive, press from the cuticle at about 45 degrees, flash cure, then cure fully, shape, color and top coat.
Best for: beginners, speed, uniform sets and clients who want a ready-made shape. Watch for: fit. A tip that's too wide or too narrow won't seal at the sidewalls. And on long shapes, a thin layer of builder gel over the tip adds strength.
We cover shapes, sizes and troubleshooting in our gel tips guide, and the full routine in how to apply soft gel tips at home.
Method 2: Builder gel on dual forms or tips
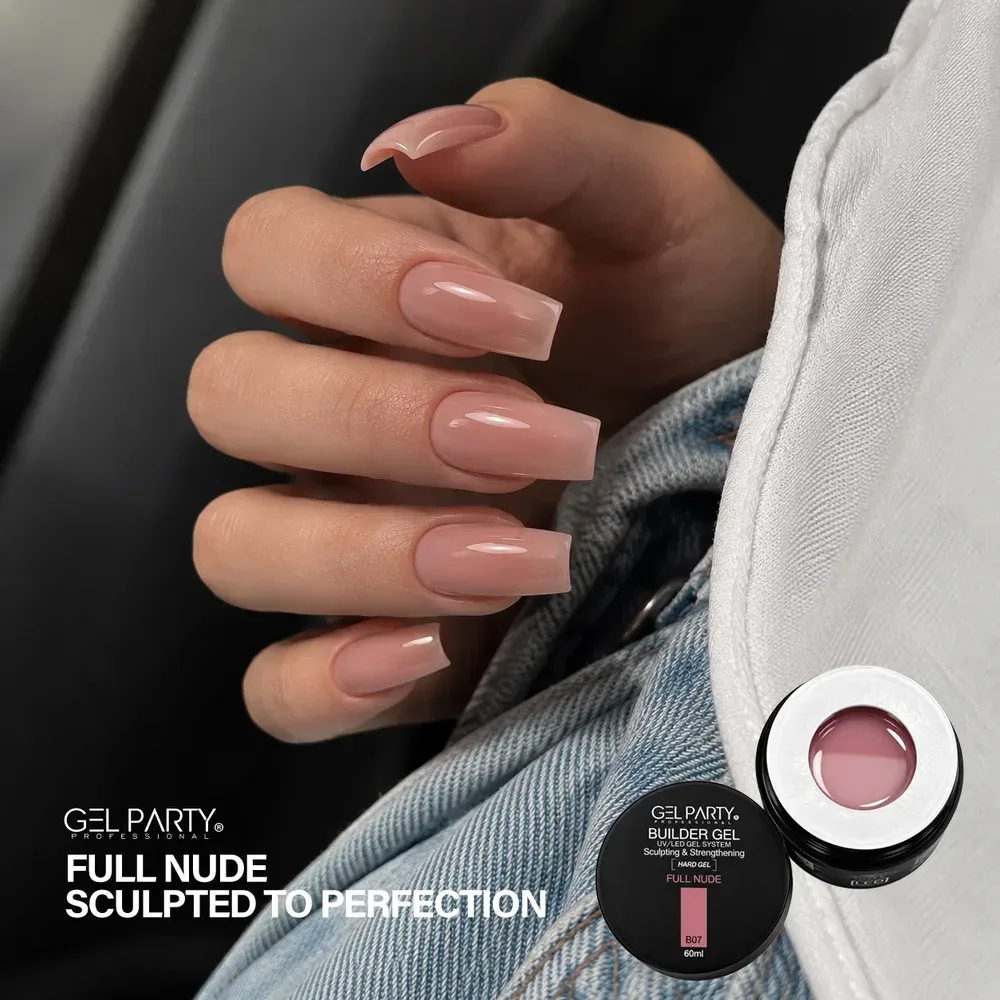
Builder gel gives the technician the most control. You decide where the apex sits, how thick the free edge is and how the C-curve flows. It can be used in three ways for extensions:
- On a dual form. Fill the form with builder gel, press it onto the nail, cure and pop the form off.
- Over or inside a soft gel tip. A little gel inside the tip, pressed on and cured, adds structure and can also bond the tip.
- Sculpted. Built directly with a brush, building from a form.
A solid, non-stick builder gel such as our 3D Solid Builder Gel holds its shape until you cure it, which makes forms and tips easier to work with because there's nothing to run into the cuticle. If the texture or "no wipe" claims are new to you, read our guide to non-sticky builder gel.
Structure: why the apex decides everything
Nail technician and educator Kevin Nicholls explains that a good enhancement has two arches, and that the apex belongs in the stress area, which sits further back on long shapes. As the nail grows out, the apex moves forward and the nail becomes top-heavy, so each infill rebalances the structure. A set that breaks at the free edge or cracks at the stress point is nearly always a structure problem, not a product problem.
For a deeper look, see our guides to builder gel apex, the complete builder gel guide and builder gel infills.
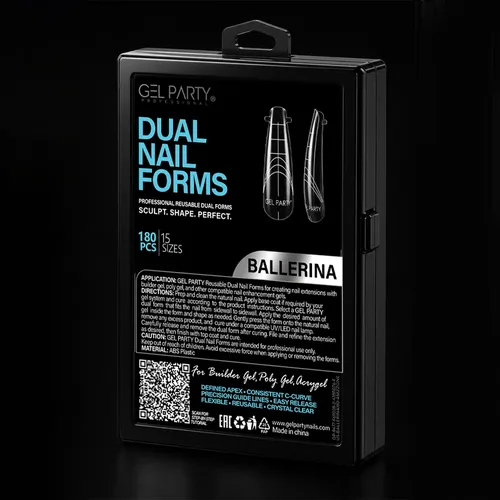
Method 3: Poly gel on dual forms
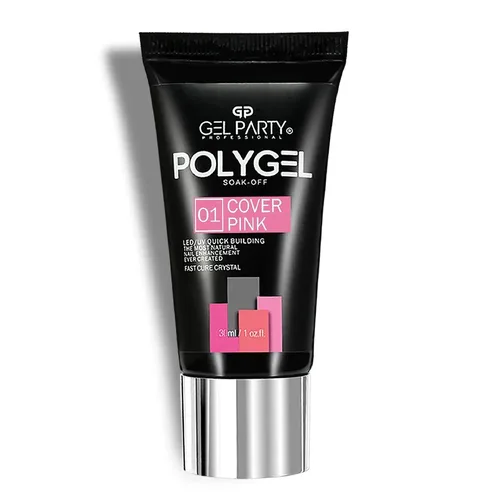
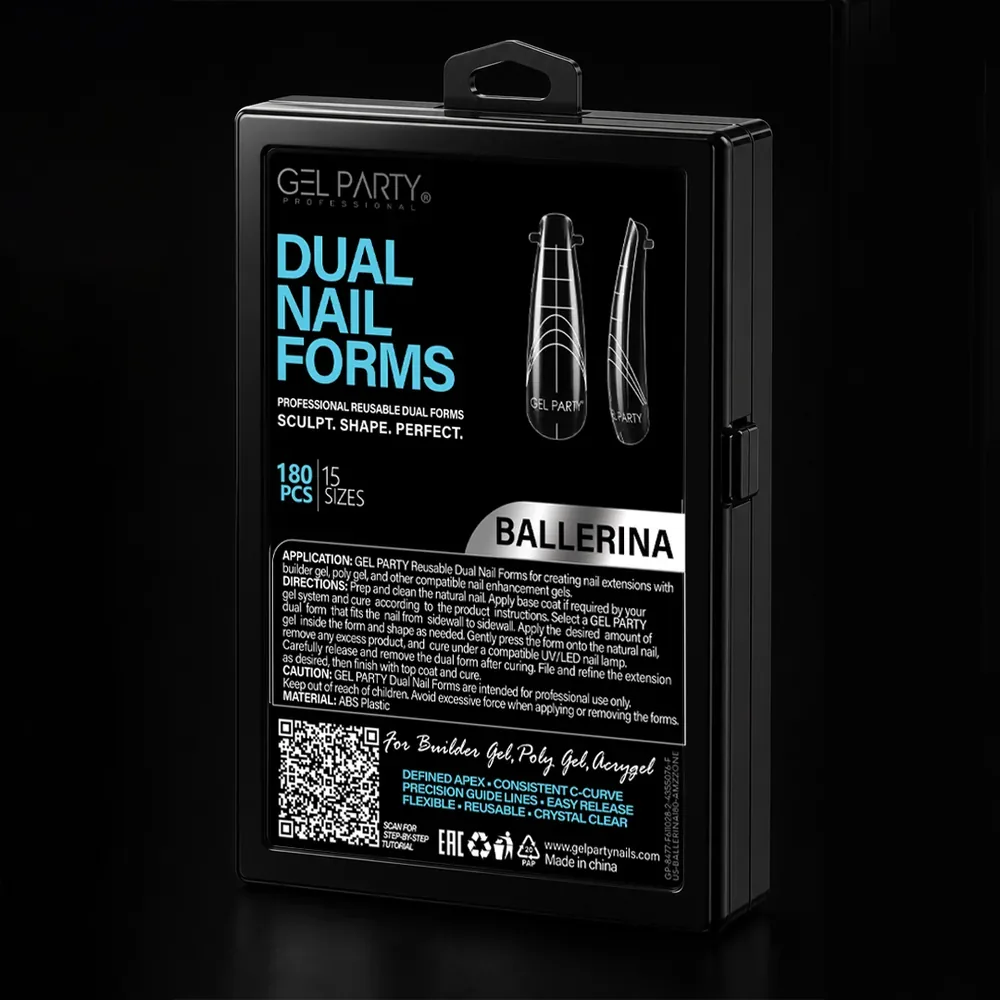
Poly gel is a hybrid of gel flexibility and acrylic strength. It's a thick putty that stays where you put it until you cure it, so it's popular for forms. Our PolyGel AcrylGel comes in squeezable tubes and works with slip solution to shape and smooth.
The steps are short:
- Prep and dehydrate the nail; apply bonder or base and cure.
- Squeeze a small amount onto the tool and spread it inside the form with a brush lightly dampened with slip solution.
- Press the form onto the nail at about 45 degrees, clean any product from the skin.
- Cure for the time your lamp recommends, twist the form off.
- Refine the shape, apply color and top coat.
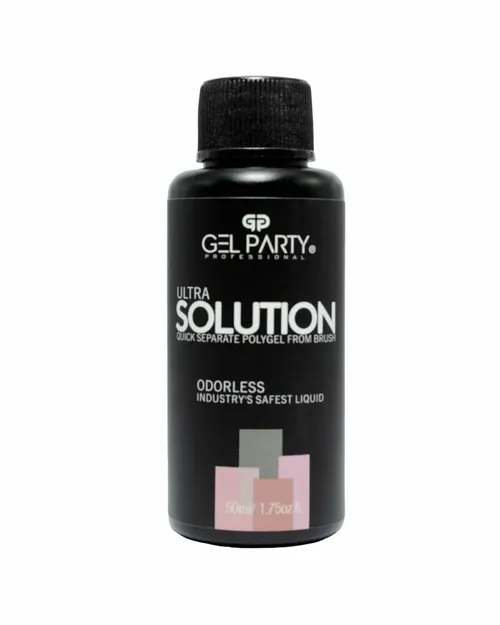
Use only a tiny amount of slip solution, because too much weakens the poly gel. And don't overfill the form: a flooded form pushes product onto the skin.
If you're unsure how poly gel compares with builder gel and acrylic, read builder gel vs poly gel vs acrylic.
Gel extensions vs acrylic
Acrylic extensions use a liquid monomer and a powder polymer, which set by air and are removed by filing. Gel extensions cure under a lamp, can be soft or hard, and soft versions soak off. For how acrylic, poly gel and builder gel compare in strength, feel and skill, see our comparison of builder gel, poly gel and acrylic. Allure's guide describes gel extensions as lightweight and fast to apply. Neither route is "safer" by default: the Nail Manufacturers Council, as quoted in NAILS Magazine, says nail enhancement products are safe for the natural nail when properly applied, maintained and removed.
Which method should you choose?
| If you... | Choose | Why |
|---|---|---|
| Are new to extensions and want a quick result | Soft gel tips | Shape is built in; fewer techniques to learn |
| Want a custom shape and the strongest structure | Builder gel on forms | You control the apex and C-curve |
| Prefer a putty texture that doesn't run | Poly gel or solid builder gel | It stays where you place it |
| Have very thin, bendy nails | Soft gel tips with a flexible builder or rubber base | More flex, less rigid pressure |
| Do many sets a day | Soft gel tips or dual forms | Speed and repeatability |
| Want easy removal | A soak-off system, checked on the label | Hard gels need filing |
What every gel extension needs
Whichever method you use, the foundations are the same.
Five foundations of a strong set
Preparation. Push back the cuticle, remove non-living tissue and buff only the shine. Doug Schoon notes that coarse files and e-files can thin the nail plate and weaken adhesion, so go gently.
Thin layers and the right lamp. Nicholls explains that thick layers can stay soft underneath and extra curing doesn't fix that; the lamp the maker recommends matters. Schoon adds that curing releases heat and thicker layers release more, so build in thin passes and take the hand out if a client feels a hot spike.
Skin contact. The British Association of Dermatologists warns about uncured product on skin, undercuring and poor lamp choices, and recommends nitrile gloves. Keep gel off the skin, and keep filing dust off the arms.
Our EARTH MOON 48W LED Nail Lamp is made for use with our gels; whatever lamp you use, follow your gel's cure times.
Maintenance: infills, rebalancing and replacement
The life of a gel extension set
- Day 0New set: apex in the stress area, thin at the cuticle, free edge capped.
- Week 2Growth shows at the cuticle. The apex has started to travel forward.
- Week 2 to 4Time to infill or replace: reduce the old product, rebuild the apex where it belongs, reshape.
- OverdueTop-heavy nails, lifting at the cuticle and breaks at the free edge become likely.
Two to three weeks is a typical wear time for tips; builder gel sets are maintained with infills, typically every two to four weeks. Growth speed varies, so book by how the nail looks.
Soft gel tips are often replaced rather than filled, though many technicians fill with builder gel. Builder gel and poly gel sets are normally rebalanced with an infill: file the old product down to a thin base, rebuild the apex, then reshape. Finish with cuticle oil.
Removing gel extensions
Never pry or peel. For soak-off products, file down the bulk and the shine, wrap each nail in cotton soaked with acetone or gel remover for about 10 to 15 minutes, and push the softened product off gently. For hard gels that don't soak off, reduce the extension with a file or an e-file and leave a thin layer over the natural nail. Our guide to removing builder gel shows each step.
Common gel extension problems
| Problem | Likely cause | Fix |
|---|---|---|
| Lifting at the cuticle | Gel on skin, thick product at the cuticle, oily plate | Keep gel thin and off the skin; re-prep |
| Cracks at the free edge | Apex too far forward, too much length | Rebalance the apex; shorten |
| Extension breaks at the stress point | Apex too thin or too far back | Build the apex in the stress area |
| Gel feels sticky or soft | Underpowered lamp or thick layers | Thinner layers; check bulbs and lamp |
| Air bubbles | Tip pressed flat, or gel pushed under | Roll the tip down; use a firmer gel |
| Heat spike in the lamp | Thick layer, strong lamp, thin natural nail | Thinner layers; pause and continue |
Frequently asked questions
What are gel extensions?
Gel extensions are nail extensions made with UV/LED-cured gel instead of acrylic liquid and powder. They can be made with soft gel tips, builder gel on forms or tips, or poly gel on dual forms.
How long do gel extensions last?
A well-applied set typically lasts two to three weeks, and builder gel sets are usually maintained with infills every two to four weeks. How long a set lasts depends on prep, structure, nail growth and the client's lifestyle.
Are gel extensions bad for your nails?
Not when applied, maintained and removed properly. According to the Nail Manufacturers Council quoted by NAILS Magazine, nail enhancement products are safe for the natural nail if properly applied, maintained and removed. Damage usually comes from over-filing, prying products off or skipping infills.
What's the difference between gel extensions and acrylic nails?
Acrylic is made from liquid monomer and powder polymer that set by air. Gel cures under a UV/LED lamp. Soft gel can be soaked off; hard gel and acrylic are filed off. Many technicians reach for acrylic for long, sculpted sets and soft gel for speed and comfort.
Can I do gel extensions at home?
Yes, with the right products and care. Soft gel tips are the most beginner-friendly method. Keep gel off the skin, use a lamp that suits your gel, cure fully, and stop using any product that causes redness, itching or burning.
Do I need a base coat for gel extensions?
Most systems use a thin base coat, bonder or slip layer as the first layer, then the tip adhesive or builder gel. Follow the instructions for your products.
Can I put gel polish over gel extensions?
Yes. Once the extension is cured and shaped, you can apply gel polish and top coat. Keep to systems that cure under your lamp, and avoid mixing incompatible products where possible.
How do I remove gel extensions?
For soak-off products, file down the top layer, soak in acetone or gel remover for 10 to 15 minutes and push off gently. For hard gel, reduce the product with a file and follow the maker's directions. Never pry.
Which gel extension method is best for beginners?
Soft gel tips. The shape is built in, so you focus on prep, sizing and curing.
The bottom line
Gel extensions are a toolbox, not a single technique. Soft gel tips give speed, builder gel gives control, poly gel gives a forgiving putty, and all three live or die by the same things: a clean, matte nail, thin layers, an apex in the stress area, the right lamp, gel off the skin and a rebalance before the set gets top-heavy. Start with the method that matches your skill and your client, then learn the next one.
Next, read our gel tips guide for shapes and sizes, the builder gel guide for structure, and the non-sticky builder gel guide for solid gels. Salons, schools and distributors can see the wholesale catalog or learn about OEM/ODM.
Sources
- Allure Philippines. Gel Extensions, Builder Gel, or Acrylics? Your complete guide to nail extensions (gel extensions as pre-made soft gel tips with gel adhesive; lightweight, fast to apply; two to three weeks).
- Beth Livesay, NAILS Magazine. Hard vs. soft: a closer look at gels (hard gels are filed off, soft gels soak off; Nail Manufacturers Council statement). 4 August 2014.
- Kevin Nicholls, NailKnowledge. The structure of overlays and enhancements (two arches, apex in the stress area, apex further back on long shapes, rebalancing as the nail grows). 14 November 2021.
- Kevin Nicholls, NailKnowledge. UV curing: why thin layers matter for perfect nails (thick layers stay soft underneath; use the recommended lamp). 17 August 2025.
- Doug Schoon, NailKnowledge. Heat spikes during UV gel nail coatings (curing releases heat; thicker layers release more). 18 March 2022.
- Doug Schoon, NailKnowledge. Nail plate overfiling is an avoidable, yet common problem (coarse files and e-files thin the plate; remove only the shine). 13 November 2020.
- British Association of Dermatologists. Dermatologists reiterate artificial nails warning and risk of at-home kits (uncured product on skin, undercuring, recommended lamps, nitrile gloves). 14 April 2023.
- GEL PARTY product information: Soft Gel Nail Tips, Dual Nail Forms, PolyGel AcrylGel, PolyGel Slip Solution, Builder Gel, 3D Solid Builder Gel (application and removal steps).